


How to Create Custom WordPress Single-Post Templates
Have you ever seen a post details page with a completely different layout from other posts on the same site? That’s probably because it’s using a custom template. You can assign a custom template to individual posts, giving you increased flexibility over the appearance of your site.
Interested in learning how to create a custom single-post template? In this post, we’ll show you how you can easily create your own!
Maximize Your Website with Custom WordPress Post Templates
Before we start creating one, let’s explore why you might need a custom template and what it does.
If you want a particular post or post type to stand out from the rest of your content, you may want to consider creating a custom single-post template. This template will only be applied to the post(s) you assign it to, meaning it can have an entirely different layout than your standard posts. A unique design and layout can then increase user engagement for that particular post.
Ready to develop your own? Creating and using a custom post template is similar to a custom page template.

Creating a Customized WordPress Post Template: A Step-by-Step Guide
I will be using the Twenty Seventeen theme for my example, but the process will be the same for any theme.
Before creating a custom post template, I will create a child theme first. You can work in the main theme, but since you’re creating a custom template, if you update the parent theme you’ll lose your template. For this reason, it’s good practice to keep your custom templates separate from the main theme.
For a custom template, you have to define a Template Name (the name of the template) and a Template Post Type (where this template will be used). It looks like this:
[php]
<?php
/* Template Name: Full Width Post * Template Post Type: post*/ /*The template for displaying full width single posts. */
get_header( );
?>
[/php]
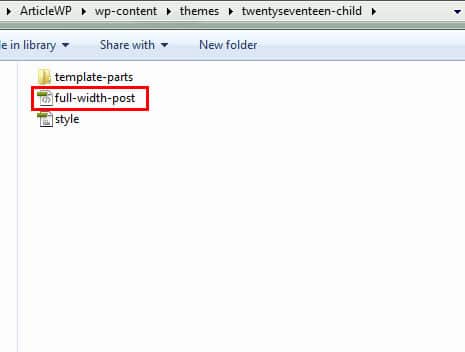
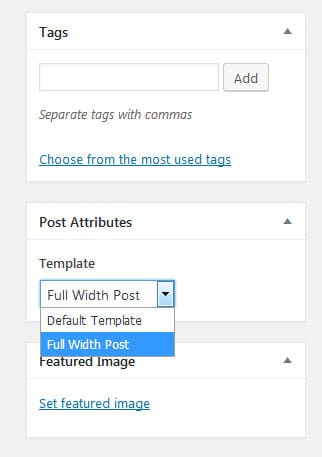
When you save the file, keep the file name relevant to the template name, like full-width-post.php. If you view a post from the admin panel, it will show the new template in a dropdown of the Post Attributes section.

Our custom template is ready, but it’s not useful yet. Let’s make it a bit more beneficial!
Note: We’ll be working on multiple files, so keep track of the file names and folders.
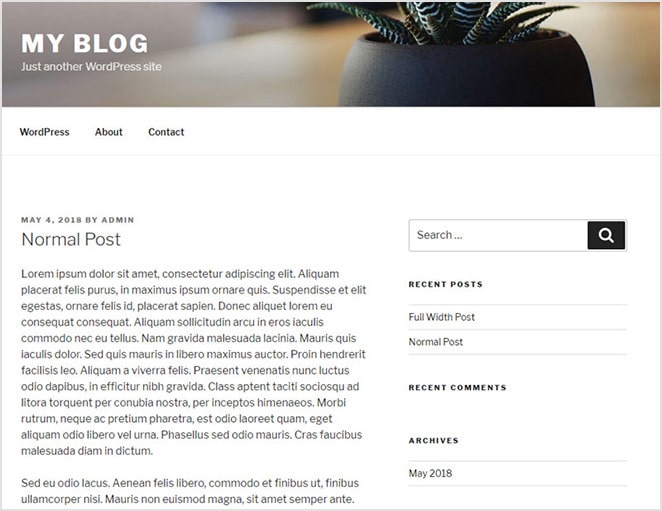
Here’s the current layout of blog post pages in the Twenty Seventeen theme. I’m happy with that, so we’ll leave it be.
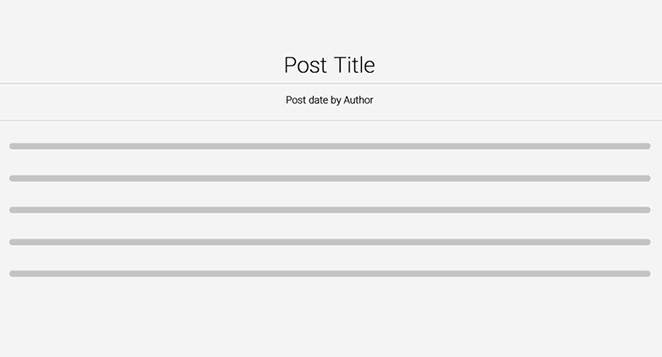
Now, let’s say you want a full-width layout for a few posts. We’ll put the post title above the meta data. The meta data should have a border at the top and bottom, and both the title and meta data should be centered aligned. Here’s the wireframe:
To make this layout, you need to find which file is responsible for displaying post details pages. In most themes, single.php is the file, unless there are certain predefined templates. The code structure varies from theme to theme, so it may take a little learning to understand how your particular theme works.
Once you’ve found the file that displays post details pages, you should find if a function is used to call another file or the template is created directly. In this example with the Twenty Seventeen theme, it’s get_template_part function.
The get_template_part path is the most important part to follow here.
[php]

<div class="wrap">

<div id="primary" class="content-area">
        	<main id="main" class="site-main" role="main">
              	<?php /* Start the Loop */ while ( have_posts() ) : the_post(); get_template_part( 'template-parts/post/content', get_post_format() ); // If comments are open or we have at least one comment, load up the comment template. if ( comments_open() || get_comments_number() ) : comments_template(); endif; the_post_navigation( array( 'prev_text' => '<span class="screen-reader-text">' . __( 'Previous Post', 'twentyseventeen' ) . '</span><span aria-hidden="true" class="nav-subtitle">' . __( 'Previous', 'twentyseventeen' ) . '</span> <span class="nav-title"><span class="nav-title-icon-wrapper">' . twentyseventeen_get_svg( array( 'icon' => 'arrow-left' ) ) . '</span>%title</span>',
                          	'next_text' => '<span class="screen-reader-text">' . __( 'Next Post', 'twentyseventeen' ) . '</span><span aria-hidden="true" class="nav-subtitle">' . __( 'Next', 'twentyseventeen' ) . '</span> <span class="nav-title">%title<span class="nav-title-icon-wrapper">' . twentyseventeen_get_svg( array( 'icon' => 'arrow-right' ) ) . '</span></span>',
                    	) );
              	endwhile; // End of the loop.
              	?>
[/php]
As you can see, it’s referring to a path:
[php]
get_template_part( 'template-parts/post/content', get_post_format()
);
[/php]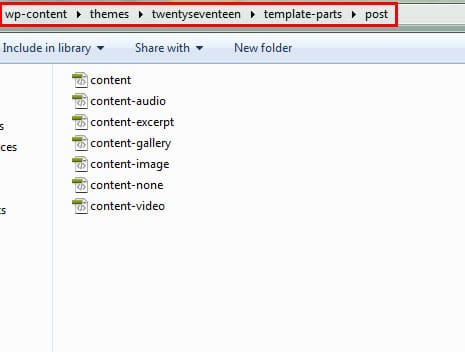
So the content.php file is called inside single.ph to output the post details page.
Now that you know how the single.php file is working, let’s copy the code from it and paste it into our previously created full-width-post.php file in the child theme. Since it will be a full-width template, we’ll remove the sidebar.
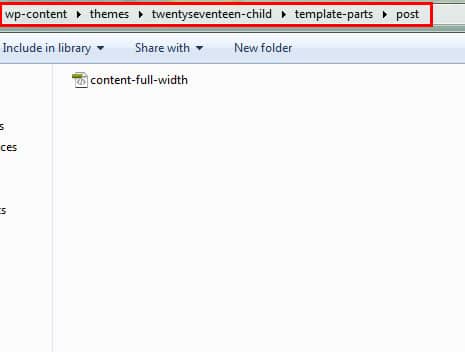
Now copy the content.php file from the above-mentioned path. You can paste it in the same directory where your template file exists, but I’d suggest following the same folder structure as the parent theme.
You can keep the file name as it is, but if you ever wish to change something in the default template it’ll cause a conflict. To avoid any issues, I’d suggest renaming the file and keeping it relevant to the template name, such as content-full-width.php.
The files are in place, so now let’s modify the code to swap the post title and post meta data.
[php]

<header class="entry-header">
        	<?php

        	if ( is_single() ) {
              	the_title( '

<h1 class="entry-title">', '</h1>

' );
        	} elseif ( is_front_page() && is_home() ) {
              	the_title( '

<h3 class="entry-title"><a href="' . esc_url( get_permalink() ) . '" rel="bookmark">', '</a></h3>

' );
        	} else {
              	the_title( '

<h2 class="entry-title"><a href="' . esc_url( get_permalink() ) . '" rel="bookmark">', '</a></h2>

' );
        	}

        	if ( 'post' === get_post_type() ) {

              	echo '

<div class="entry-meta">';
                    	if ( is_single() ) {
                    	  	twentyseventeen_posted_on();
                    	} else {
                          	echo twentyseventeen_time_link();
                          	twentyseventeen_edit_link();
                    	};
              	echo '</div>

<!-- .entry-meta -->';
        	};
        	?>
  	</header>

<!-- .entry-header -->
[/php]
To use this template, edit the desired post from the WordPress admin and assign the template from the dropdown menu.
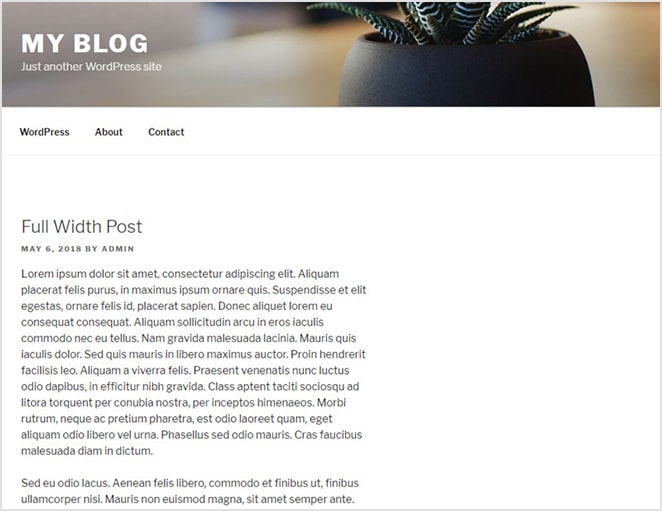
If you check the post on the front end, it’s still not full-width, but the title and meta data have swapped places, so we know that the post is using our custom template
We have to add some CSS to make it full width. WordPress auto generates a class as per the template name in the body section.

Use that class to target this particular template. You can add the CSS to the child theme style.css file.
[css]
.post-template-full-width-post.has-sidebar:not(.error404) #primary{
float:none;
width:auto;
}

.post-template-full-width-post .entry-header{
text-align:center;
margin-bottom:1.3em;
}

.post-template-full-width-post .entry-meta{
border-top:1px solid #ccc;
border-bottom:1px solid #ccc;
padding:15px 0;
}
[/css]
Now we have the layout as we wanted. Any post using this template will have this exact same style.

You can create as many custom templates as you want to fit your requirements. You can even create Custom WordPress Post Templates.
Utilizing WordPress Post Templates: Do I Need a Plugin?
If you are not comfortable with PHP codes, then you can use some plugins, however, there are very few plugins available for creating custom post templates and most of them are not very useful because you have to manually create the template anyway.
That said, the Post Custom Templates Lite plugin is quite useful. It’s a free plugin that allows you to create post templates without any coding in a nice drag-and-drop interface. It has lots of customization options, so if you want to customize a post template, in general, this plugin can help you out.
Note: The free version only allows you to customize normal post templates. You have to use the pro version to be able to create custom post templates and get some additional features.

Final Thoughts on Enhancing Your Site with WordPress Post Templates
Whether you work manually or use a plugin to create a custom single-post template, it allows your most important posts to stand out from the rest. For inspiration, check out Brian Dean’s site; he uses a particular template for his definitive guide posts to make them look unique from the rest of his posts.
So, give it a try and create your own unique single-post template! To get the best results for every site you build, choose WP Engine’s WordPress hosting platform as your single source for WordPress hosting!