


How to Make Your Own Font Template
If you’re here, you’ve probably been scouring the internet for hours looking for that perfect font—and you didn’t find it. You’re under a lot of pressure to make your design look *just right* as the bar for creative brand storytelling continues to rise higher and higher. Now, your plan of attack is to create your own font, and what a great that idea is!
Creating a font is not as hard as it sounds, and the process can open the floodgates of opportunity when it comes to customizing your font’s look and feel. When you make your own font template, you harness the power to control your line weight, serifs, density, and so much more.
There are a couple of different ways you can go about this, and depending on what style you’re going for, there are ways to create digital solutions as well as hand-drawn fonts. For now, we’re going to focus on the hands-on method and learn how to turn your real-life artwork into a virtual typeface.
Let’s dive in!
Choose the Font or Template Site You Want to Use
If you Google “make your own font,” you’ll find more than enough websites capable of bringing your artwork to life. Overall, they mostly follow the same system, so don’t stress too much about this. To help you sort through everything, here are three font building sites we recommend:
For this tutorial, we’re using Calligraphr to get the project off the ground. This platform is free and extremely user friendly for beginner font designers.
Gather Your Materials
You’ll need a few things to get started building fonts with your own handwriting. At a minimum, a decent pen and paper is a good starting place. To jazz up your creative process, grab a ruler, a protractor, and your computer to look up creative inspiration. This will help with your drawing consistency, especially if you’re adding a lot of bells and whistles to your custom font!
Let your creativity run wild. If you want to make perfect curves and lines, go for it. Want to grab your 3-year old and see what they come up with? Utilize them too. That’s the best part of making your own font—you can determine how it looks to fit your client’s creative brief.

No matter the style, you’ll want to use a dark pen for the final product on font template paper. Make sure your line weights aren’t too skinny or too heavy—find something with a medium weight. We used a Sharpie, so you can see how that turns out in the final project (spoiler alert: The font looks really thick).
We suggest starting with a pencil. Remember, you can always sketch and then refine with the pen. Just erase any scribbles before you’re finished!
Time to Practice Your Font
Depending on how natural your font is to draw, you may or may not need to practice before attempting the final version.
On the template sheets you’ll download in the next step, you’ll have to put multiple characters on a single sheet of paper. That means if you mess up one letter and aren’t able to fix it, you may have to redo an entire sheet of characters. If your font is really intricate, that’s going to be incredibly draining on your time and patience.
Even if it’s just once, practice your font, and hopefully you’ll avoid the bumps in the road during the final version.
Do it For Real Now
Once you’re ready, download and print the font-building template page from the site of your choice. This probably looks like a couple of pieces of paper with a designated area for each letter. Like you’ve practiced, just draw your letterforms as you want them.

Since the artwork on the templates will be your own font, you want it to be right. Go slow, double-check your characters, and leave yourself enough time to do this without being rushed. The last thing you want is to discover mistakes in your font after you’ve installed it on your computer and are trying to use it for a project.
Time to Upload and Create Your Font

Once you’re satisfied with your work, it’s time to upload the templates to whatever site you’ve decided to use. Scan your font templates and then make sure you look at the specific requirements for how they need to be uploaded.
Just follow the site’s instructions, and wait for your font to be created. With Caligraphr, our wait time was approximately seven seconds, so it’s a pretty fast turn around.
Install the Font and Go!
Your font is now just like any other that you would download, so install it the same way you would any other font you found online. It’s really that easy!
A Few Things Learned From Drawing a Custom Font
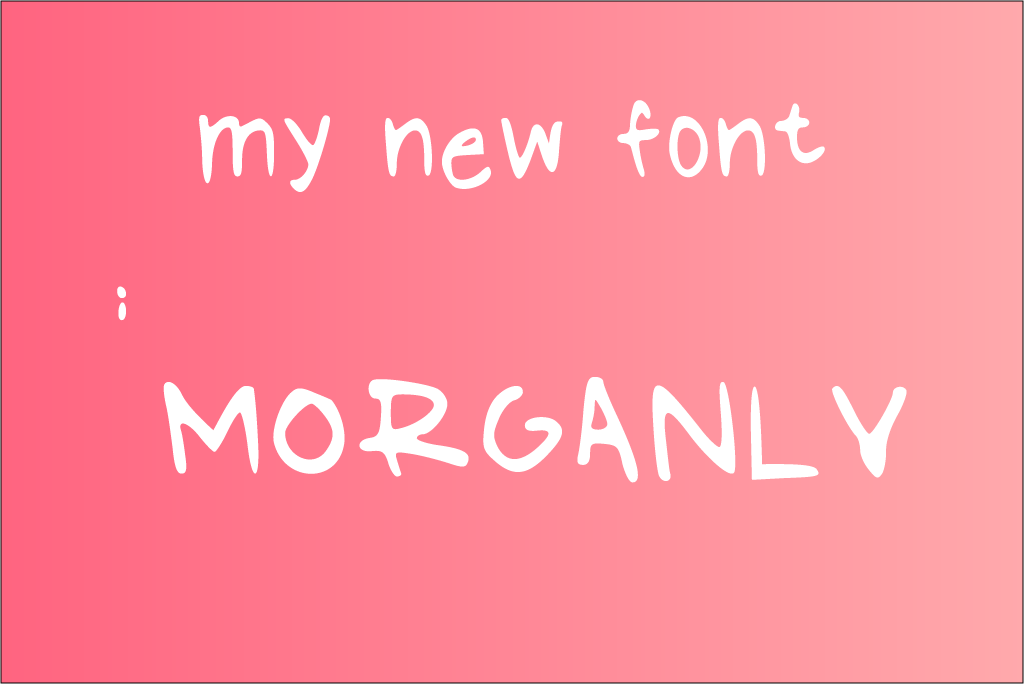
- See those two dots in between the two lines of text? We have no idea where those came from, but they’re attached to the “M” character. So, be extra careful to erase any extra markings on your template before uploading.
- Writing your own font with the template can feel very awkward. Think back to kindergarten when you were first learning how to write by tracing letters; creating your own font is a similar experience. Consider printing a few extra template sheets so you can practice first to get the hang of it.
- The Sharpie looked nice on paper, but the line weights look much thicker as a digital font. Also, the ends of the letters didn’t get copied very well, resulting in the rather childish-looking font you see above.
- Although it’s difficult since you design each letter separately, try to keep in mind how all the characters relate to each other. For some reason, our lowercase “t” ended up much smaller (and higher) than the other letters, so it looks a little out of place.
Honestly, your first font may take a couple of tries. While it’s a simple process, you’ll probably learn new and better ways to go about making your own font each time you do it.
Conclusion
Custom fonts and lettering have been on the rise as the demand for unique brand storytelling pushes our creative ceilings higher and higher. Hopefully this font-building tutorial eases your frustration because you now have the power to bring your custom lettering ideas to life!
Another way to ease your development frustrations is by using WP Engine’s high-quality WordPress hosting solutions for all the sites you manage! Talk with a representative to learn more.