


How to Add a Responsive Google Map in WordPress
No matter where you’re going, Google Maps will show you the way. Being able to instantly get directions has become essential while navigating through cities. And as the most popular map solution, adding Google Maps to your WordPress site could not be easier. This user-friendly mapping technology will provide business information, contact information, and directions to the location of your choice, making navigation super convenient for your users.
Ready to add a map to your WordPress site? There are a couple of different ways to add one, manually and with a plugin. Let’s start with the DIY method.
Remember: You should never make changes on a live site. Our free local development tool, Local, will help you simplify your workflow and safely experiment with your site. Try it today!
Manually Adding Google Maps
Embedding the map
Adding and embedding a map is how you will get the actual map to display on a page, and it only takes a couple of simple steps. Manually adding the map is the way to go if you only have one (or just a few) to add to your site.
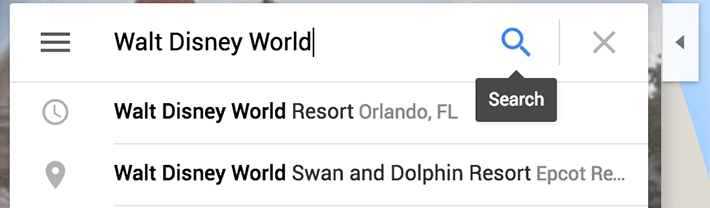
1. Go to Google Maps and enter the location.
2. Click the search button.
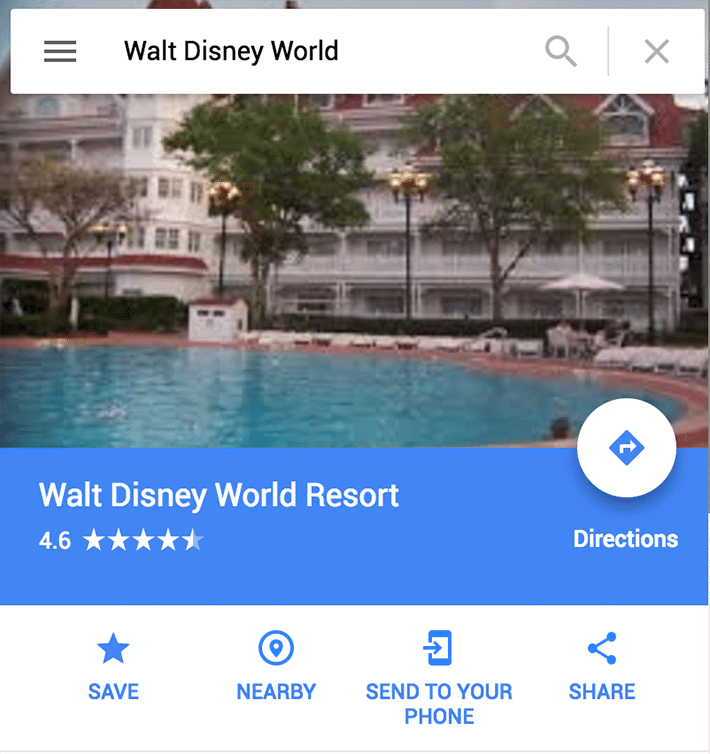
3. Choose “Share” (it will be the option on the right).
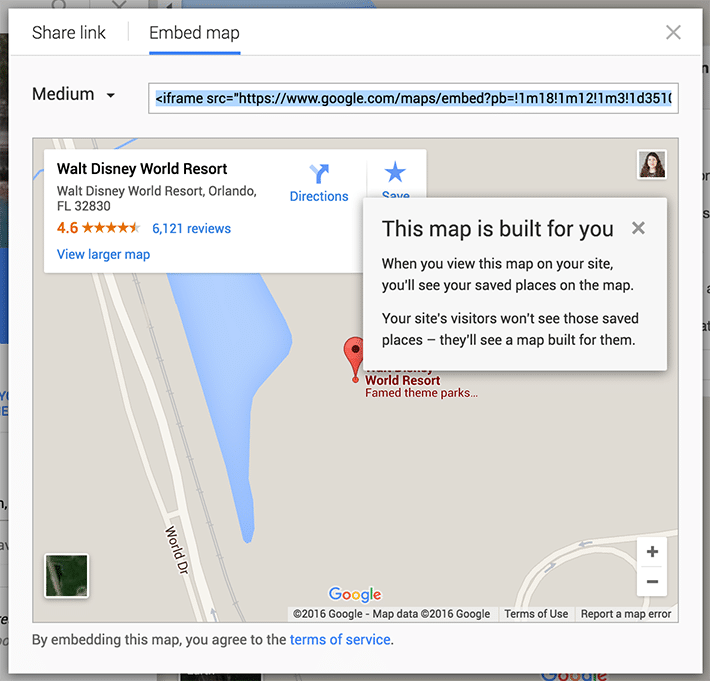
4. Copy the Embed code, making sure it is all selected before copying.
Adding the Map in WordPress
In order to add the map, you will need to edit a Post or Page. A great spot to add your map is the contact page or any post that talks about a specific location that your users might need to find.
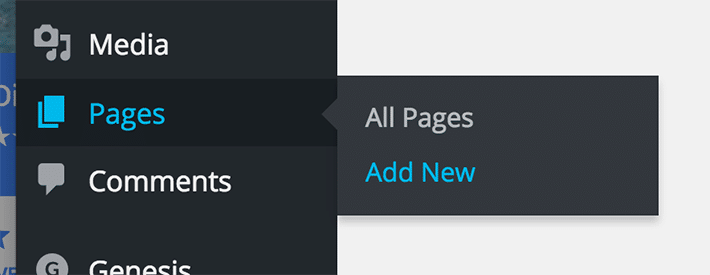
5. Go to Posts > Add or Pages > Add.
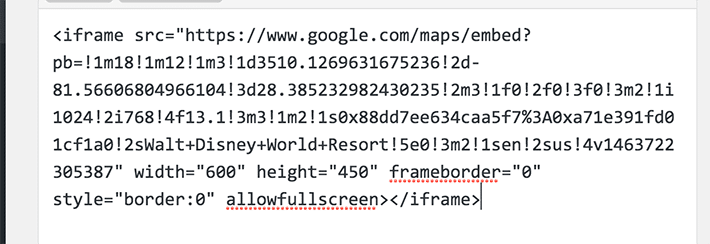
6. Open the HTML editor (in Text mode) and paste the Embed code wherever you’d like the map to appear.
7. Choose Save Draft, Update, or Publish depending on your preference.
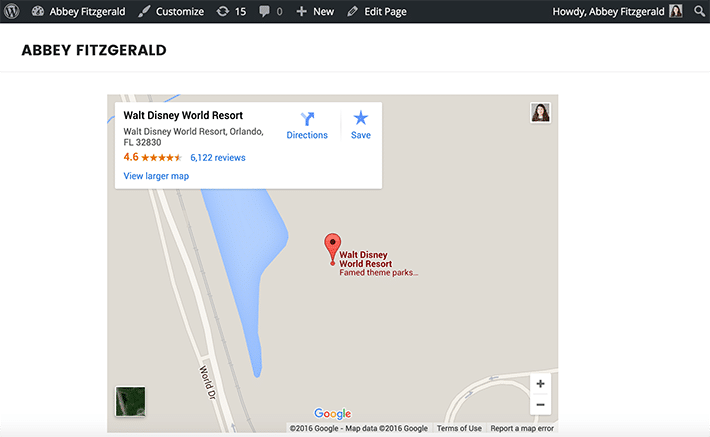
If you view the page, you should see your map. If the map isn’t showing up, be sure to double check that the entire embed code was copied and pasted into the editor.
Making the Map Responsive
This is optional when working with your map, but a great idea to provide the greatest user experience for you viewers. Users are typically on the go when they’re looking for directions, so this responsive map will be helpful when they are using their mobile device.
You may have noticed there was a width and height measurement in the iframe that you pasted into the editor – you’ll need to do some adjusting to make the map responsive. Some simple CSS will do the trick; all it will take is an extra div tag around the embed code. Use the class responsive-map so that your code now looks like this:
[html]

<div class="responsive-map">
    <iframe src="https://www.google.com/maps/embed?pb=!1m18!1m12!1m3!1d3510.126963167523!2d-81.5660680494897!3d28.385232982430246!2m3!1f0!2f0!3f0!3m2!1i1024!2i768!4f13.1!3m3!1m2!1s0x88dd7ee634caa5f7%3A0xa71e391fd01cf1a0!2sWalt+Disney+World+Resort!5e0!3m2!1sen!2sus!4v1463933469006" width="600" height="450" frameborder="0" style="border:0" allowfullscreen></iframe>
</div>

[/html]
Add the CSS
Adding these CSS properties to your stylesheet is the last thing that has to be done. Of course, you may want to slightly adjust things depending on your page design.
[css]

.responsive-map{
overflow:hidden;
padding-bottom:56.25%;
position:relative;
height:0;
}
.responsive-map iframe{
left:0;
top:0;
height:100%;
width:100%;
position:absolute;
}

[/css]
And that’s it! With those simple code additions, you’ll have a responsive map on your site. Not sure if you want to go the DIY route? Now let’s go over a simple plugin solution.
Check out all the code with this CodePen!

Adding Maps With the MapPress Easy Google Plugin
Manually embedding the map is a good approach when there are just a few maps, but what happens if you have to add a lot? For example, a business site might have multiple locations that need to be displayed. Adding each map individually might get a bit tedious. This is where a plugin comes in handy. There are plenty of great options to choose from, but MapPress Easy Google Maps is an option worth checking out (and what I’ll use in this tutorial).
To start, you will need to install and activate MapPress Easy Google Maps on your WordPress site.
Plugin Settings
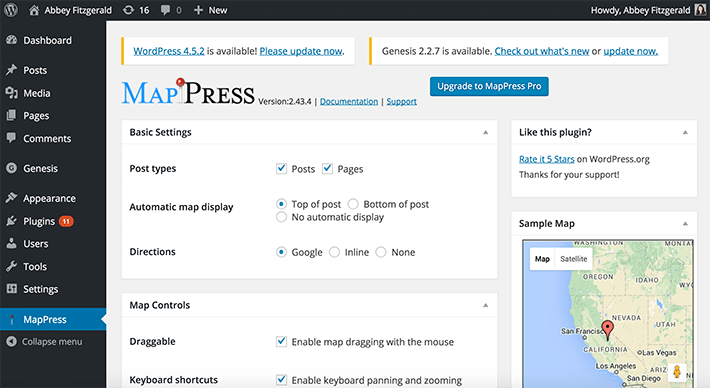
You’ll notice the plugin settings menu in the admin sidebar, and you’ll also notice that there are lots of options that come with MapPress, making it a flexible solution for any site. Things like map type, zoom, border, alignment, controls, etc. can easily be adjusted here.
Adding the Map
Again, in order to add the map, you will need to edit a Post or Page.
1. Go to Posts > Add or Pages > Add.
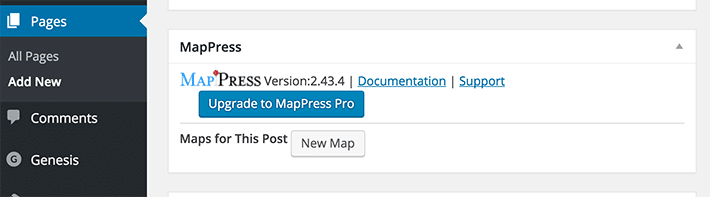
2. Scroll down to the MapPress section on the edit screen and choose “New Map”.
3. You’ll see the MapPress editor where you can enter an address for your map. Even if you don’t have the exact address, try entering the name of the location and it should find it for you. If you’d like to share your location, the “My Location” link will allow the plugin to automatically detect your location.
4. Add a title to your map and choose the map size.
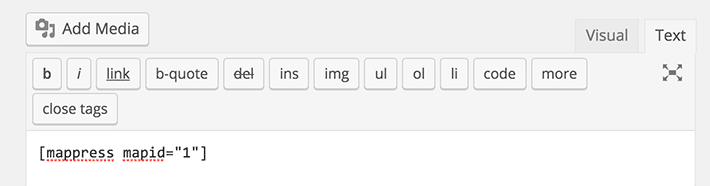
Note: The map width can be specified as a percentage in the map editor or the shortcode, making it mobile friendly. The height typically remains fixed. If you prefer to add the height and width to the shortcode, it would look something like this: [mappress mapid="X" width="100%" height="400"]
5. Click on “Save” and then “Insert into Post.” The map will now be in your post.
6. Update or publish your post to see the map.
These tips and tricks should give some direction and insight into Google Maps integration for your website. Whether the maps are added manually or with a plugin, having a map readily available to your users will help them arrive at the correct place.
Test it on Local!

Remember: You should never make changes on a live site. Our free local development app will help you simplify your workflow and safely experiment with your site. Try it today!
This article was originally published on February 2nd, 2016. It was last updated December 28, 2022.