


How to Improve a WordPress Site’s Performance with Minification
Site speed remains a perennial concern for pretty much all site owners. While there are several ways you can improve your site’s speed, there’s one often-overlooked (yet highly effective) technique to consider—minification.
In simple terms, minification optimizes your site’s code to make it smaller in size and, therefore, more efficient to run. While this can seem like a small concern, it’s actually surprisingly effective.
In this article, we’ll introduce you to the concept of minification and how it works. We’ll also show you several ways you can utilize this method yourself, without getting into the code. Let’s get started!
An Introduction to Minification (and How it can Help You)
You may already be aware of several ways you can optimize your site speed. Today, we’ll focus on the specifics of minification.
One of the potential reasons behind long load times is inefficiently written code. Most site owners rarely (if ever) need to code anything manually nowadays, so you might not even be able to tell if your code is causing your site to get sluggish. However, by using a process known as minification, you can check for yourself.
If you’re no coder, this might seem intimidating, but don’t worry. Minification is actually a straightforward process that simply involves optimizing CSS, HTML, and JavaScript code. We’ll show you how you can achieve this without needing any coding skills further below. However, before we get there, let’s see how minification works in practice, using the following snippet of CSS:
h1 {
    background-color: blue;
}

h2 {
    background-color: red;
}

p {
    background-color: black;
}
Even having a passing familiarity with CSS, this is pretty easy to decipher. It simply specifies which style should be assigned to different elements on a page. This is because the code is written to be readable to the human eye. To this end, line breaks and extra spaces are used to make each part of the code clearly defined and easier to scan.
However, this isn’t actually something a computer needs to understand to run the code. In fact, the additional characters make the code “heavier,” and therefore, it takes longer for a computer to read and execute. As such, you can think of minification as the process that turns human-friendly code into machine-friendly code.
If you were to minify this code, it would look like this instead:
h1{background-color:blue}h2{background-color:red}p{background-color:black}This code creates the exact same functionality as the one above but with all the unnecessary parts taken out. While it might not seem like a major difference, the minified code is actually 36% lighter than the original. If you imagine this same principle applied to all code on your page, you can probably see how effective this could be in the long run.
So, how do you actually do it? There are a few methods at your disposal, and we’ll be looking at them throughout this article. First, let’s see how you can minify code manually.
How to Minify Code Manually
One way you can minify code is doing it yourself. This is particularly useful if you’re writing your own code, such as when creating a theme or plugin. However, going through your code with a fine-tooth comb can be taxing, if not impossible, depending on the amount.
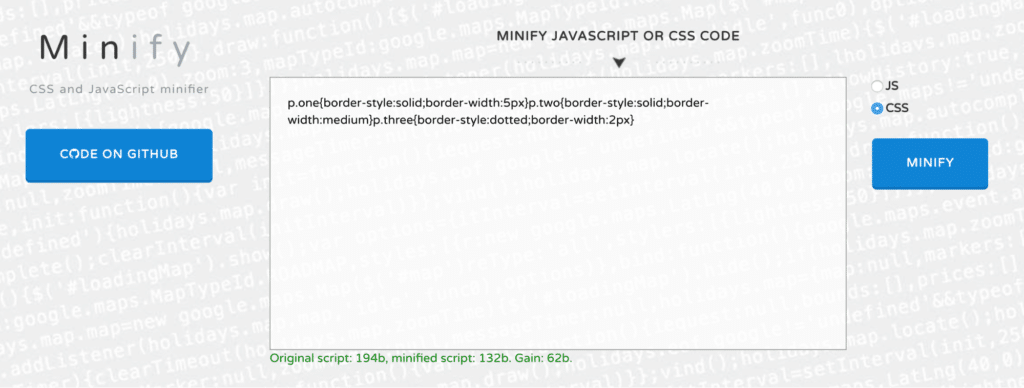
Fortunately, there are plenty of tools to help you generate minified code in a matter of seconds. One such example is Minify, which works with both CSS and JavaScript:
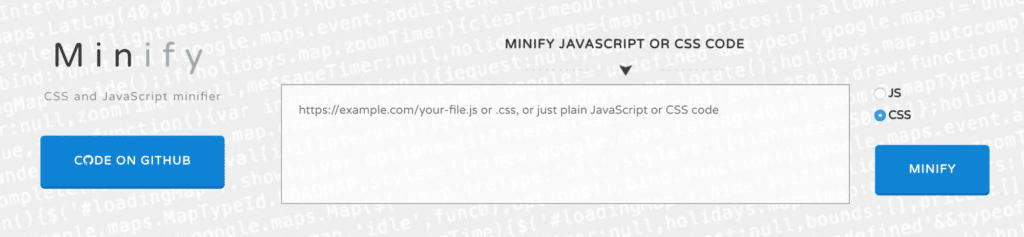
Simply paste the code you want to compress into the text box, click Minify, and the code will instantly be returned in its new form. You’ll even see a summary of just how much lighter the new version is compared to the original:
When you need to minify HTML code, we recommend HTML Minifier for the job:
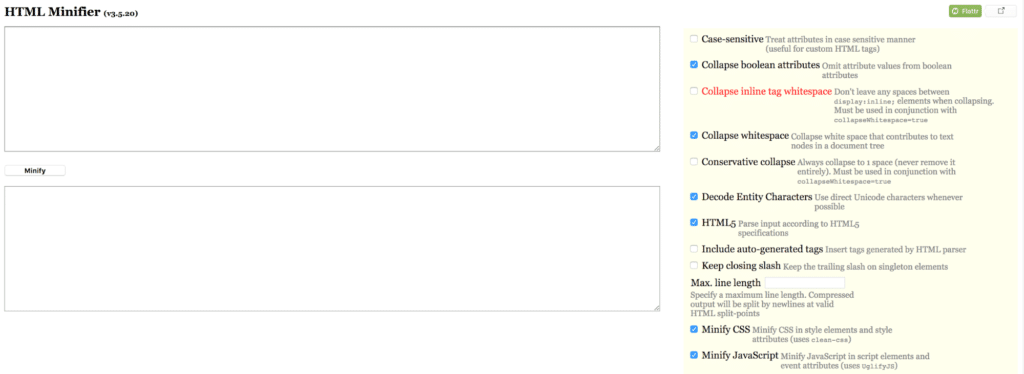
This tool is particularly interesting because it provides plenty of options regarding how the code should be compressed. You can use the settings on the right to tailor the final output to your liking.
While minifying code manually can certainly be useful, most of the time you’ll likely want to automate the process. Next up, we’ll look at how you can do exactly that.
3 WordPress Plugins to Help you Minify Code Automatically
By far the easiest way to implement minification is by using a WordPress plugin to do the job for you. Such a plugin will automatically minify your code as soon as it’s called on.
This means you can minify your code without having to look at it yourself. With this in mind, let’s look at some of the best minification plugins!
1. Autoptimize

If you were worried that minification would be a complex process, Autoptimize is the perfect counterpoint. This is a “set-and-forget” solution that will automatically minify all your site’s scripts with no input required on your part. You simply install and activate the plugin, and it takes care of the rest. However, if you do wish to get into the technical side of things, the plugin also offers several advanced configuration options.
Key features
- Simple to use, with no configuration required.
- Automatically minifies and compresses all scripts on your site.
- Moves all styles to the site header for optimal performance.
Pricing: The plugin is free and Autoptimize also offers a premium tier.
2. Fast Velocity Minify

A running theme for all these plugins is simplicity. As with the previous offering, Fast Velocity Minify works right out of the box. By compressing your codes and scripts into the minimum number of files, the plugin ensures that your CSS and JavaScript are delivered as efficiently as possible. It also includes a number of configuration settings, including optional HTML minification.
Key features
- Minifies script files to reduce the number of HTTP requests.
- Offers plug-and-play functionality with the default settings.
- Merges and optimizes Google Fonts.
Pricing: The plugin is entirely free, with no premium plan required.
3. Merge + Minify + Refresh
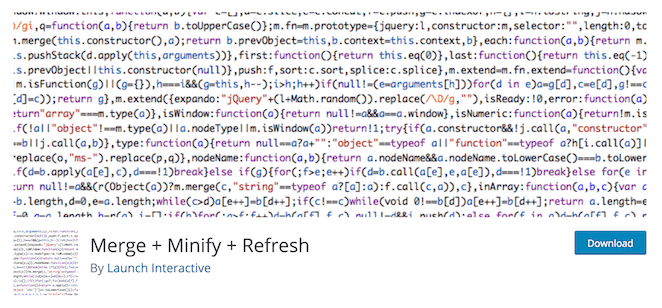
Merge + Minify + Refresh is yet another minification plugin that begins working out of the box. While its features are largely similar to Autoptimize, it’s a particularly lightweight alternative. Due to the way the minification process works, the plugin provides minimal slowdown, and doesn’t require you to manually clear your cache (unlike other solutions).
Key features
- Minifies and combines your script files automatically.
- Uses wp-cron to minimize slowdown during minification.
- Compatible with WordPress Multisite setups.
Pricing: Merge + Minify + Refresh is free to download and use, with no premium plan available.
Use Minification to Maximize Performance!
When it comes to optimizing your site, it’s important to use all methods at your disposal. One of these is minification, which enables you to compress your code to make it more efficient without affecting its functionality.
In this article, we’ve discussed how you can utilize minification on your own site with one of these recommended plugins:
- Autoptimize. Powerful yet simple, with additional settings for experienced users.
- Fast Velocity Minify. A solid option that’s great for both beginners and developers.
- Merge + Minify + Refresh. Fast and reliable, which helps to ensure good performance at all times.
Want to learn more? Find tons of helpful content like this in WP Engine’s Resource Center or speak to a WP Engine representative now for answers to your questions.