


How to Take Professional Photos for Your Design Portfolio
You put all your hard work into creating a new brochure you’re proud of, producing an inspiring booklet for a client to sell their goods, or designing a full brand package for a company you admire. After you hand it off, what’s typically next? For a lot of designers, the dream would be to document the process, show some behind-the-scenes, photograph your work, and then add to your print or digital portfolio.
But for many, photography may seem cumbersome and hiring a professional could cost hundreds of dollars for a few simple shots. But good news –it can be easy and even FUN to capture your own work if you know where to start and how to use a few pieces of equipment! Taking the DIY approach with a few tips and some extra guidance, you can be well on your way to photographing your own work without the heavy hit to your bank account.
Here’s a list of quick hits to help you start photographing your designs for your beautiful portfolio!
Go Inspiration Hunting
Similar to the beginning of the design or creative process, the best place to start is searching for inspiration. In the same way you look to Dribble, Behance, and Pinterest to inspire your designs, take to these platforms with a different perspective and see how your favorite designers and creators showcase their work. Pay attention to color, lighting, angles, symmetry, contextual elements (like hands, location, or environment), and the overall feeling you get from their design work showcased as final product images.
Then in true designer form, keep in mind what feels good and matches your personal brand when photographing your portfolio work. Narrow it down to the elements that best represent your work and get to photographing!
Set up the Scene
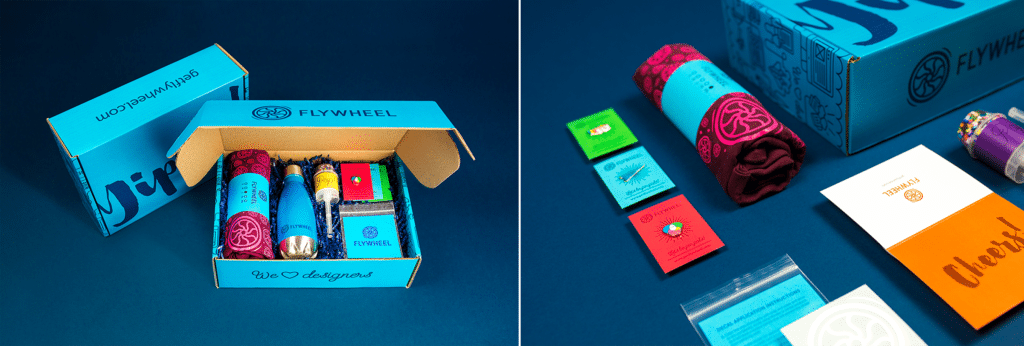
Consider your product and design portfolio images an extension of your brand. Although the pieces were either made for yourself or for clients, the designs and how you arrange them can speak a lot to the style of work you like to do.
Choose a backdrop or scene that highlights your work. Whether it’s to complement the designs through color-coordination, exude a certain feeling by the aesthetic you’re developing, or to show scale and context of how to use the design, setting a scene is pivotal in deciding the best way to showcase your work!
A Seamless Setup
A majority of portfolio work is shot on seamless backgrounds. This means there is no crease or edge to the background and gives you the ability to eliminate shadows. If you’re unsure of what color scheme to choose, shooting your work on a white seamless background is a good place to start.
Looking to branch out? Be careful to pick complementary colors that don’t overwhelm the design or take away from it. After all, the goal is to show off your amazing work, not the seamless background!

A Contextual Approach
There are a lot of pros to creating an environmental or lifestyle setup of your portfolio images. If you’ve created 3D pieces, showing them in the spaces they’ll be used or seen can help show context and scale.

You could also do this by creating a scene. For example, let’s say you just worked with your local cinema to create all their print collateral. You might consider using film strips or movie stubs as vignettes of your setup. Or maybe you just did the new branding package for a local coffee shop and bakery. Consider using their coffee cups, beans, or elements of the ingredients they use in their baked goods to enhance the branding you’re showcasing. Or if you’re of minimalist style, you might consider simple pastel colors in stark lighting.

No matter what your theme is, consider the styling of your work and how you want it to speak to not only the work you did but the type of work you want to do more. And if you need help finding physical assets to complete your theme, you can always consider adding vector scene creators in post.
Use the Gear you’ve Got
Whether you’re using a DSLR or your phone’s built-in camera, work with what you have! They both have their pros and cons. With a DSLR, you’ll have the ability to change focal range (with different lenses and their abilities), detail, aperture, shutter speed, and ISO (if working with limited sources of light). But on the other hand, phones are just as great because they’re simple to use.

No matter what equipment you decide to use, here are some camera basics to help you achieve greatness!
Tripods
Before you even worry about camera settings, we recommend using a stand or a tripod for your work. (Or anything to stabilize the shot, really!) A tripod is definitely not necessary, but if consistency is what you’re looking for, a tripod will work wonders.
Focal Point
Focus is key, so choose your focal point wisely. An image that’s out-of-focus will not suit anyone well, but there are also style choices to be made when focusing on your piece. If it’s a wide angle shot of the whole design, make sure to shoot at a higher f-stop (consider starting at f/4.5 and going up from there), to get every ridge of your design focused.
Angles
Consider where your light source is, what style of image you want, and move around. Yes, a straight-on shot of your design is a must, but just as you would take on different perspectives when designing, take on different perspectives when shooting for your portfolio.

If you’ve never used a DSLR before and are hesitant to enter that world for just a few quality portfolio images, have no fear! You can create amazing images of your work with your phone, you may just have to pay a little more attention to using a quality light source. Which brings us to…
“Shine a Light” on your Work
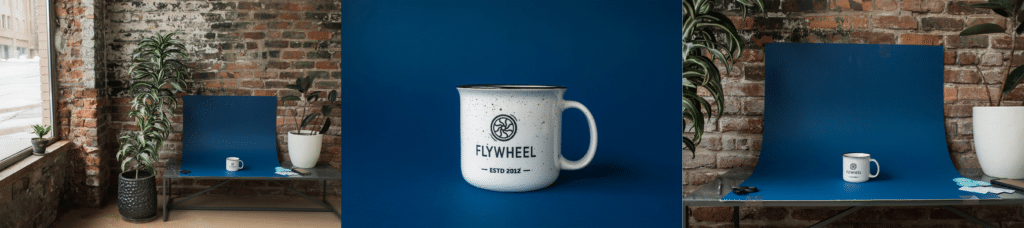
Lighting is key to beautiful portfolio images, no matter what type of camera you’re using. When possible, we recommend natural light, but we’ll share tips for studio light, as well!
Natural Light
Find a window in your house, office, or studio, and wha-la, you have the cheapest light source of them all! If you’re going to use natural light (i.e. the sun), consider turning off other ambient lights. Try to avoid mixing light sources so you can achieve an accurate white balance and color representation of your designs/products.
Studio Light
Working with controlled lighting is great because you have complete control! Studio lights can seem intimidating, but certainly don’t have to be. While playing around with your lighting setup, try moving things around. Try placing light directly above your subject, at an isometric angle, and at an eye-level angle, and watch how the shadows change. Depending on the aesthetic you’re looking for, continue to move the lights around until you reach the style that feels best.
Take Advantage of Simple Tricks!
Even the most polished portfolio pieces sometimes use the simplest (and silliest!) tricks. Here are a few of my favorites.
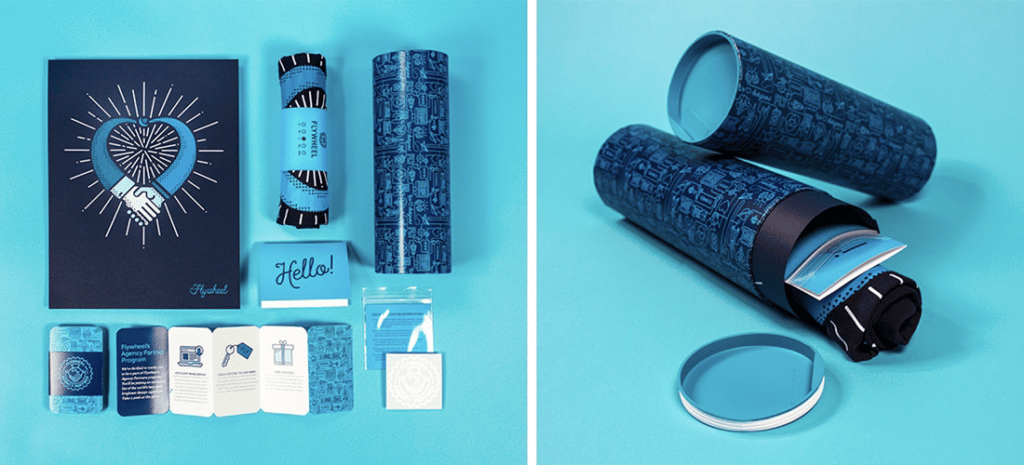
When Photographing Small Paper Goods…
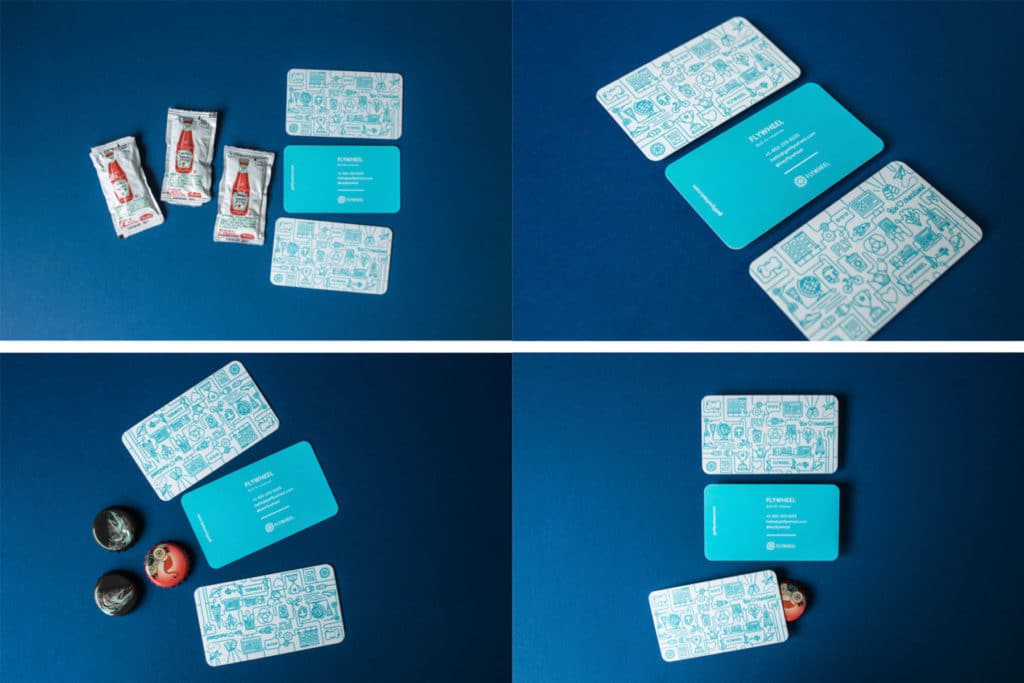
We all love that slightly-elevated and shadowed look that comes with quality images of paper goods. We’ll let you in on a secret—we’ve used everything from bottle caps or ketchup packets to stacks of quarters to elevate our products just the slightest bit to add that effect. As long as they’re replicable in size and are smaller than the piece you’re shooting, you’re golden!
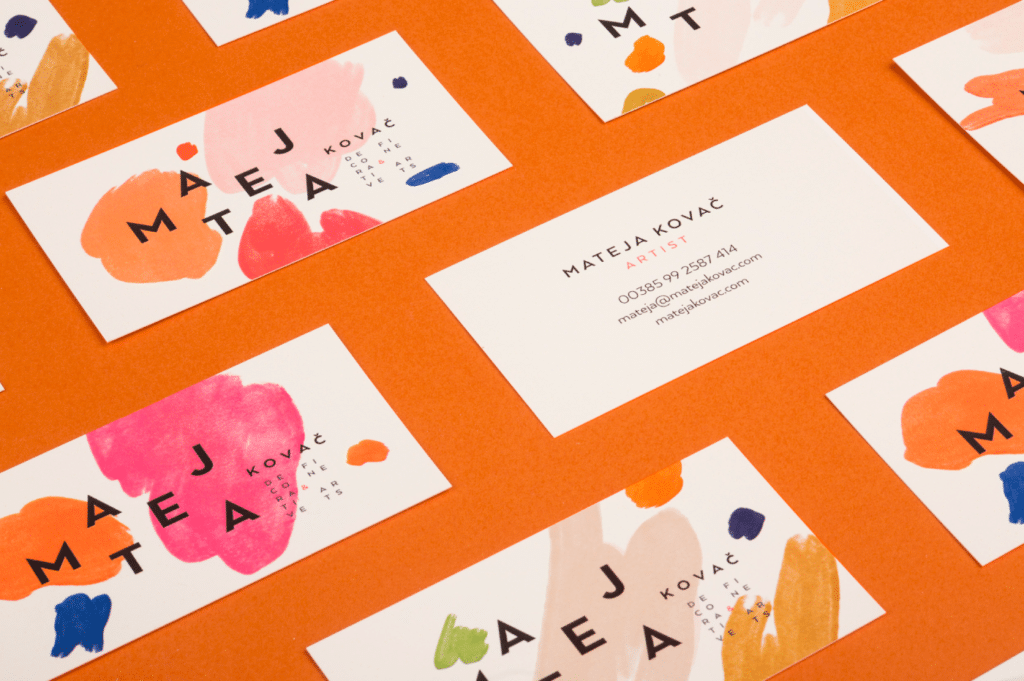
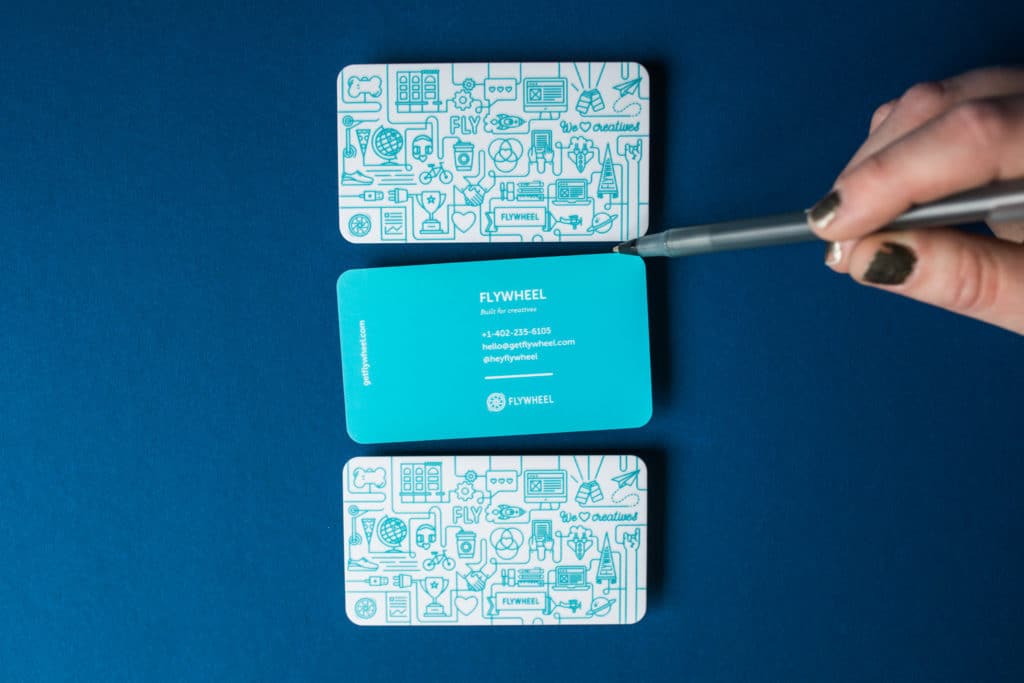
Symmetry is Fun, but what if Your Hands Shake?
If you’re trying to be pure with your symmetrical product creation and refuse to make it in Photoshop, a great way to relax from the stress of messing up your perfectly aligned business cards or flyers is to use a pencil, popsicle sticks, or key to gently tap pieces into place.
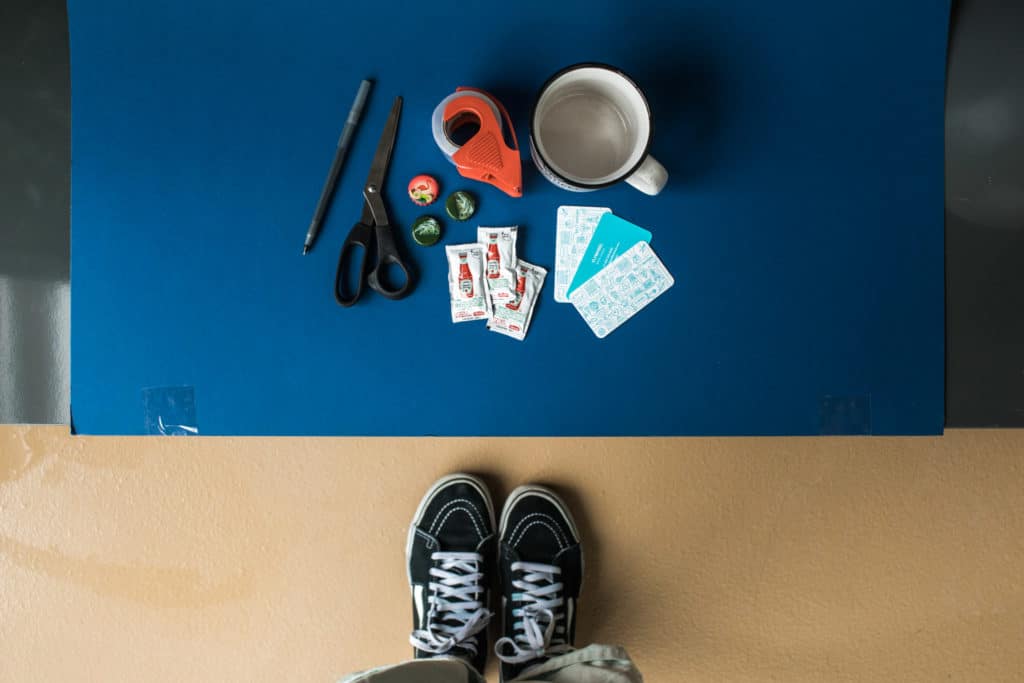
In addition to the odds and ends mentioned above, a few other things to have on hand when shooting:
- Tape
- Scissors
- Dust cloth
You don’t have to be a professional photographer to shoot your own work. The best way to do it is to take those designs and portfolio-worthy work, dust ‘em off, set a scene, choose your theme, change your perspective, focus, and just like that—you’ll have beautiful new images for you social accounts, print portfolio, or website. Don’t let your work stay stashed away in the archives—show the work you want to do!