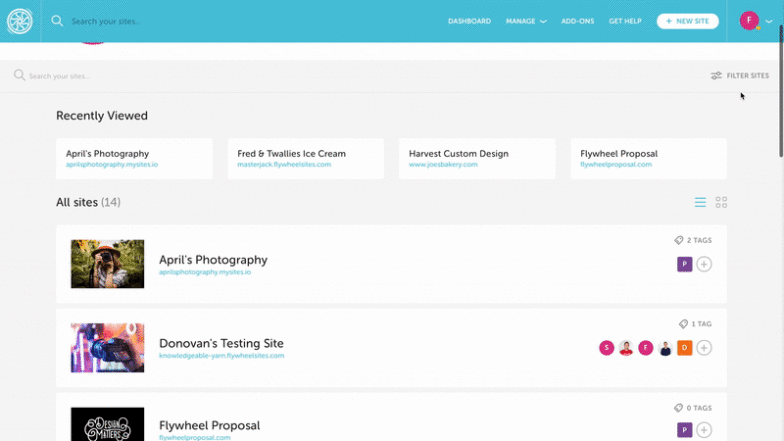
We’ve been on a mission to make it easier to sort through all your sites, which started with the ability to search and filter from the dashboard. Today, we’re excited to take that one step further by giving you the power to group your sites however you like with custom site tags!
Here’s how it works:
Add tags to your sites from the dashboard
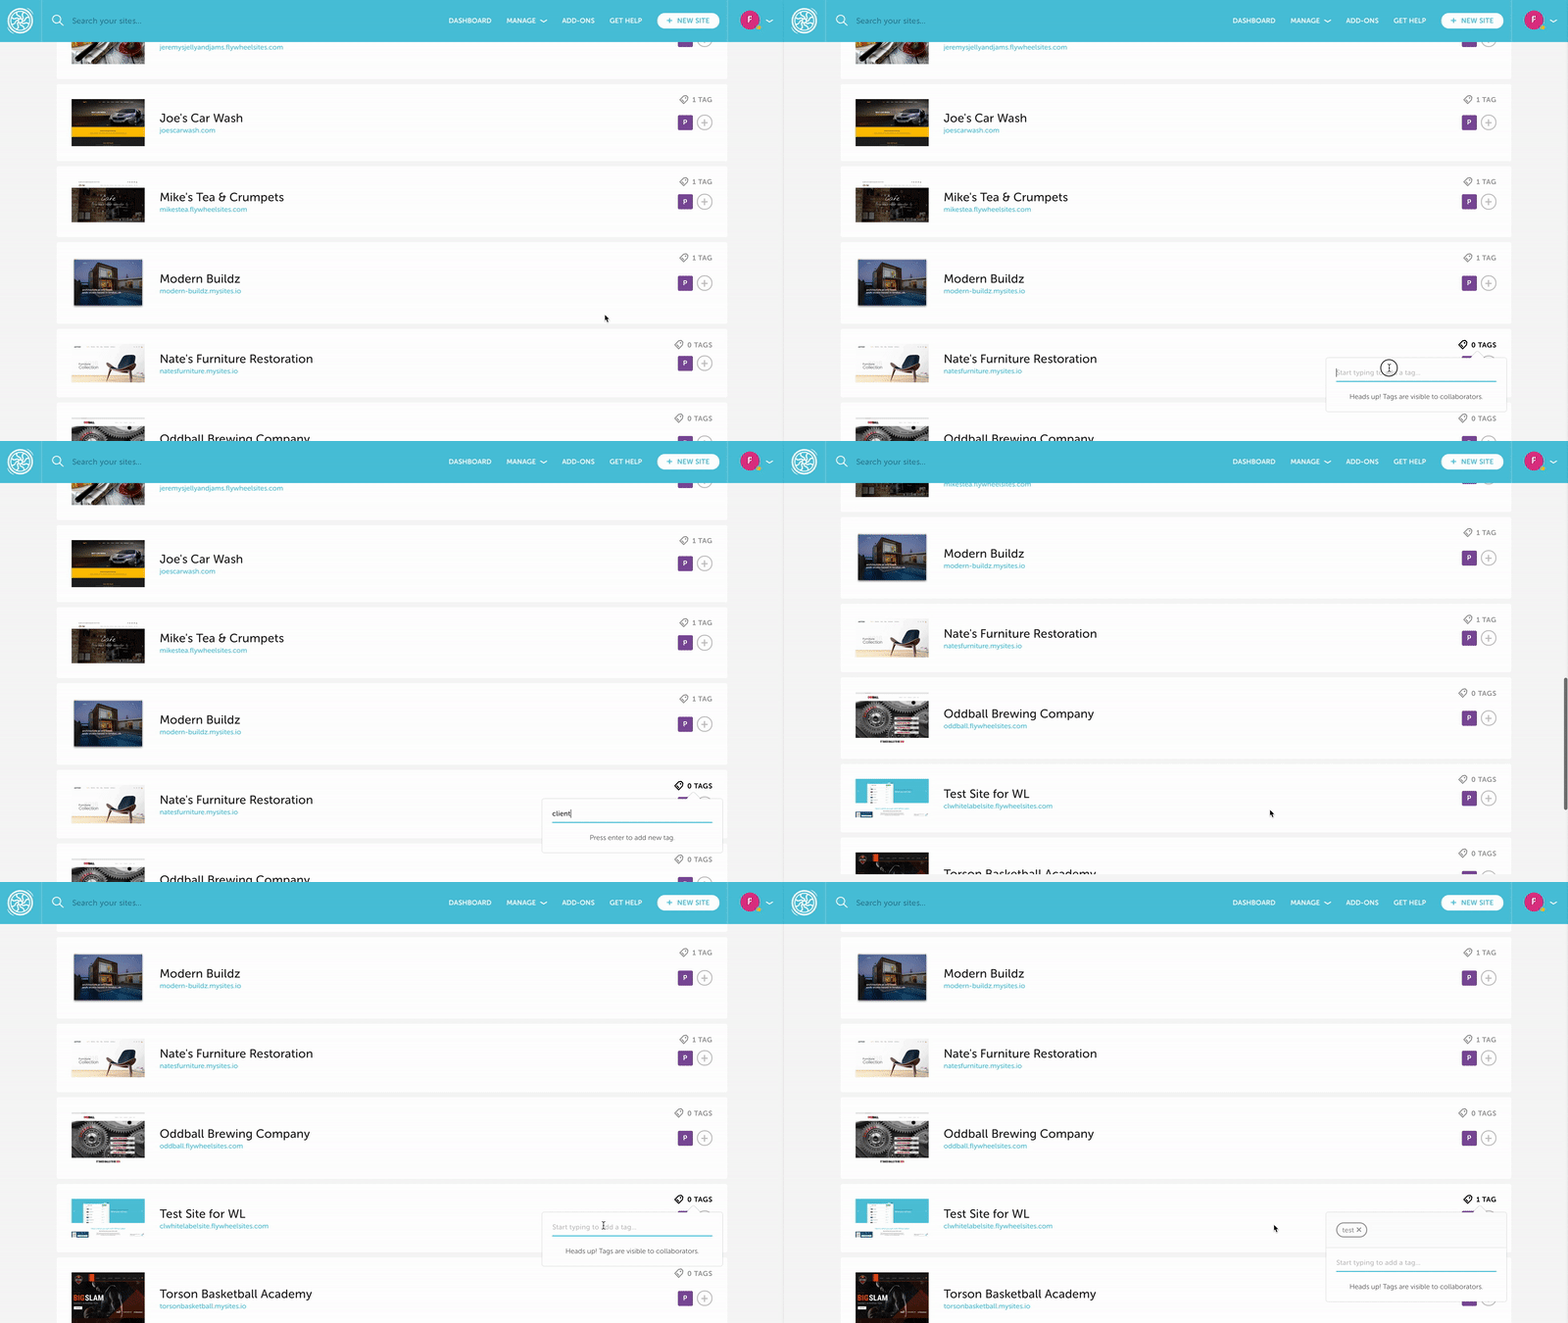
From the dashboard, you can start tagging your sites with up to six custom tags by using the “Tags” feature in the top right of the site card. If a tag exists that matches your search, you’ll see it right away.

In addition to adding tags from the dashboard, you can also add tags from within a specific site. The experience is the same, allowing you to optimize your site organization wherever you might be in the Flywheel app. Tags are also shared between site collaborators, so you’re all on the same page!
Filter by tags you’ve created
After you’ve created a tag, you’ll be able to filter by it to see any sites it’s attached to. You can even filter by multiple tags, giving you a lot of control when searching through your sites!

Useful ways to use site tags
I’m sure you’re already pondering all the great possibilities of site tagging, but to help you get the most of this dashboard update, I wanted to share a few ways some of our beta customers have used tags!
Some popular site tags have included:
- Development stages, such as “Design,” “Development,” or “Production”
- Labels for client sites vs internal sites
- Business or client type
- Account type, such as “Managed,” or “Unmanaged”
- Plugins being used (which helped a customer identify sites affected by a plugin hack!)
- Services, like “Plugin updates”
Whether you have 5, 50, or 500 sites on Flywheel, site tagging allows you to instantly filter your sites to the ones you need right from the dashboard. You’re in full control of your tags, and we’re excited to see what you do with them!
