
Design
How to fix bad design

It happens a lot—a client wants to update a very old flyer, brochure, or some other design. There’s bad kerning, widows, orphans, distorted logo, pixelated images, incorrect information, an abundance of typefaces, maybe even Comic Sans. It’s likely they only have a hard copy, and you’ll be working from scratch or their digital copy is in Microsoft Word.
Still, this is one of my favorite parts about being a designer. I like to dive in, reorganize, and clean up everything. And I’ve noticed that there are typically a handful of components weighing down and keeping an old design from its full potential.
When you’re faced with the same situation, I have a few tips for cleaning up and reorganizing that bad design.
Find the primary information
First, I like to read through and distinguish the primary information. I make sure I’ve answered the who, what, where, when, why, and how of the design. I digest information from the old copy, and I pay attention to old brand elements, such as an image or an illustration. I also like to decipher from this information a hierarchy of where I want to draw attention first.
Research the client, especially branding
I research every time I work, especially when I’m updating a bad design. Even if I’ve previously studied the current client, project, or medium, I research again because you never know what you’ll discover or where inspiration will strike.
Hopefully your client has a brand book with guidelines about how they’d like you to portray their brand. A brand book is incredibly helpful when it comes down to consistency and efficiency; a lot of the important choices will have already been made, such as typeface, grid, colors, and so on. However, if the client doesn’t have a brand book, I’ll use another one of their designs as a reference.
Determine your layout
Almost always, I begin the redesign by removing the elements that are unimportant, such as a border, images, and copy. I don’t delete any of the elements, I just remove them from the spread—they may help me later on. With only the primary information on the spread, I start fresh.
If the client’s brand book has a grid, I’ll use that to start the layout. If not, I start by looking at the spread and ask some questions:
- What size is the previous design?
- Are we changing the dimensions for the new design?
- Do I want to use a grid?
- If so, what kind of grid do I want to use?
- How much space is the primary information going to take up?
- How much white space do I want to have?
These help me map out an overall layout in my head, and I keep note of the hierarchy for the primary information.
Isolate the mandatories
Mandatories are the necessary brand information that must be on every digital or printed item for the business. This may vary by case but will probably include a logo, date, call-to-action, fine print, trademark or copyright symbol, tagline or slogan, and an expiration date (if applicable).
Pay attention to copy
This is a tough one. As a designer, you’re not hired to spell-check, proofread, check for typos, or perform other editorial tasks. We’re actually programmed to look at things visually, so quite often reading the content gets overlooked.
However, I studied both graphic design and public relations and advertising in college, so I have a tendency to focus on both. How much I focus on the design’s copy depends on the clients resources. Typically, I work on the design and proofread as I go. However, if I find an error, I’ll make a note of it and bring it to the client’s attention. Before I send the design off to a client, I check the copy for widows and orphans, and I balance ragged lines as best I can.
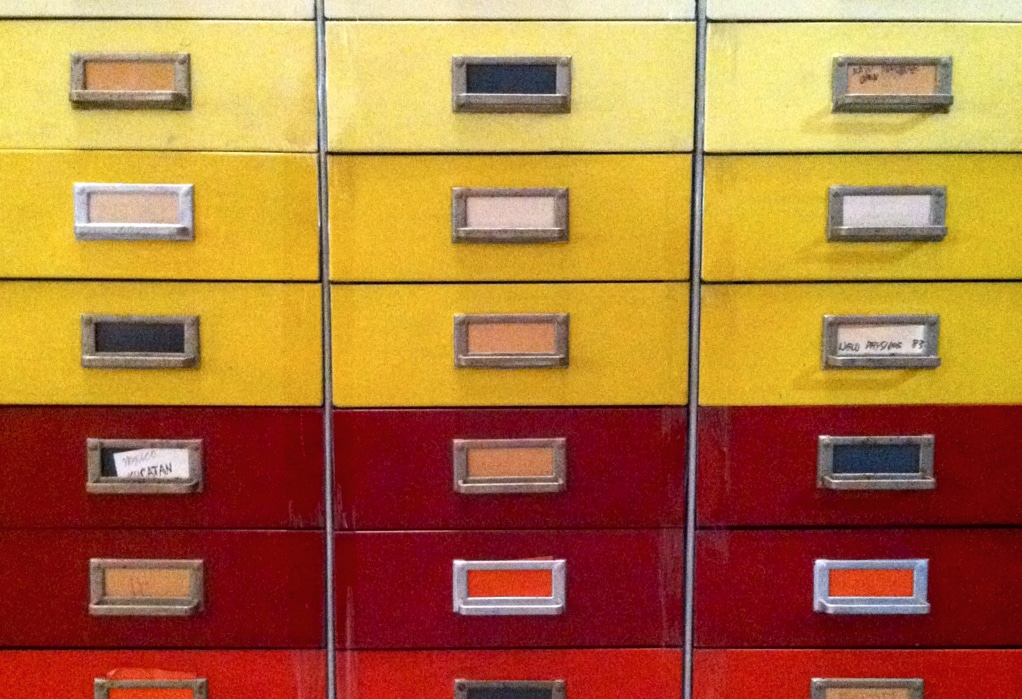
Choose just a few colors
Consolidate colors to a singular motive. If you’re working out of a black-and-white realm, focus on the brand colors or message of the project.
Colors shouldn’t be overwhelming. They should emphasize the design’s primary information by complementing and contrasting. For example, I will use the strongest color to draw attention to the primary information and one or two complementary colors to insinuate the secondary information. Eliminating unnecessary colors will bring focus to the important information and deliver the message quicker.
Maximize white space from the beginning

The use of white space may be the most common battle between clients and designers. What I’ve found to work best is to have as much white space as possible in the very first mock up. I haven’t quite deciphered why this works, but it may be the shock factor. The client wasn’t envisioning that much white space and immediately they don’t like it, but doing that first—knowing there will be revisions—you can find a happy medium.
Quality. Imagery. Only.
Imagery can go a long way in communicating the vision of a brand. Of course, you’ll do more damage with a pixelated image than good. If there simply isn’t imagery on hand that clearly has a purpose for being there, then I go with more white space. The white space will emphasize the focus on the primary information.
Don’t forget about other visual elements in the absence of images. I repeat elements throughout the design to maintain consistency, like shapes, colors, lines, spacing, and typefaces.
I hope my go-to process helps, but I’m curious. Do you have any tips or tricks you fall back on when you’re fixing bad design?


Comments ( 2 )
Index Home
July 6, 2025
Thank you, your article surprised me, there is such an excellent point of view. Thank you for sharing, I learned a lot.
Binance Sign Up Bonus
June 15, 2025
Your point of view caught my eye and was very interesting. Thanks. I have a question for you.