
Design
How not to stress over printing your designs

Designing for the web is stressful enough, but there are those special projects that you want to take to the next level; a logo so gorgeous it has to be a poster, for example.
But when a designer has to click Send to Printer, it’s like cliff diving. It’s most likely safe, but it’s really, really terrifying because of that tiny chance it could all go to hell. There’s so much riding on that one click that we might need a hand to hold (or someone else to do the clicking).
I’m not sure I can help ease the anxiety because I’m still trying to figure that out myself, but I’ve compiled a list of tips for printing a prized project. Note that these are all based on printing an InDesign project.
Understand your selected printer’s guidelines
Choosing a printer is the first step. I recommend communicating with your printer about these project details before you even begin your design:
- Color or black and white
- Dimensions
- Glossy or matte
- Paper weight
- Special details
- Quantity
- Due date
After going over the details of the project, both the printer and I will have an understanding of the timeline and can adjust accordingly. The printer will also be able to provide me with an estimate for the total cost. For a more complex project, I’ll occasionally rely on my printer to help me decide the details for what will work out best on that specific project.
I also like to go over the bleed and slug with the printer before I design—it’s a minor detail that helps me set up the document. I’ve found the common bleed for printers is .125 inches, so I default to that whenever I start a new design.
The main purpose of a bleed is to save the print from having a white border or any white lines outside of the poster, offsetting the design. It’s pretty minor on the scale of things to watch out for when printing. I’ve only used the slug when there are specific instructions I want the printer to know, such as a special cut or instructions on the ink.
If at any point during the design process I have a question or idea pertaining to the printing, I’ll contact the printer to run it by them first. This goes a long way in preventing any hiccups toward the end of the project.
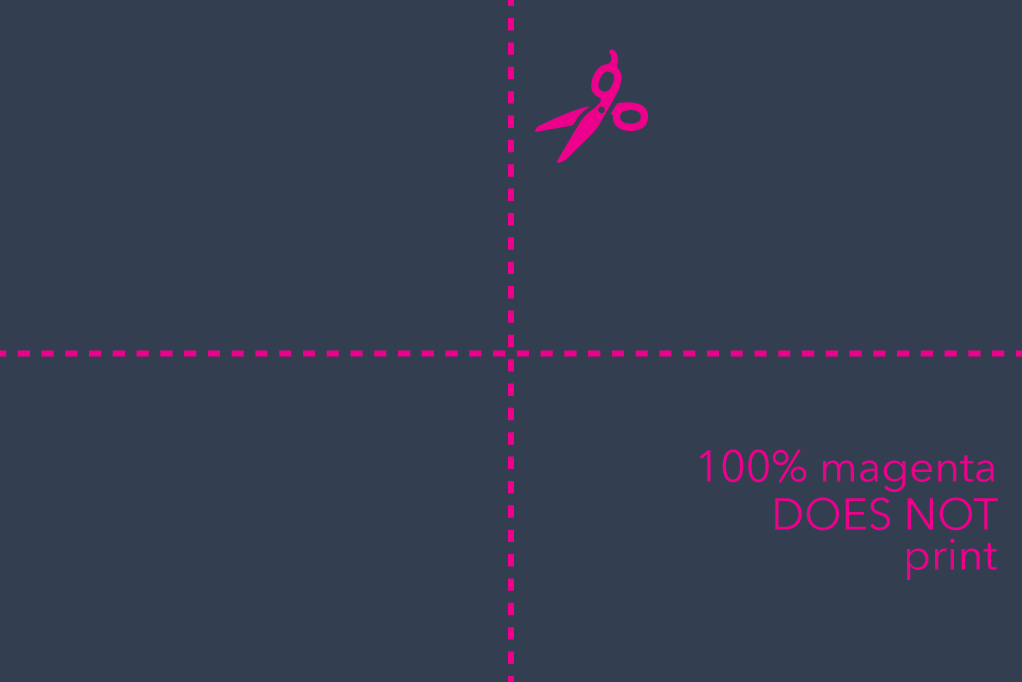
Add a layer with printing instructions
I like to make a top layer in my design project specifically for printing instructions and label it 100% magenta DOES NOT print. This way the only objects on the top layer use either a fill or stroke color of 100% magenta. These instructions inform the printer where they should cut, trim, or crop the project.
Use high-quality images but keep in mind the final size of the print
I’ve heard a few different opinions on the best way to print images in a project, but I’ll tell you what I prefer. I like to have all of my images and graphics at 300 dpi and use the highest quality image I can find when I print the final piece.
Of course, if the highest quality image is 156 MB but is only being printed at 5×7 inches, then I will downsize the image. This helps the image printer faster, saves the file size from being too large, and as a result this allows the file to be transferred quicker.
Get proofing from a variety of people in a variety of departments
Print a quick version on your standard office printer. It doesn’t have to be the actual size of your finished project—just big enough so you can easily read the copy.
Proof it yourself, then have another set of eyes look it over until someone has an edit, because there will be edits. Make the edits, repeat until you feel confident in its accuracy and polish, then print one last proof at actual size. Have as many people edit the proof that you feel are necessary, and then have two more.
I also recommend having proofreaders that are in different departments, like accounting, computer programming, finance, etc. if they are available. This helps because each department will approach things in a different way, which means there’s a greater chance one of them may catch something no one else did.
As soon as the final edits are made and the appropriate parties have approved the project, it’s time to send to the printer.
Properly package everything your printer needs
Lastly, I package the file. I make sure to copy the fonts, linked graphics, and an InDesign markup file so that my printer has everything they could possibly need to print my project correctly.
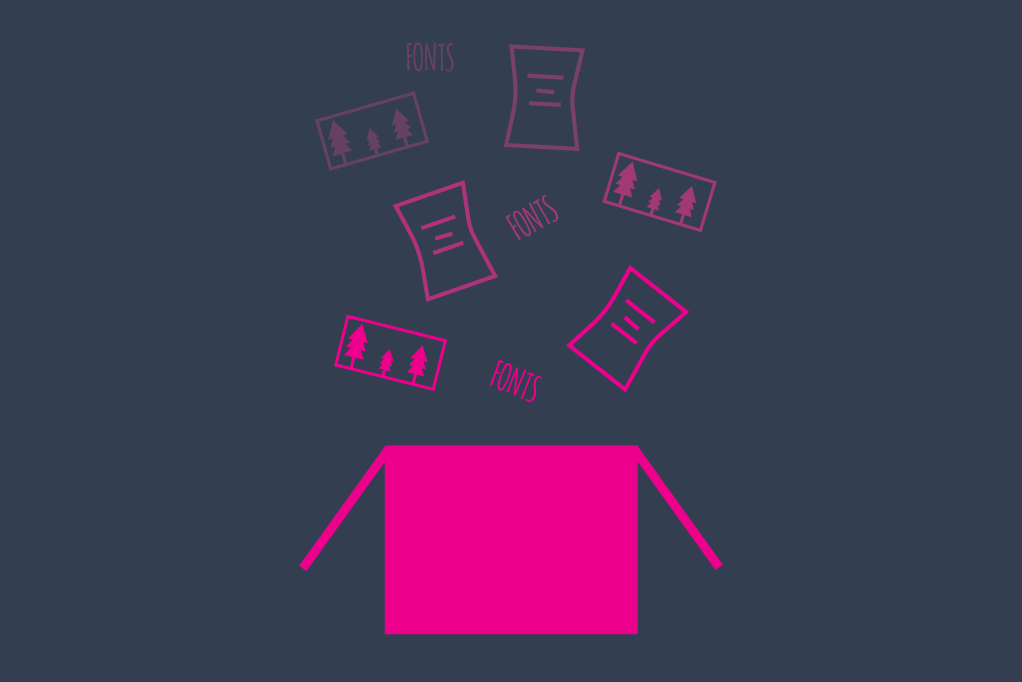
Create outlines of the project’s copy
This may, arguably, be the most important step prior to sending the documents to the printer. Creating outlines is right next to proofing. I always create outlines of the copy on every page to make sure the typefaces aren’t disturbed or manipulated at any point in the printing process.
Once the outlines are made, I export the document to a PDF. Note that I save the project before creating the outlines. Once the outlines are created and the file is exported, I DO NOT save the file. It’s very important not to save the file after the outlines are created because the copy cannot be edited, the copy now acts as objects.
Let the printer know they can call you
Finally, I attach the PDF and packaged file, let the printer know to call me with absolutely any questions, take the final plunge, and click Send.
In the end, the best tip I could give anyone is to communicate with the printer. Communicate what you’re envisioning and ask questions. You’ll gain a better understanding of how your current project will look in print and gain inspiration for future projects.


Comments ( 1 )
Mark
February 12, 2015
Just read the article and was wondering if the specs have changed for printing? I've always made a .125" bleed as opposed to .0125". Not sure if this was a typo or if standards have changed with some printers? All the printers I deal with have .125" as a standard. I don't think I've ever changed fonts to paths on a project, unless it's a true type font or a headline for some reason. It seems like it would be a lot of work especially on a large brochure or something of that nature.