Growth Suite: Invoices
Here you can find all things invoice-related on Growth Suite. Please reach out to support if your question is not answered in this help doc!
Table of Contents:
Setting up invoices
- Select the client you’d like to bill and attach a site if applicable.
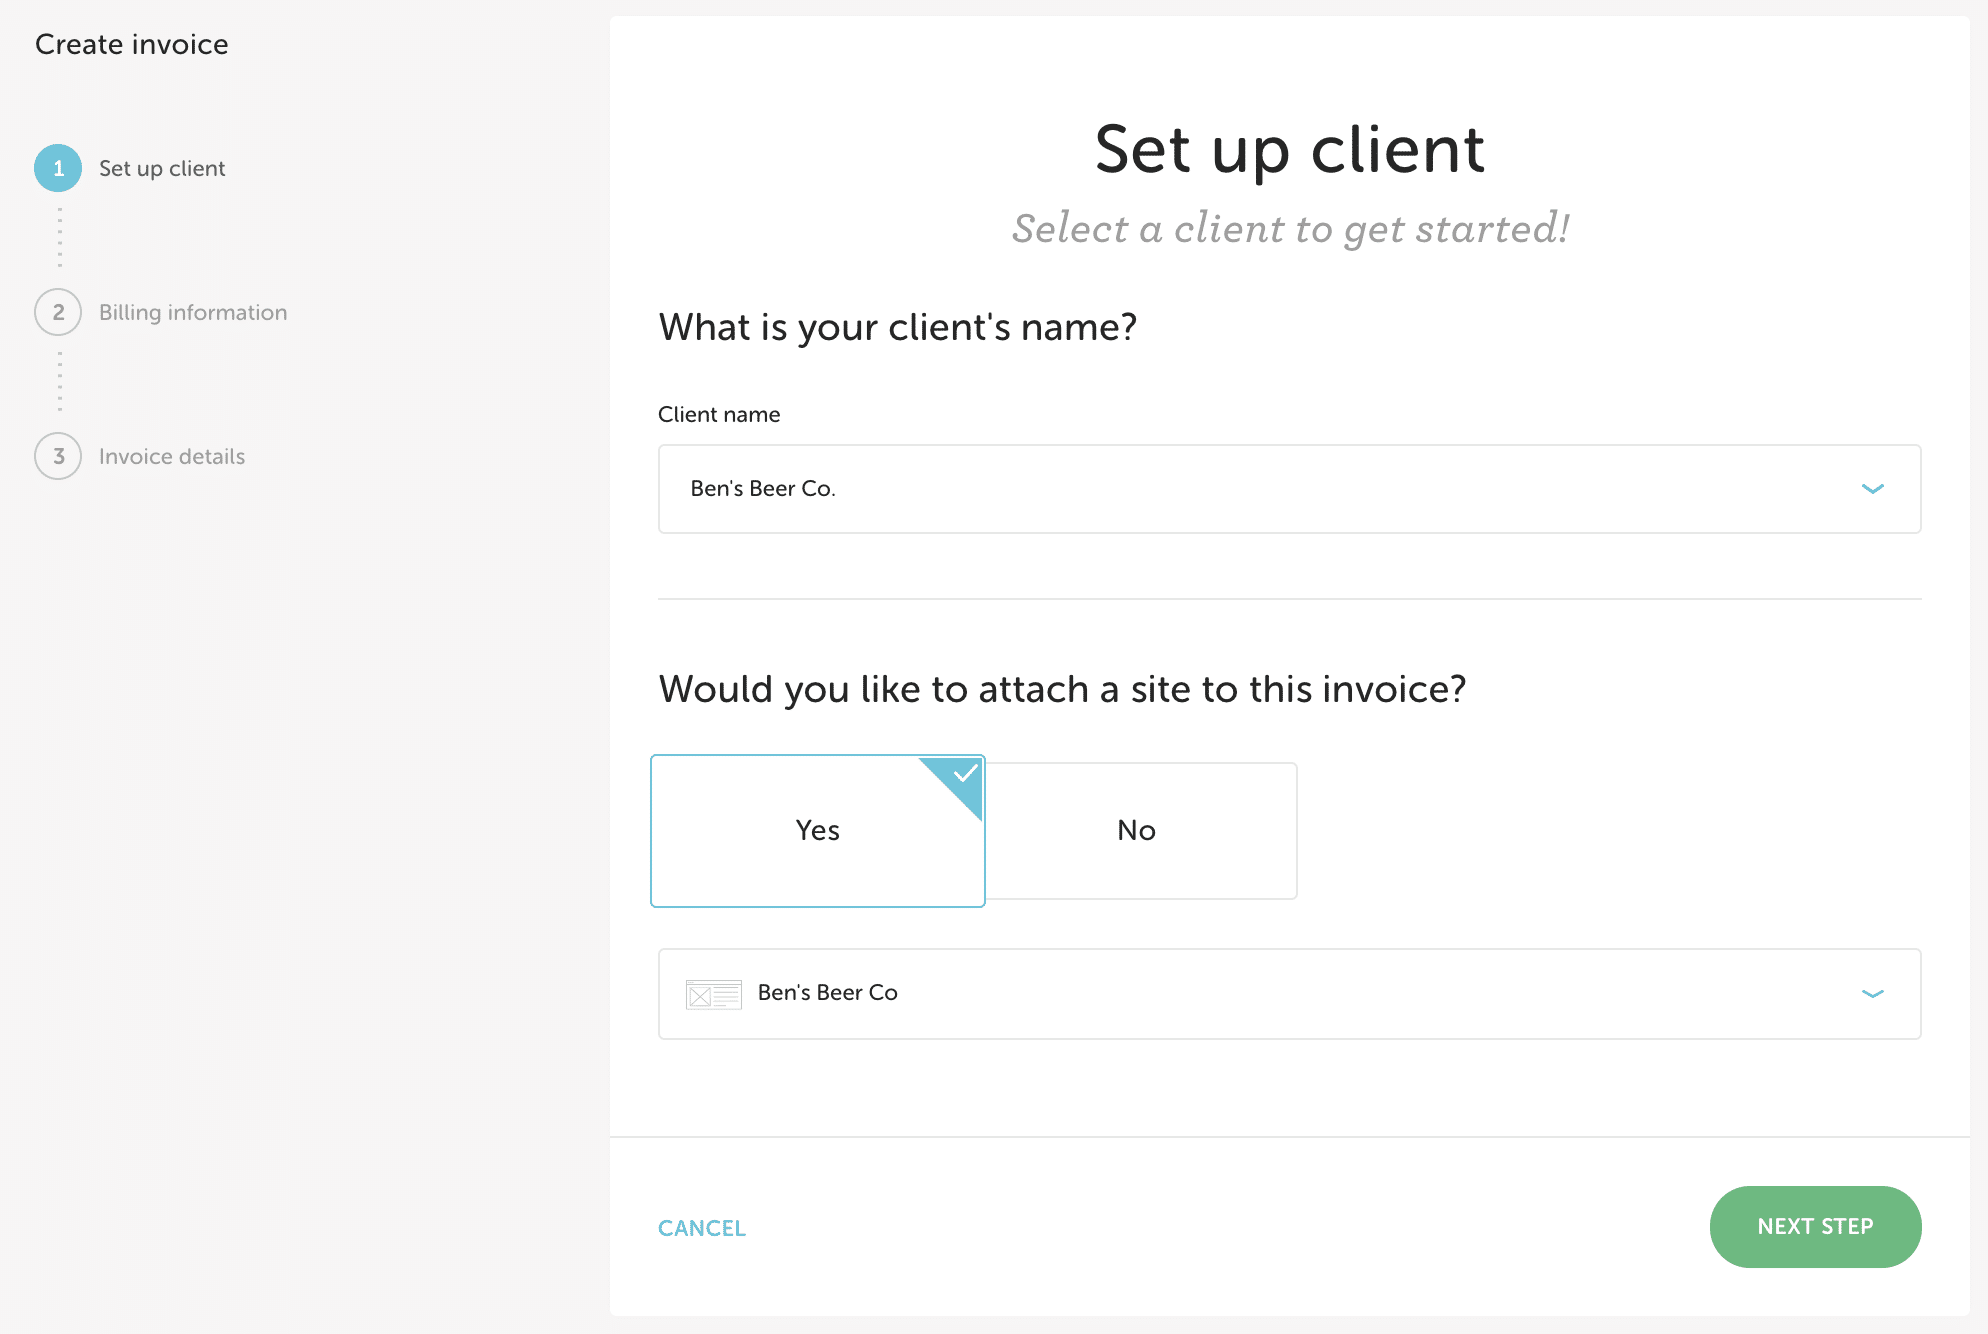
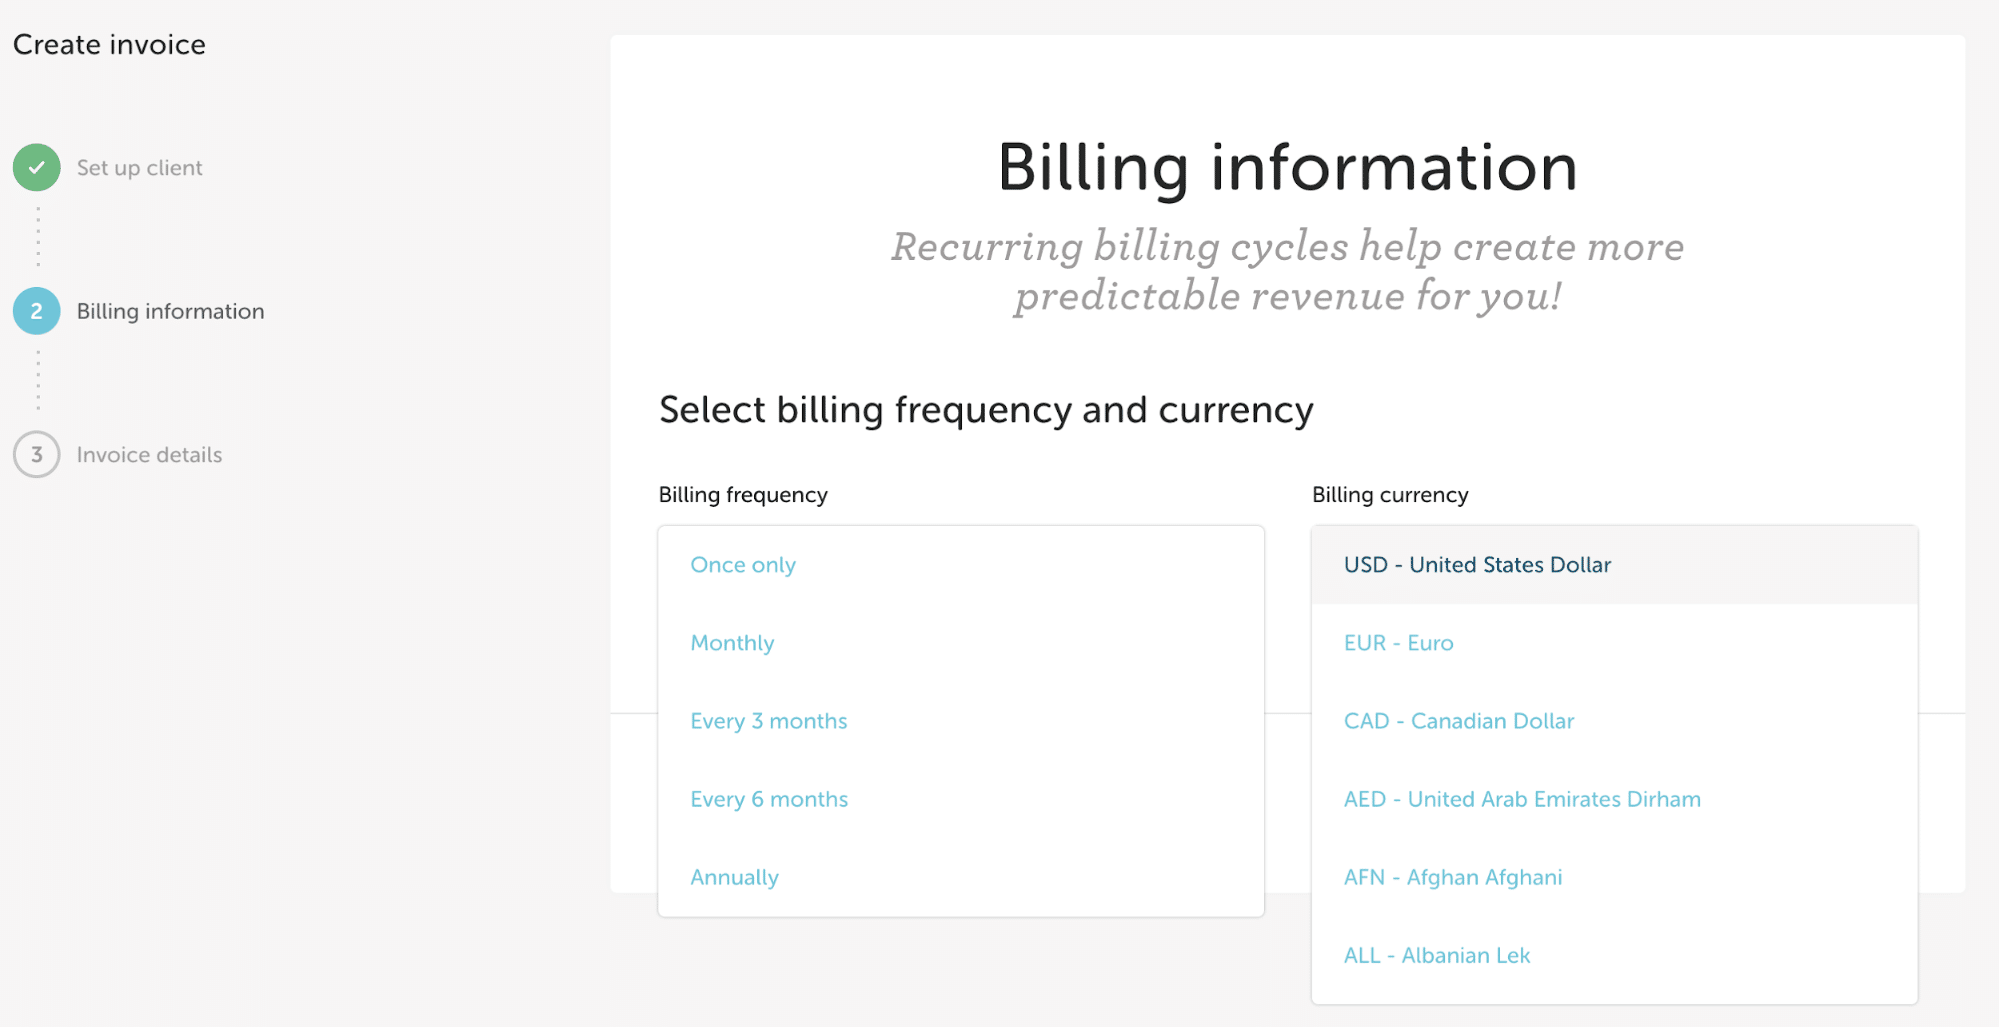
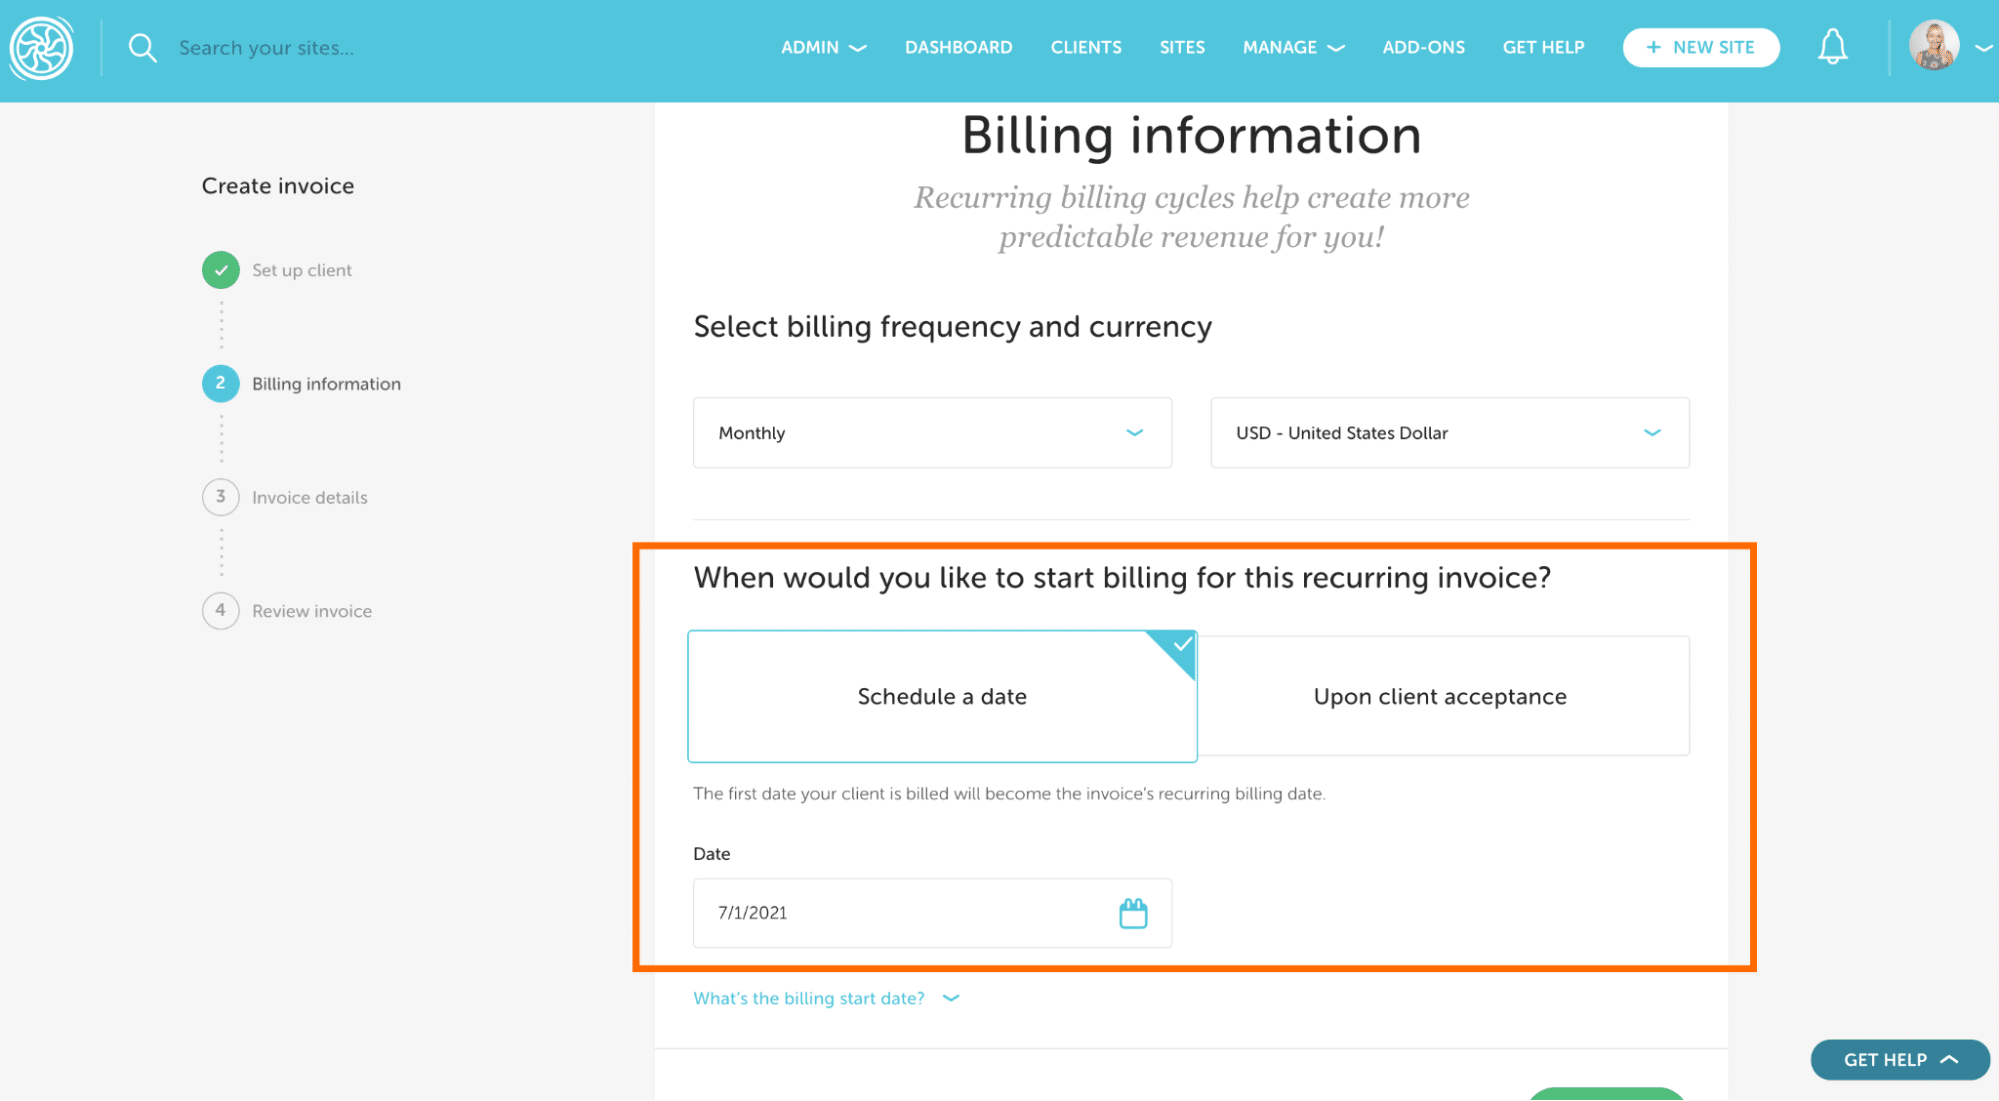
- Select the billing frequency of the invoice (one-time or recurring? If recurring, how often should your client receive their bill?) and currency (what currency will you be billing this particular client in?).
 Give the invoice a name. This will appear both on the invoice itself and in the email sent to your client (“Your invoice, [invoice name], is due”).
 - Next, add services. We recommend you use the services that you have set up in your service library to create predictable revenue, however, we understand that can’t always be the case. You can also add custom line items to the invoice (with or without a tier)!
Note
Not sure what a service is? Check out this help doc!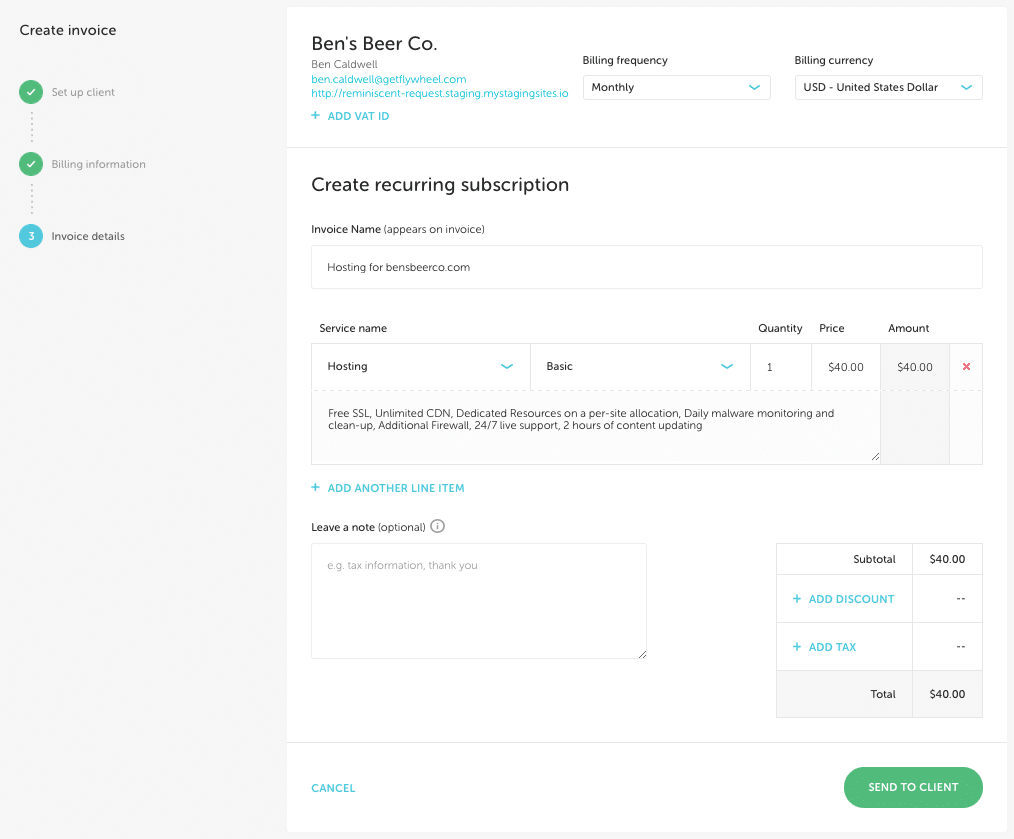
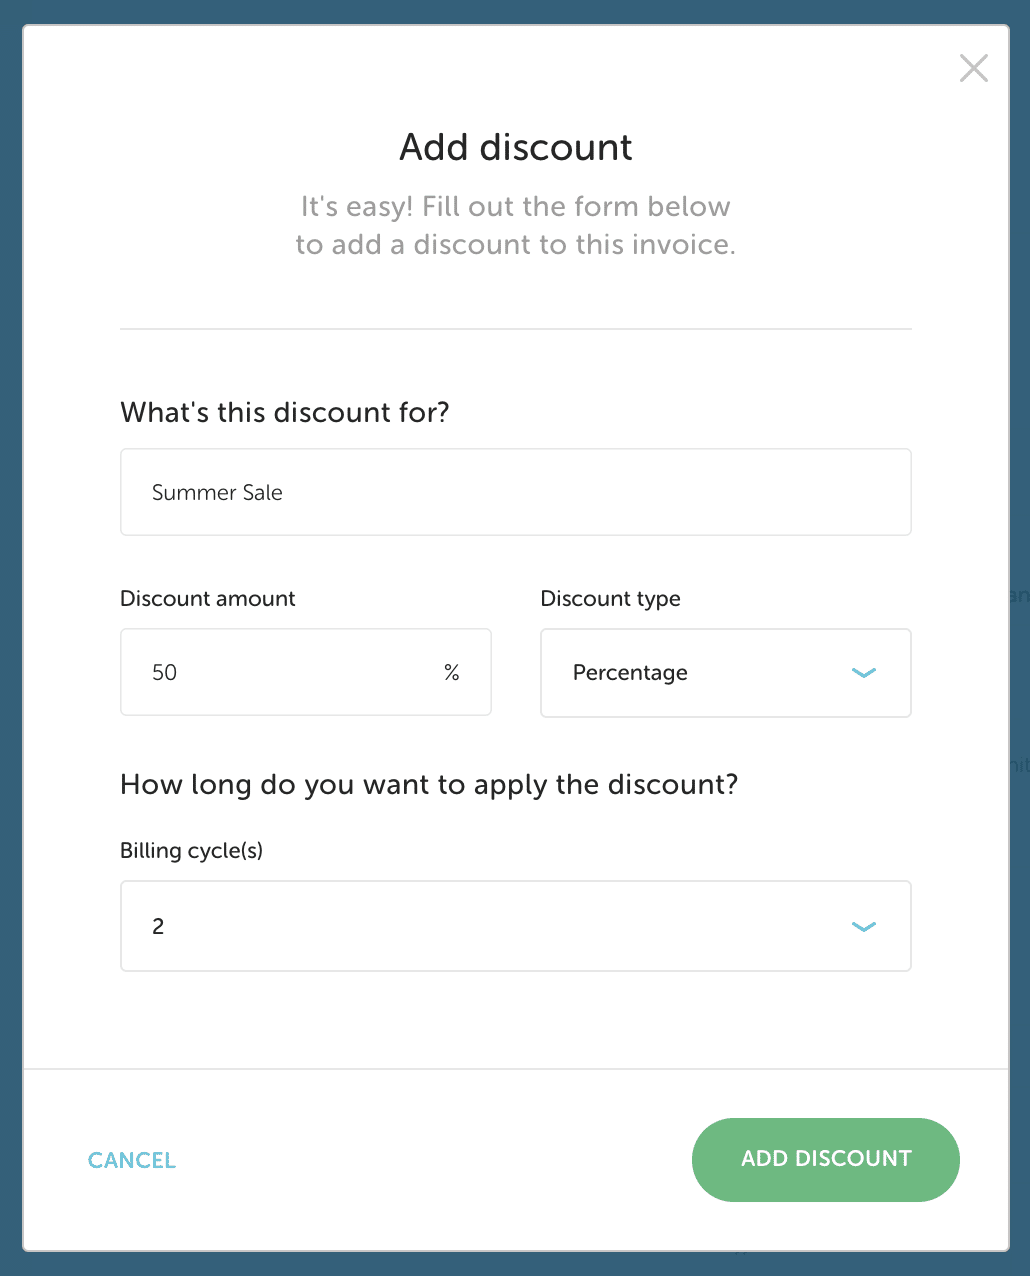
- Once the services have been added, you’ll have the option to add a discount. You can choose to add either a percentage or whole amount. Then, choose how many billing cycles you’d like the discount to be applied for.
Sales tax
You can also easily apply tax to the invoice. Tax will be applied to the post-discount invoice amount.
Submit the invoice to your client
Once you send the invoice to your client, they will receive an email inviting them to create an account in your client portal and accept the invoice.
Note
Curious what invoice emails look like? You can check out a preview of all the emails Growth Suite will send to your clients here:Check out our Invoices video:
Manually mark an invoice as paid
Occasionally, clients will pay by check or through an alternate billing software. When this happens, you can manually mark these invoices as “paid” within Growth Suite to avoid confusion.
Warning
This action cannot be undone, which means all future invoices for this subscription will need to be manually marked as paid. The only way to undo this action is to cancel that subscription and set up a new one.- On the Growth Suite dashboard, go to the client, find the subscription, and click Details.
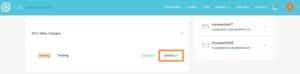
- From the 3-dot menu, select Mark as Paid.
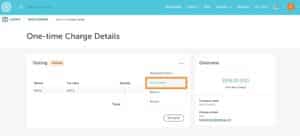
- Confirm that you’d like to mark the invoice as paid.
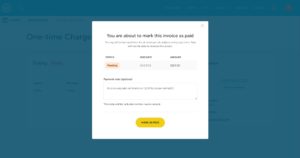
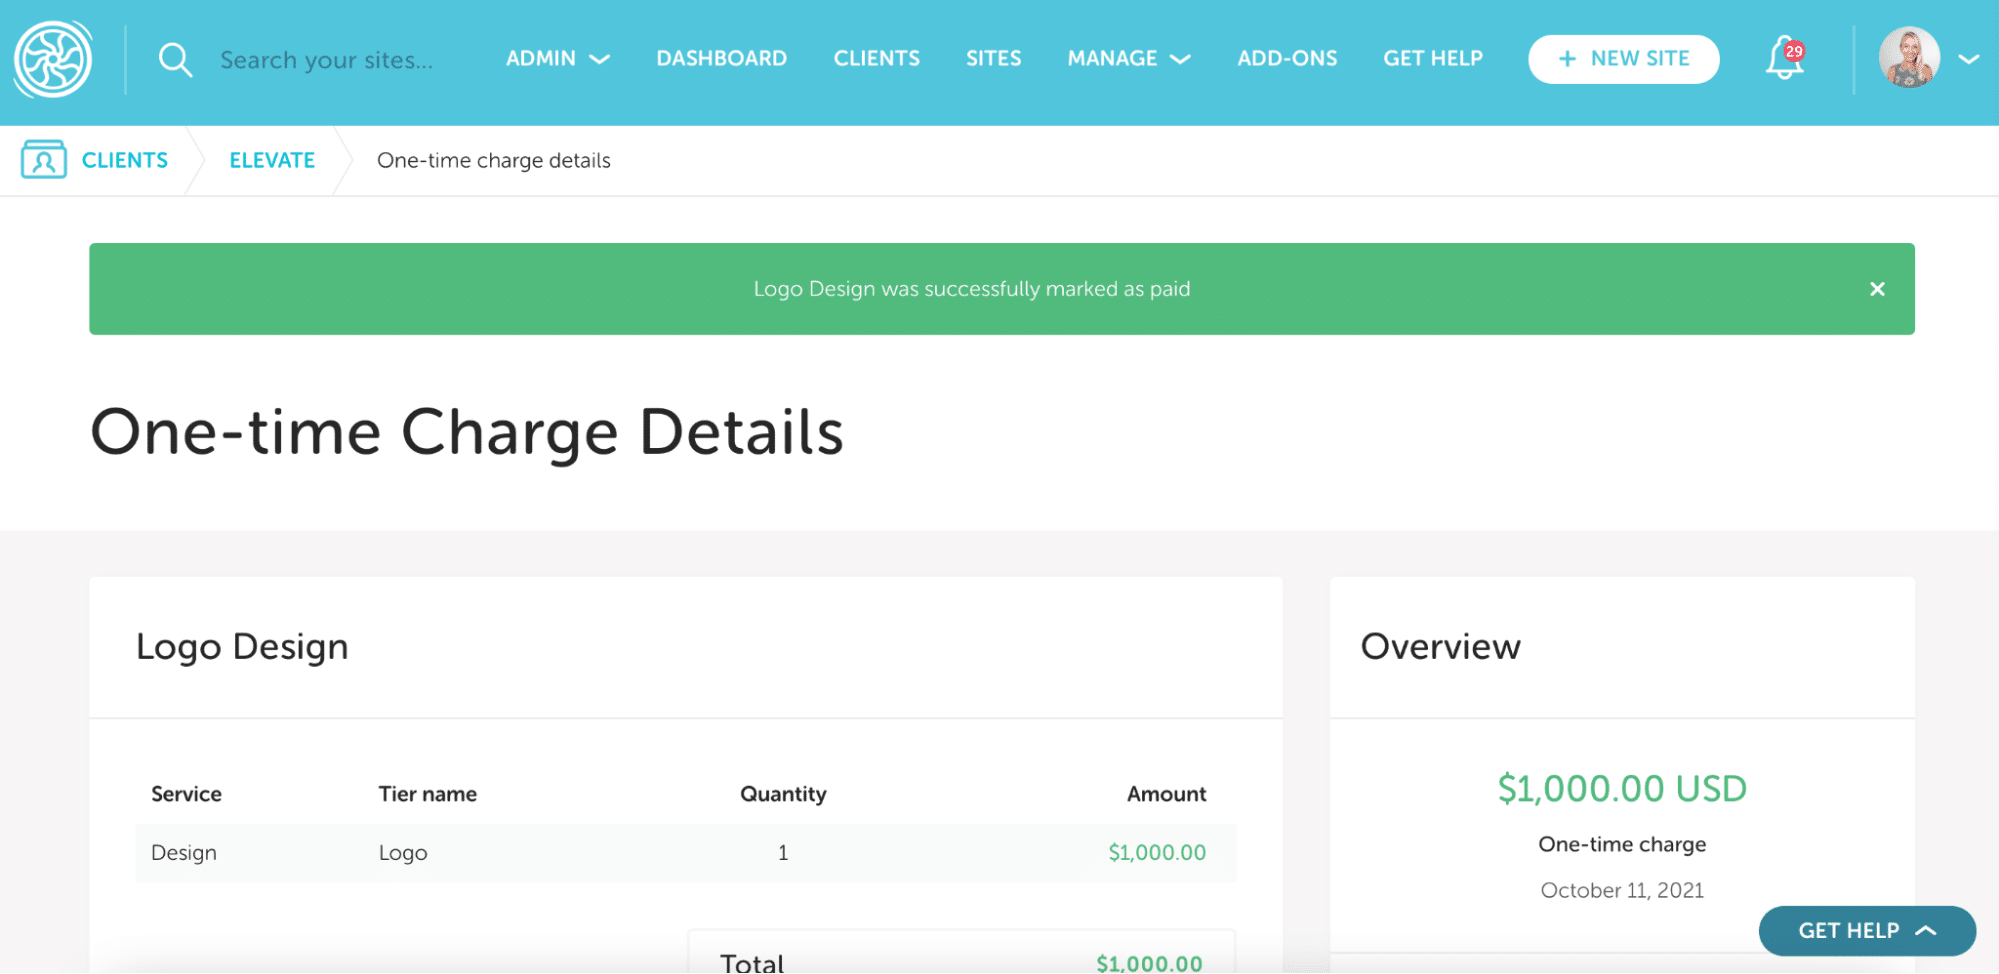
- That’s it! You’ve successfully marked the invoice as paid, and a receipt will be available in Billing History.
Note
Upon marking an invoice as paid, it counts towards your dashboard revenue calculations and projections, including your Average Revenue Per Client (ARPC), total revenue earned, and Monthly Recurring Revenue (MRR).There are numerous reasons why you or your clients may want PDF copies of invoices and receipts.
Perhaps you’d like to manually send your client a PDF invoice for a more personal touch, or your client may request a PDF receipt to pass on to their accounting department for approval. Of course, having receipts in PDF format on hand is good practice for general file keeping.
With Growth Suite, both you and your clients have access to PDFs of all upcoming and current invoices as well as previous receipts.
Download an invoice
- On the Growth Suite dashboard, go to the client, find the subscription, and click Details.
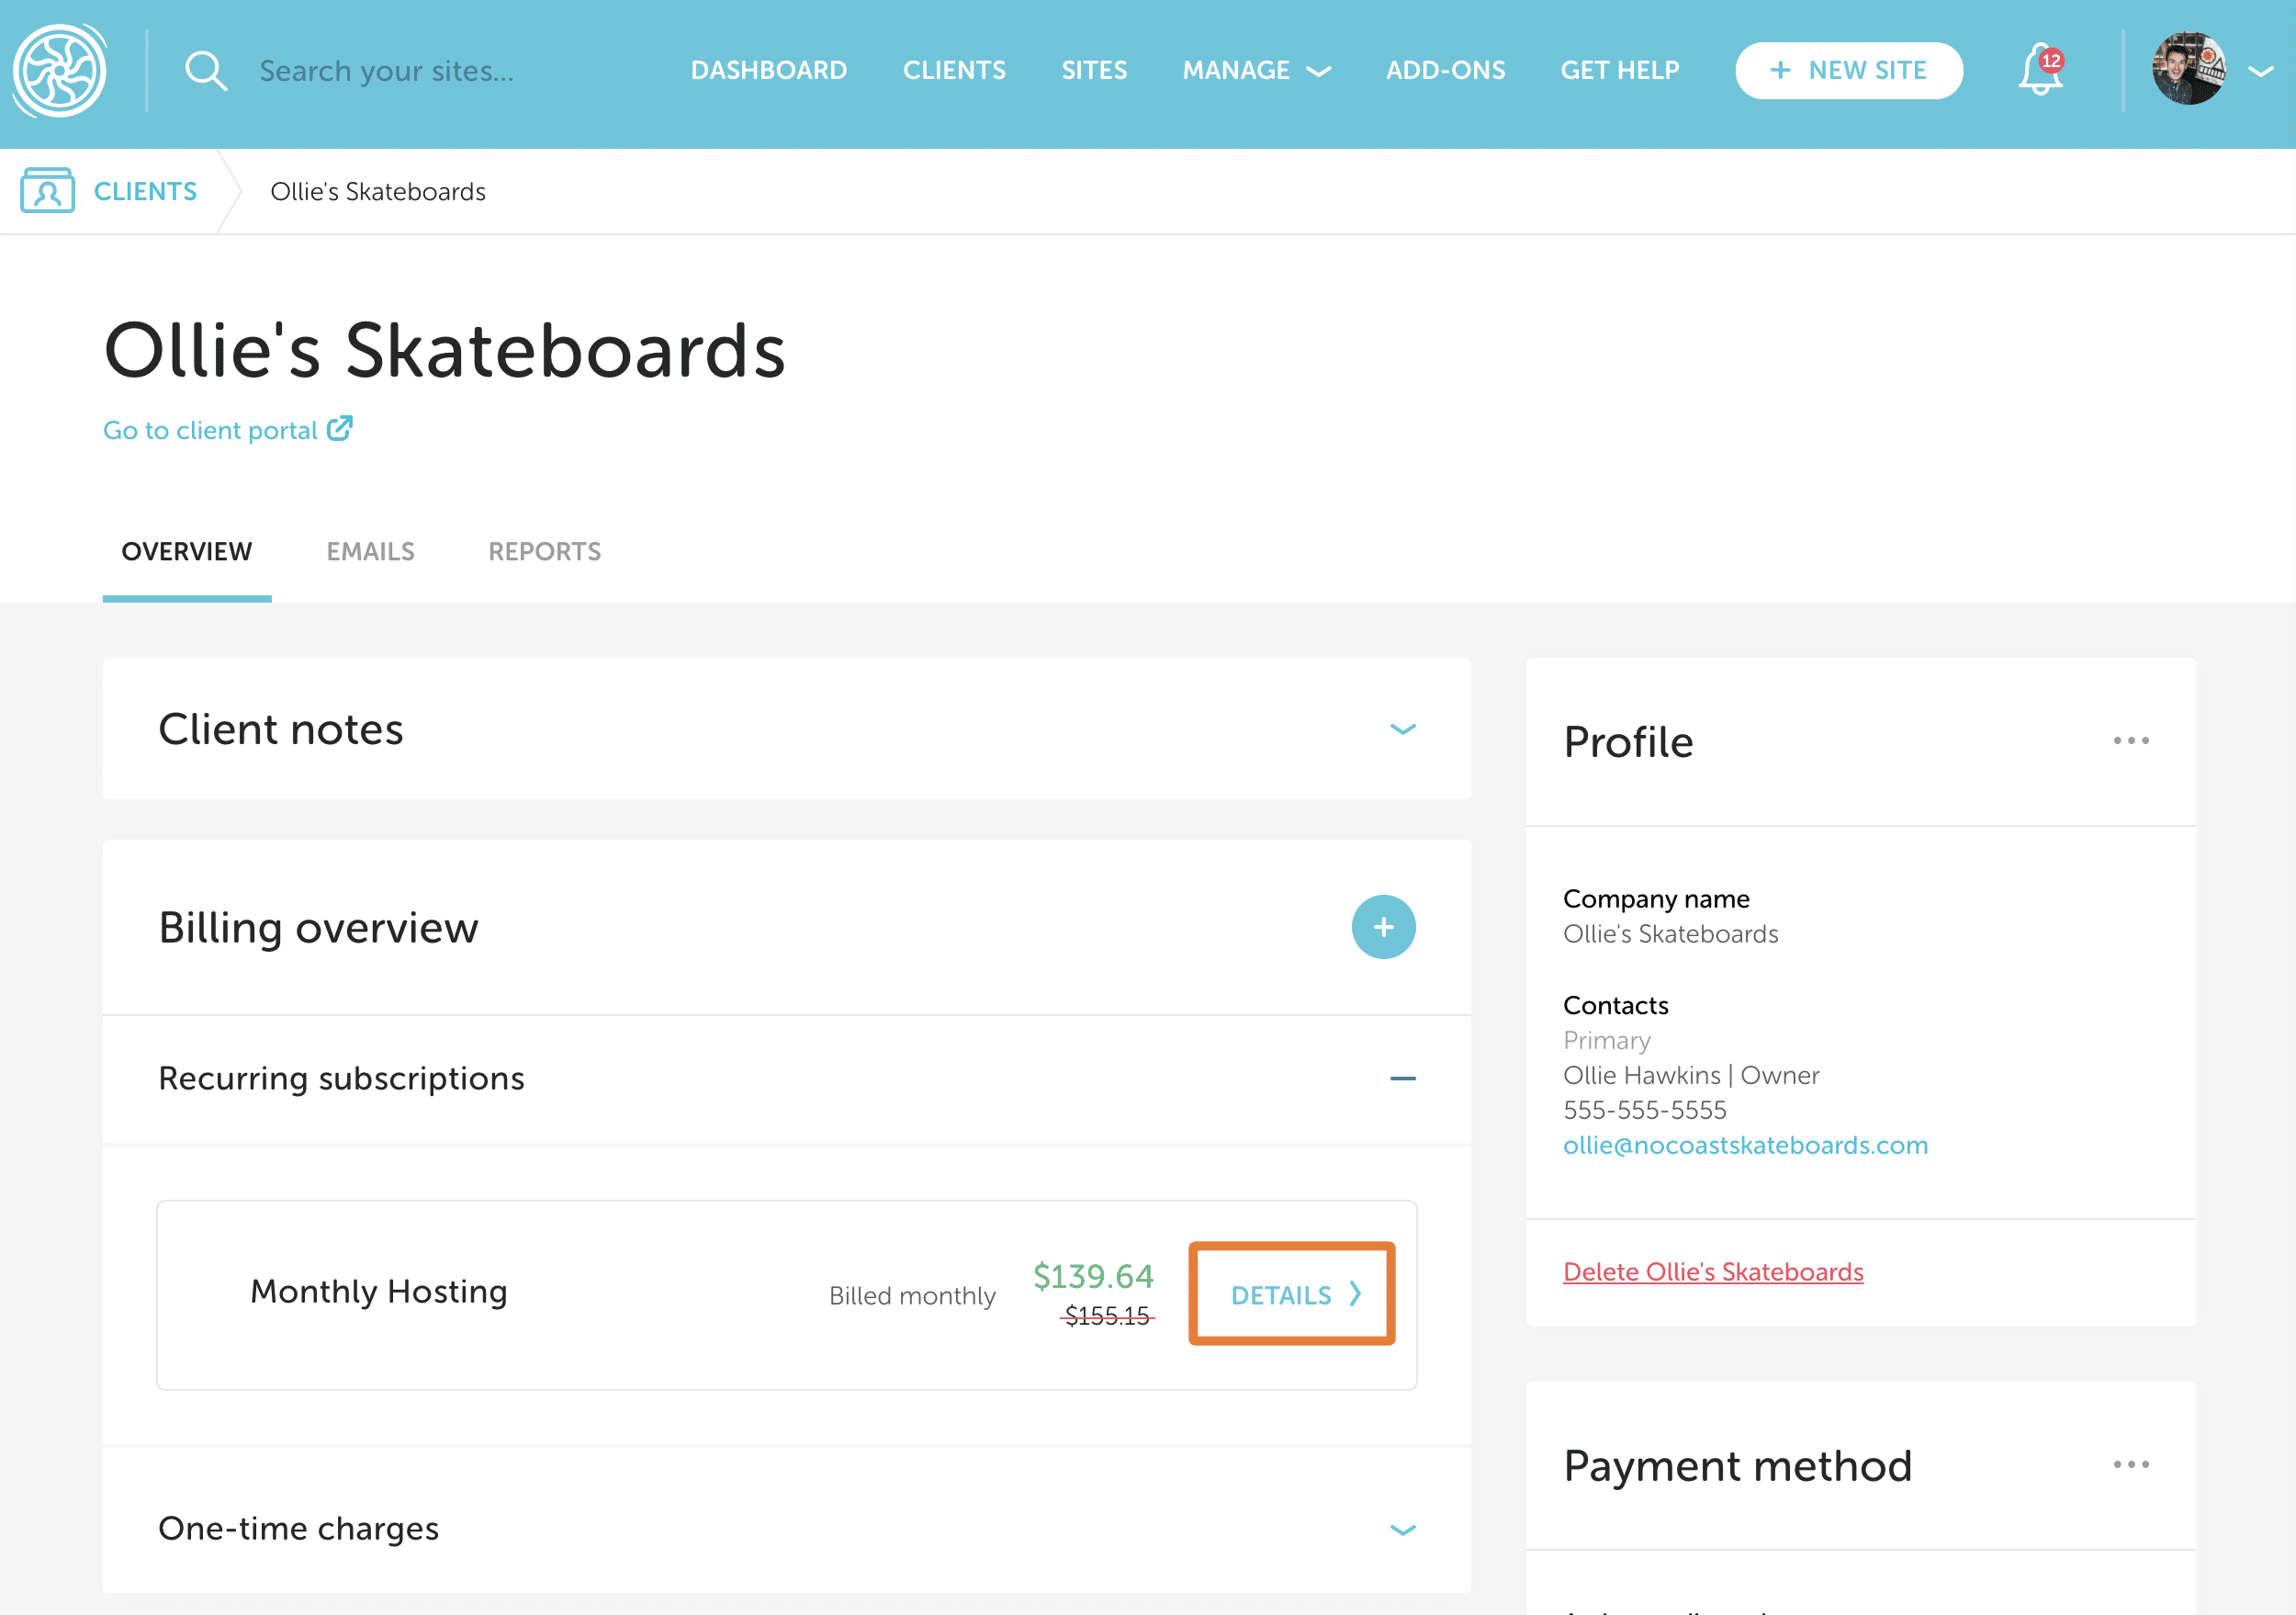
- Hover over the 3-dot menu and select Download Invoice.
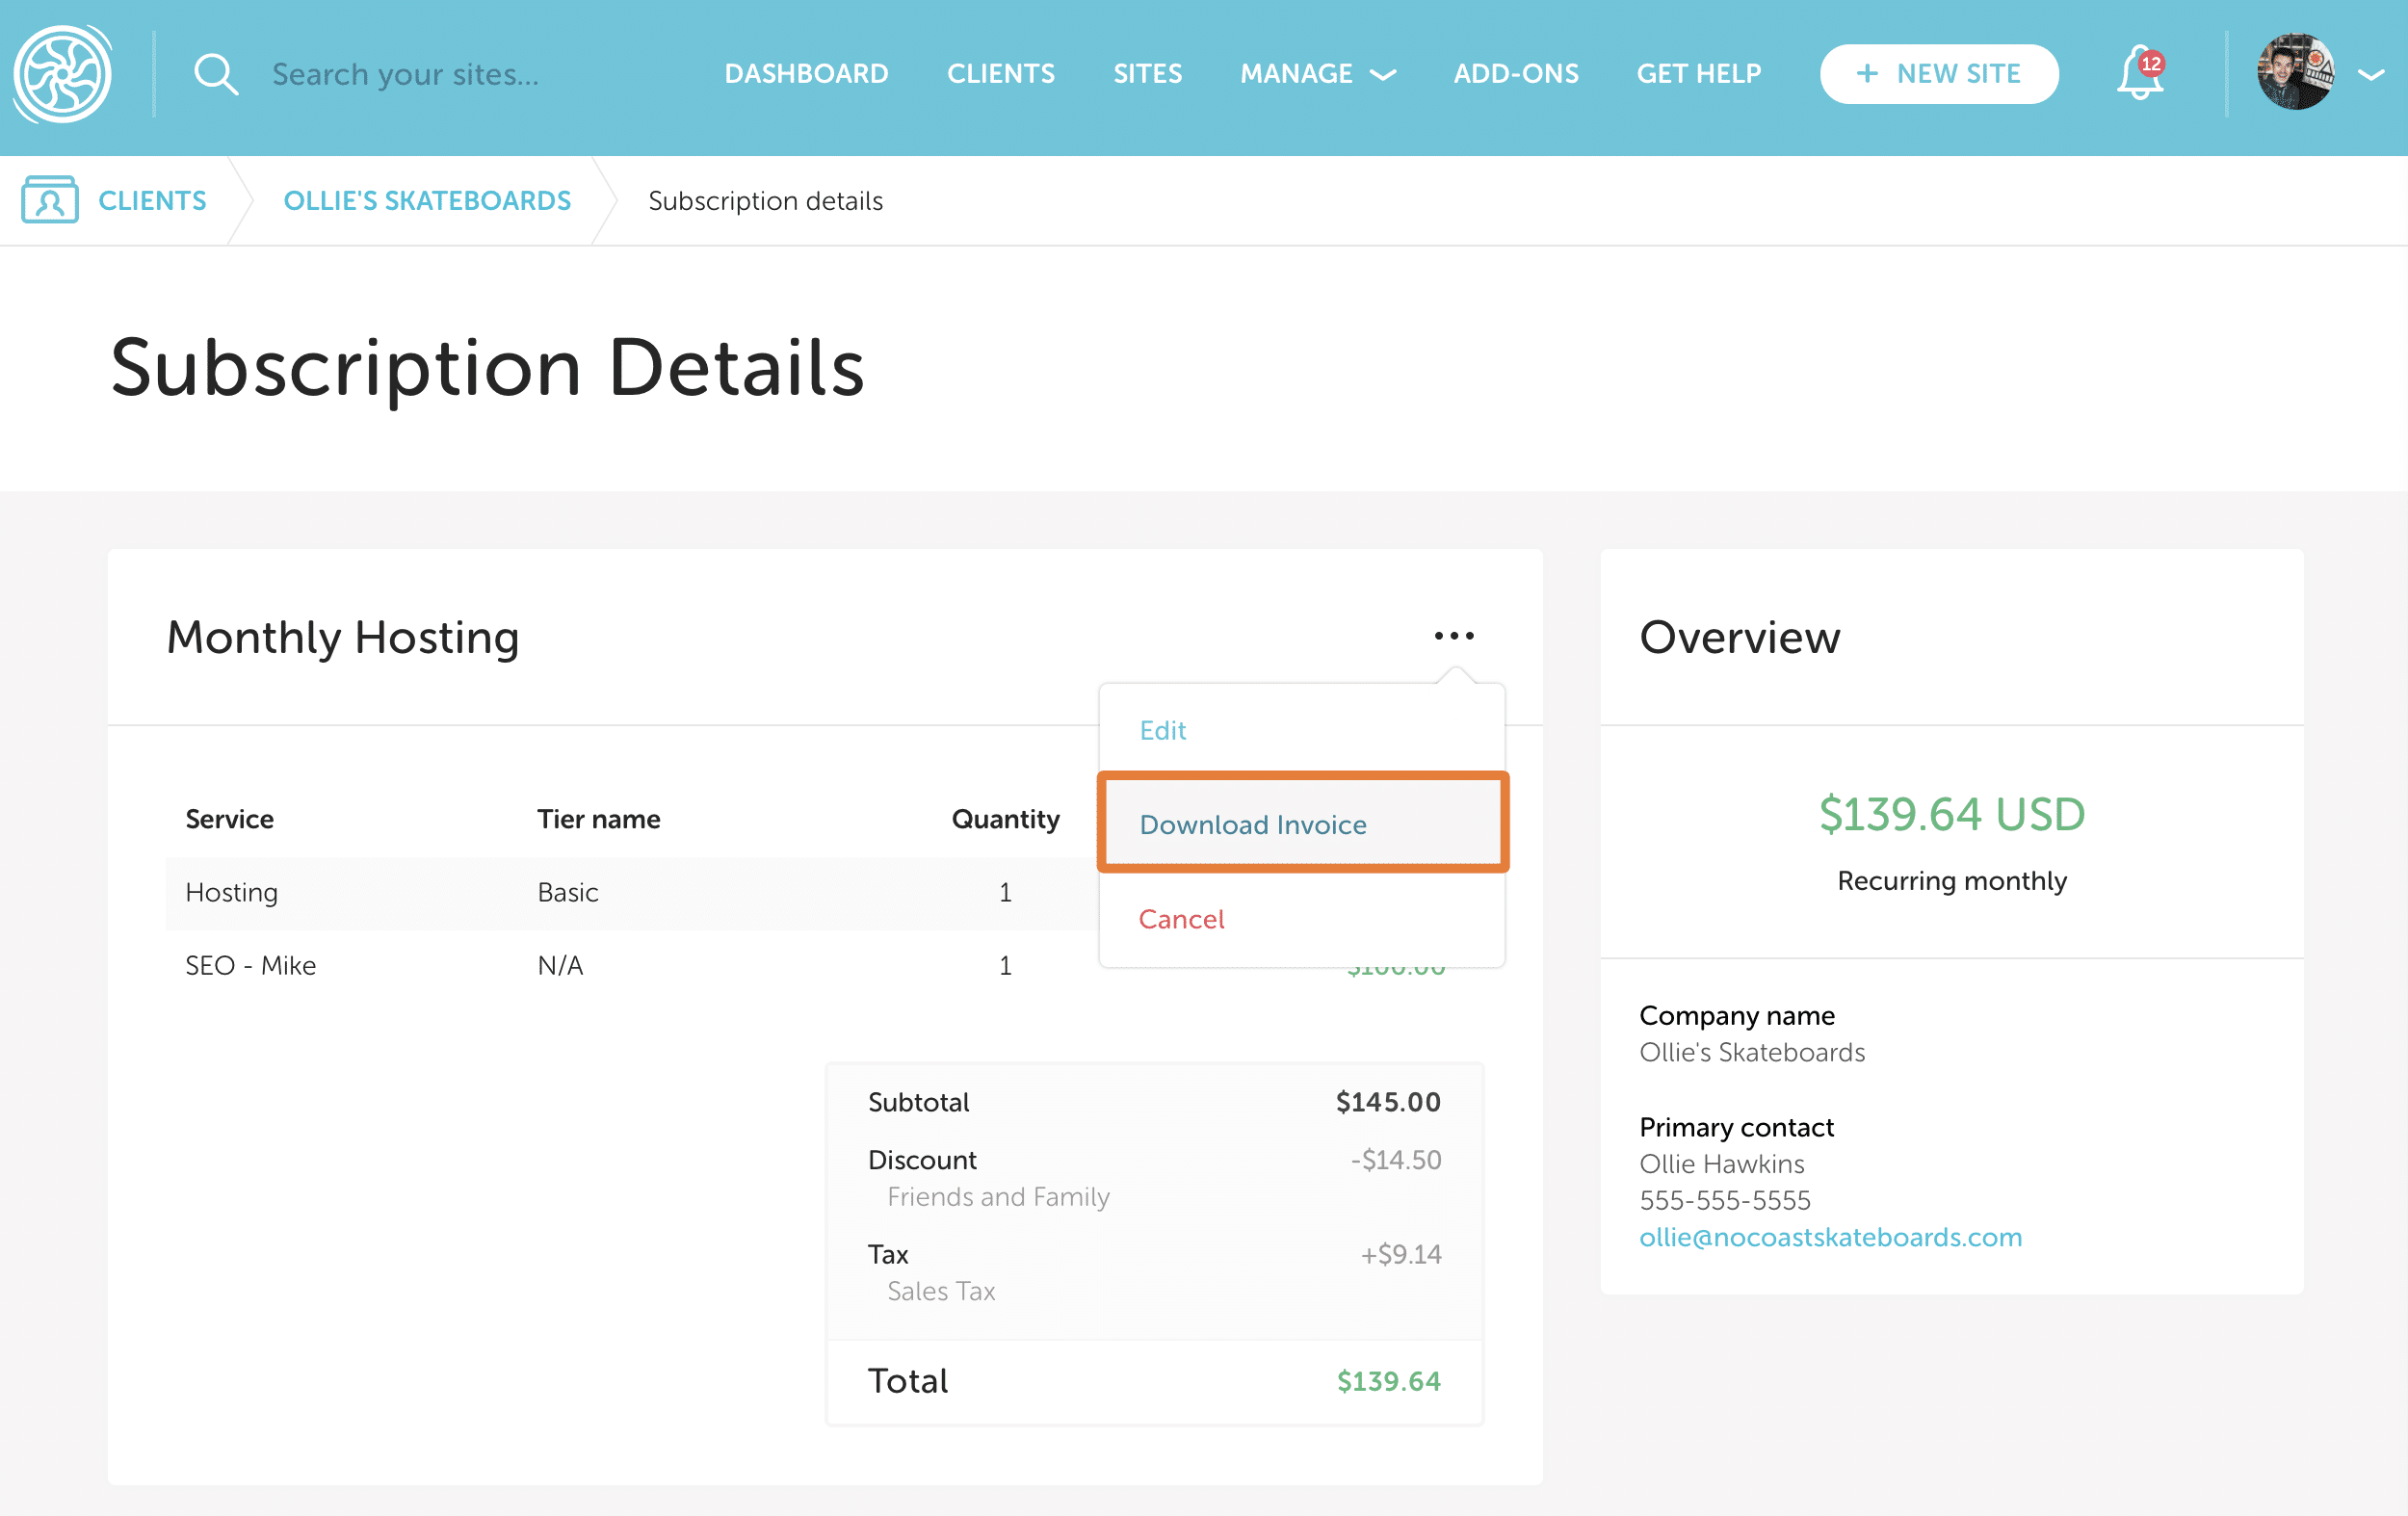
You’ll be given the option to download all or part of your Growth Suite data – including invoicing and client data, PDFs of your clients’ invoices, receipts, and reports. You will receive an email when your download is ready.
Note
This applies to all Pending, Scheduled, and Active subscriptions. Learn more about invoice statuses here.Download a receipt
- On the Growth Suite dashboard, go to the client, find the subscription, and click Details.
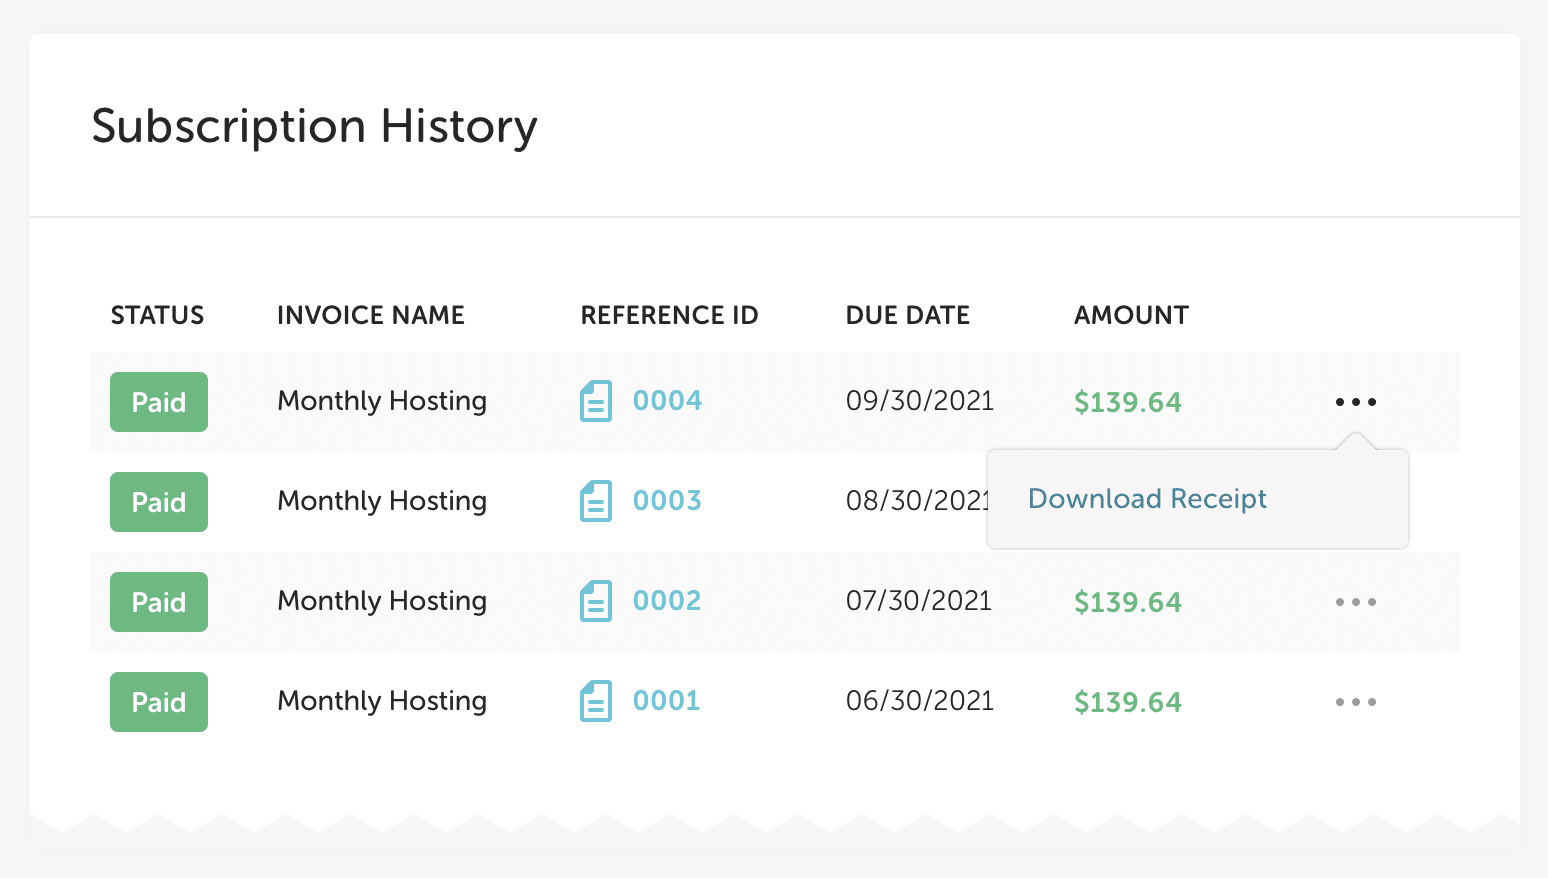
- Scroll down to the Subscription History section, hover over the 3-dot menu, and select Download Receipt.
Client access to invoices/receipts via the portal
Your clients also have the ability to download invoices and receipts in the Client Portal.
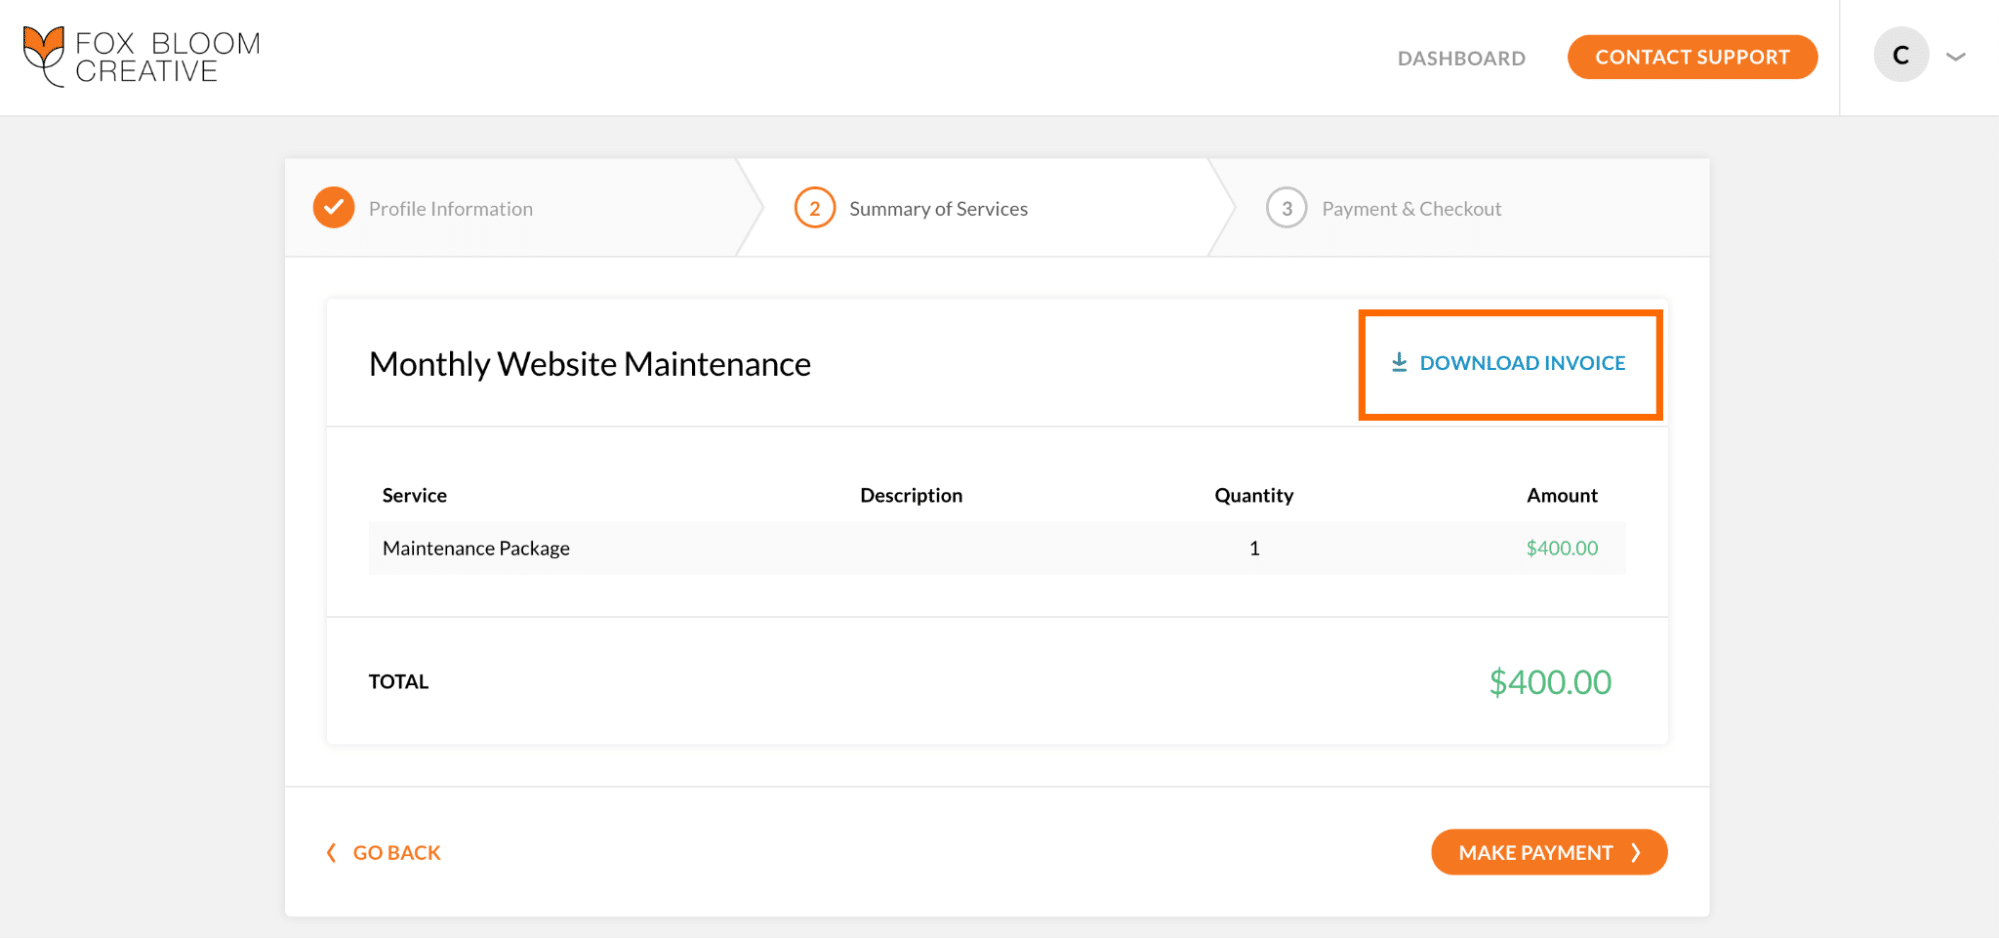
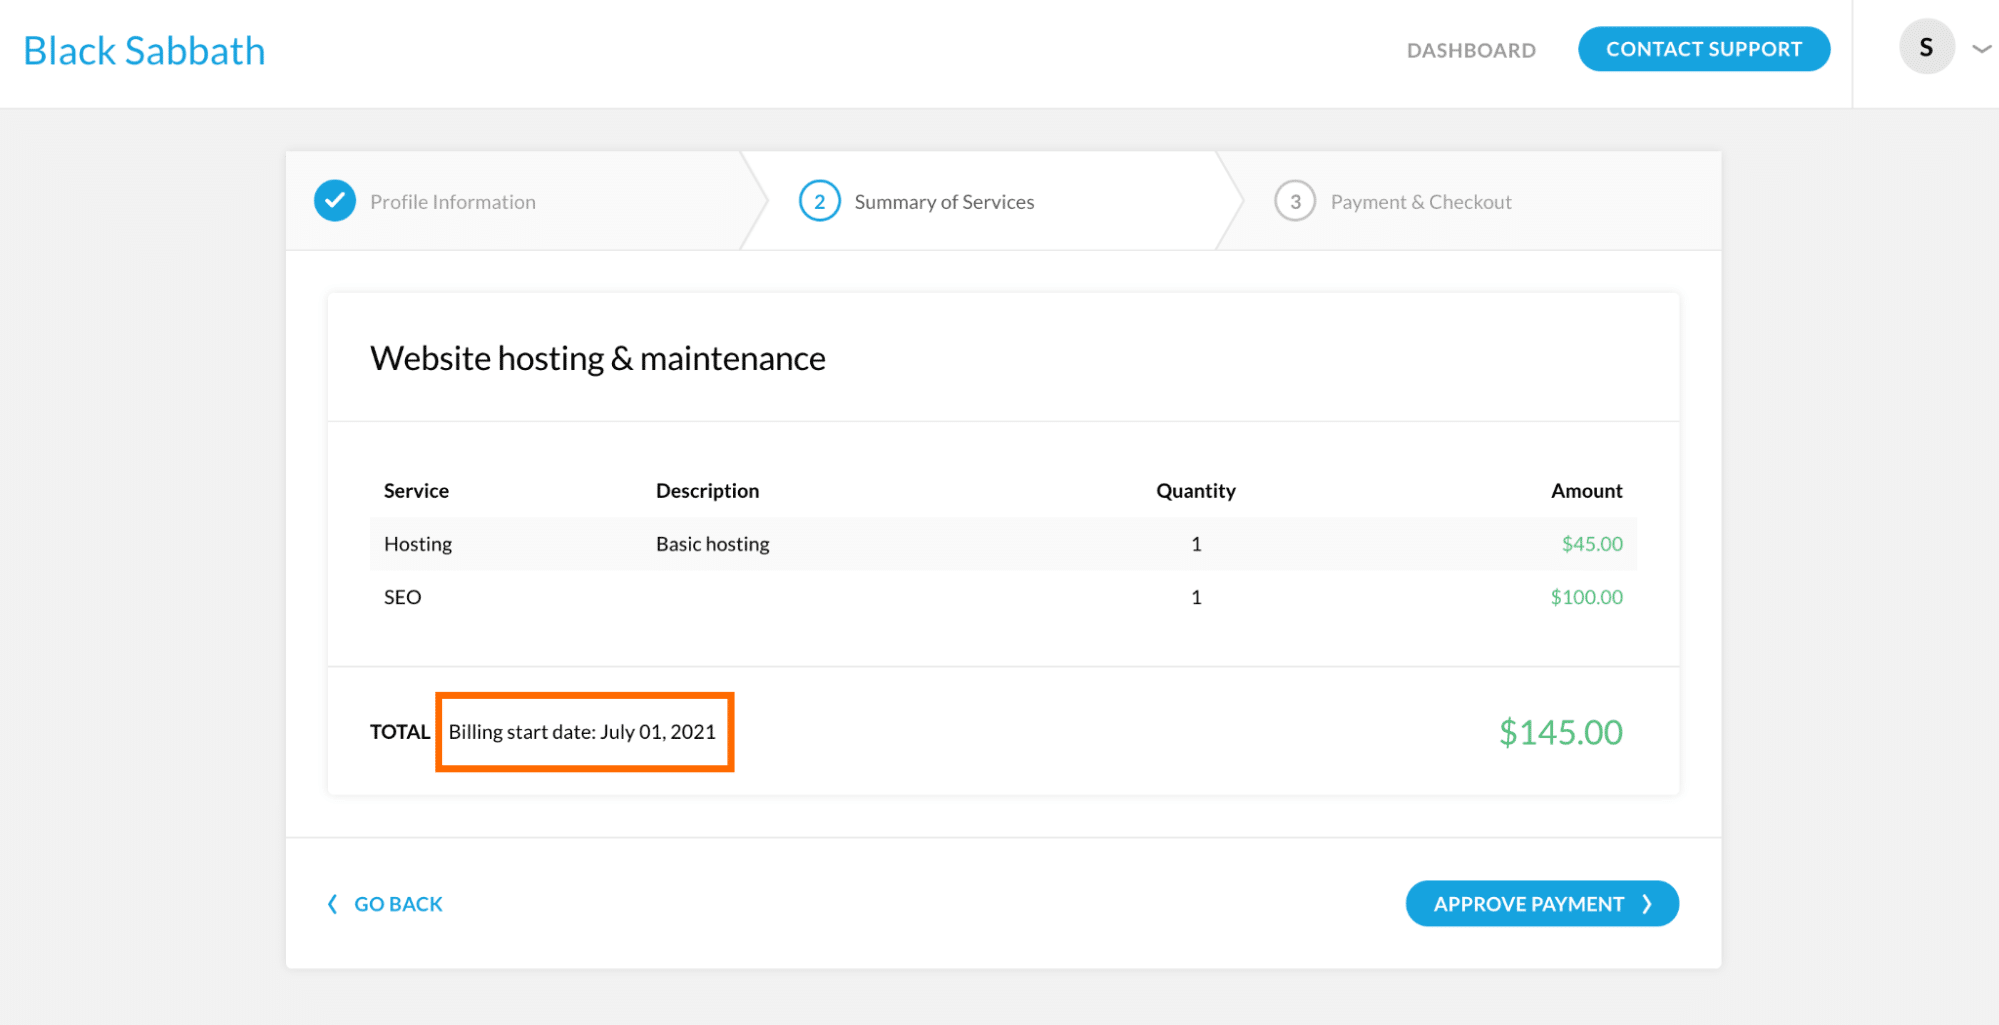
- During the invoice acceptance flow, your clients can download an invoice prior to accepting it and making payment.
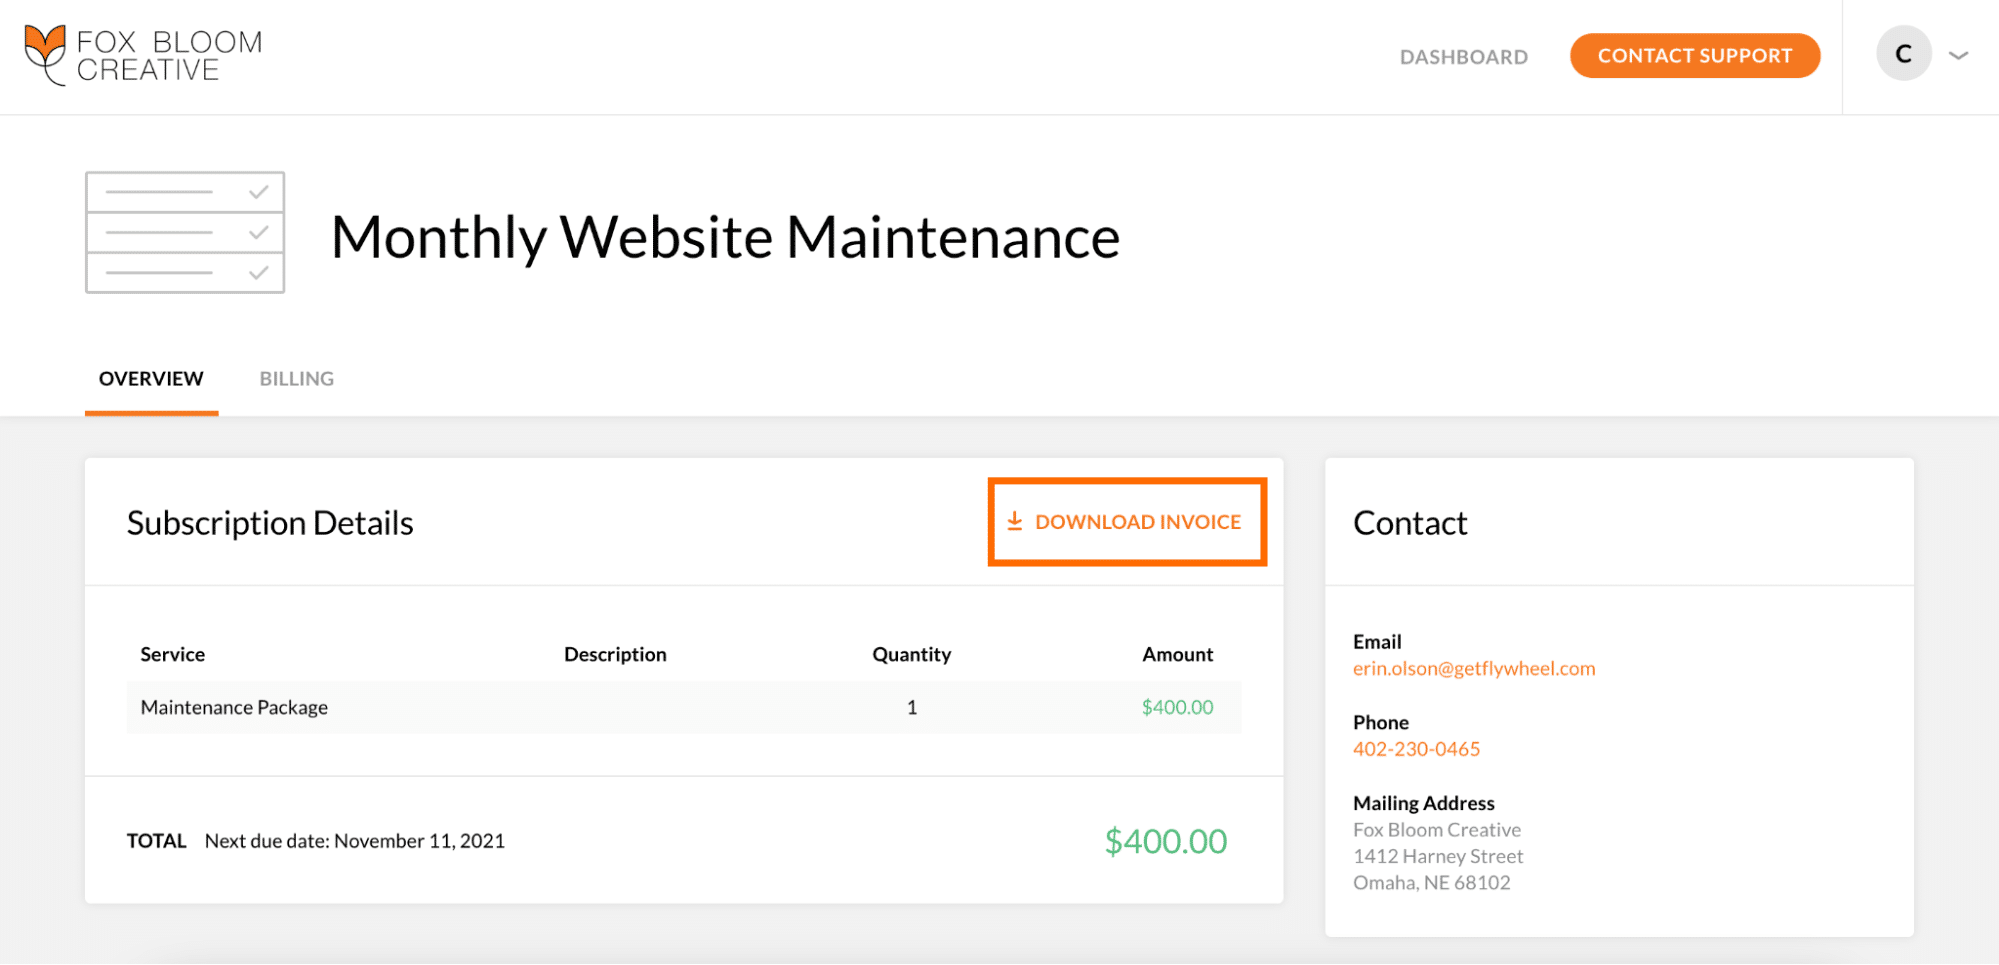
- For active subscriptions, your client can download the upcoming invoice from the Subscription Details area.
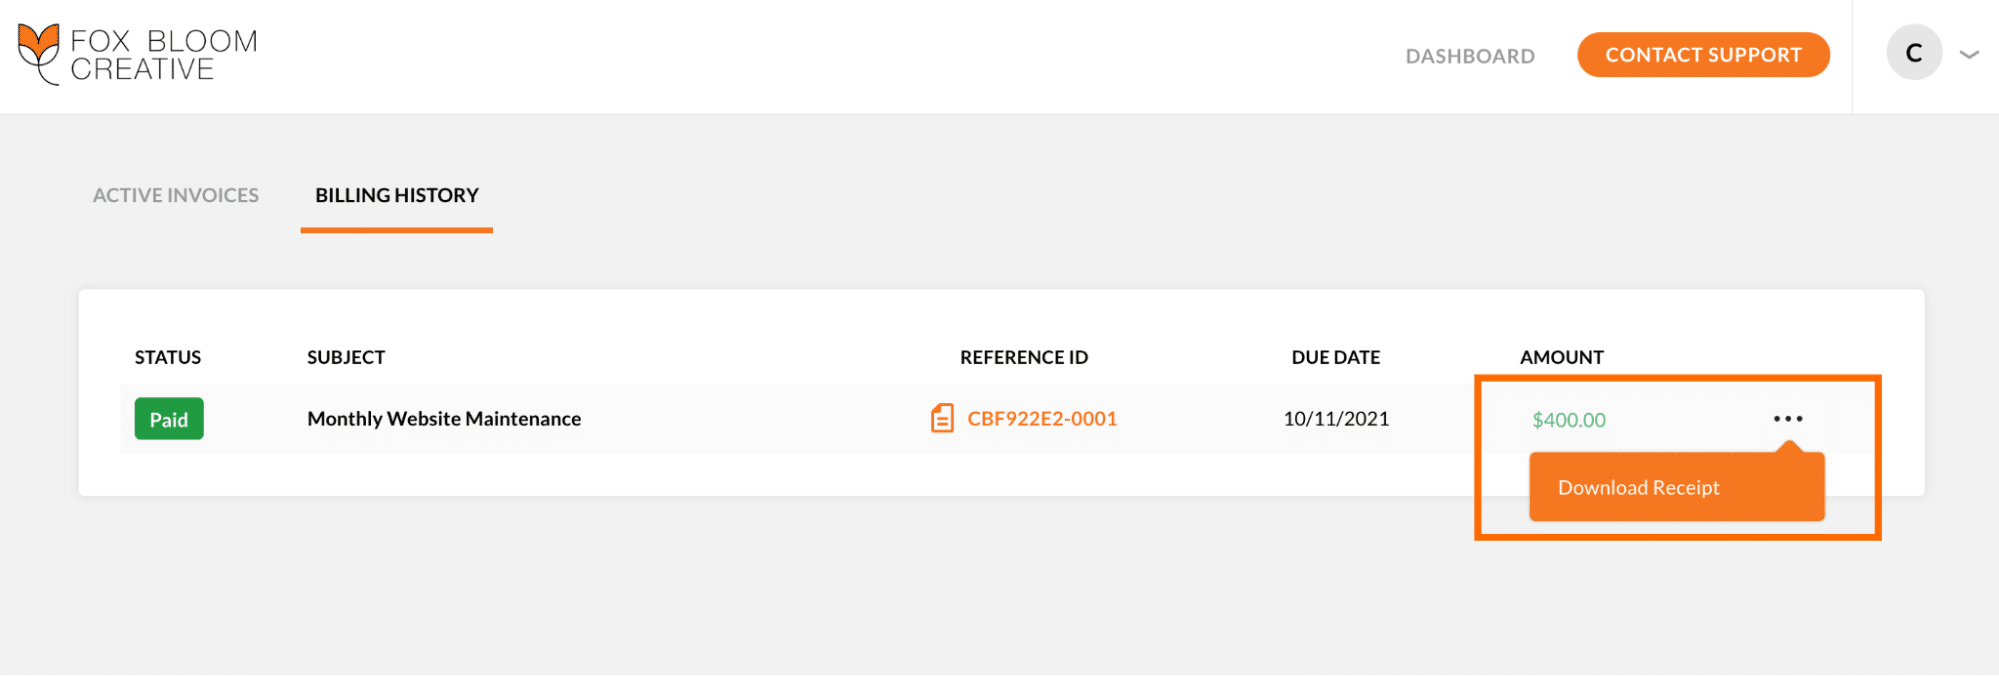
- Your clients can download receipts from the 3-dot menu on the Billing History tab.
Invoice statuses
From initial generation to payment failure, invoices can find themselves in a varying number of statuses. There are 6 common statuses within Growth Suite:
Active
This subscription is active and will continue to charge your client’s payment method on file on the recurring cadence. No action to take here – just sit back and relax!
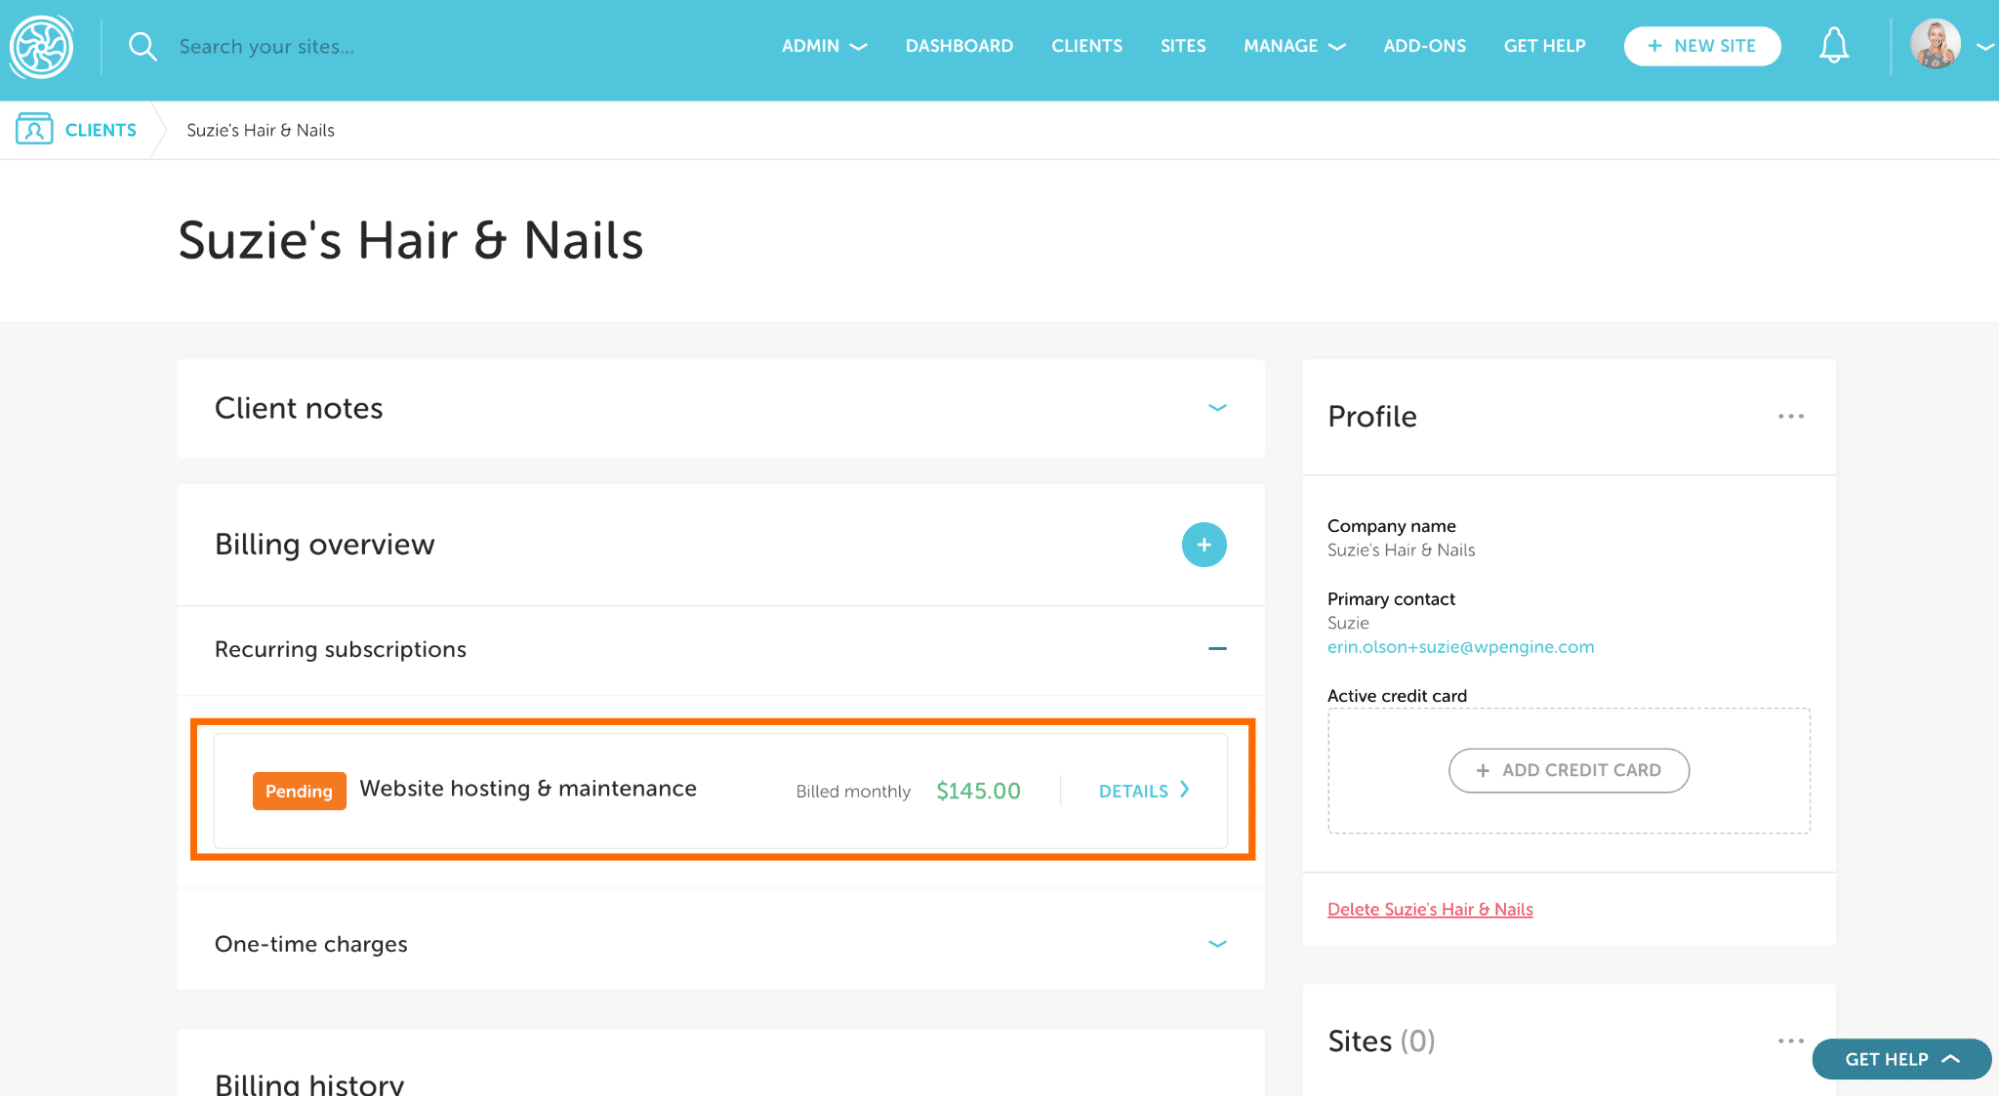
Pending
This subscription is awaiting client action. Your client has been notified to log into the client portal and accept the invoice as well as upload a payment method if there isn’t already one on file.
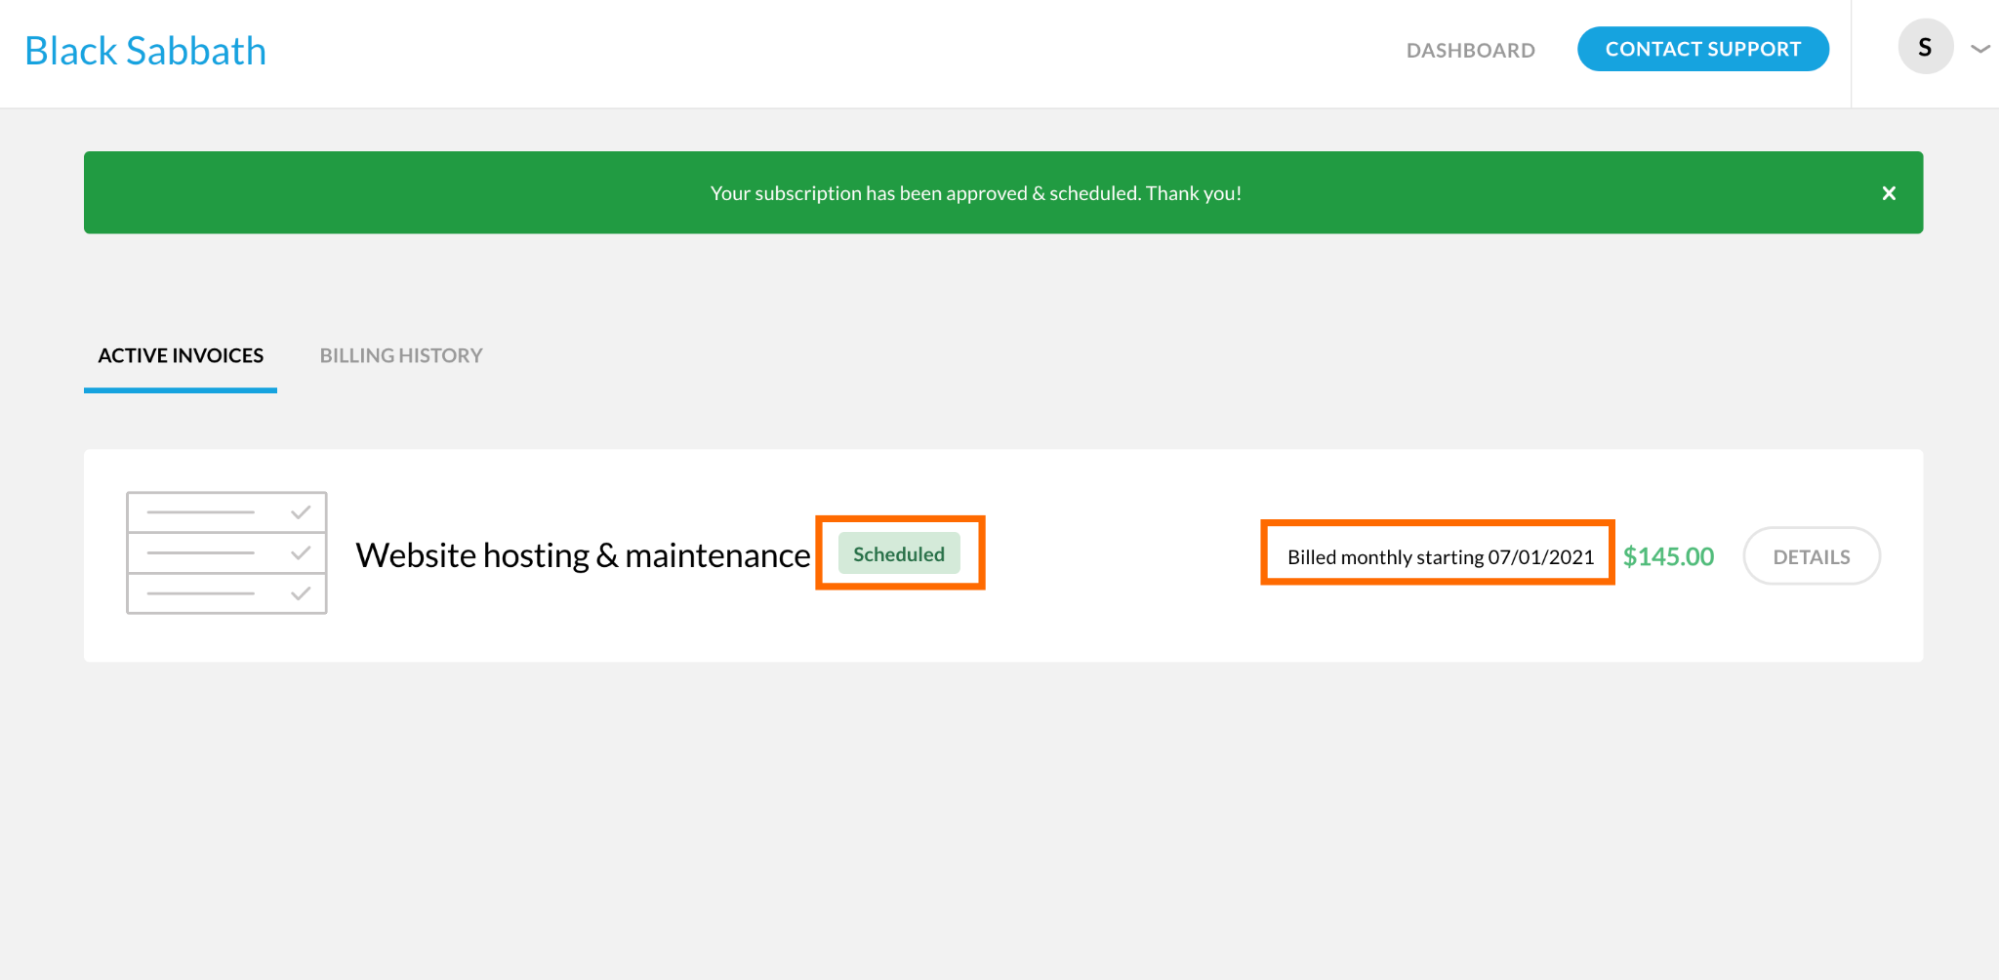
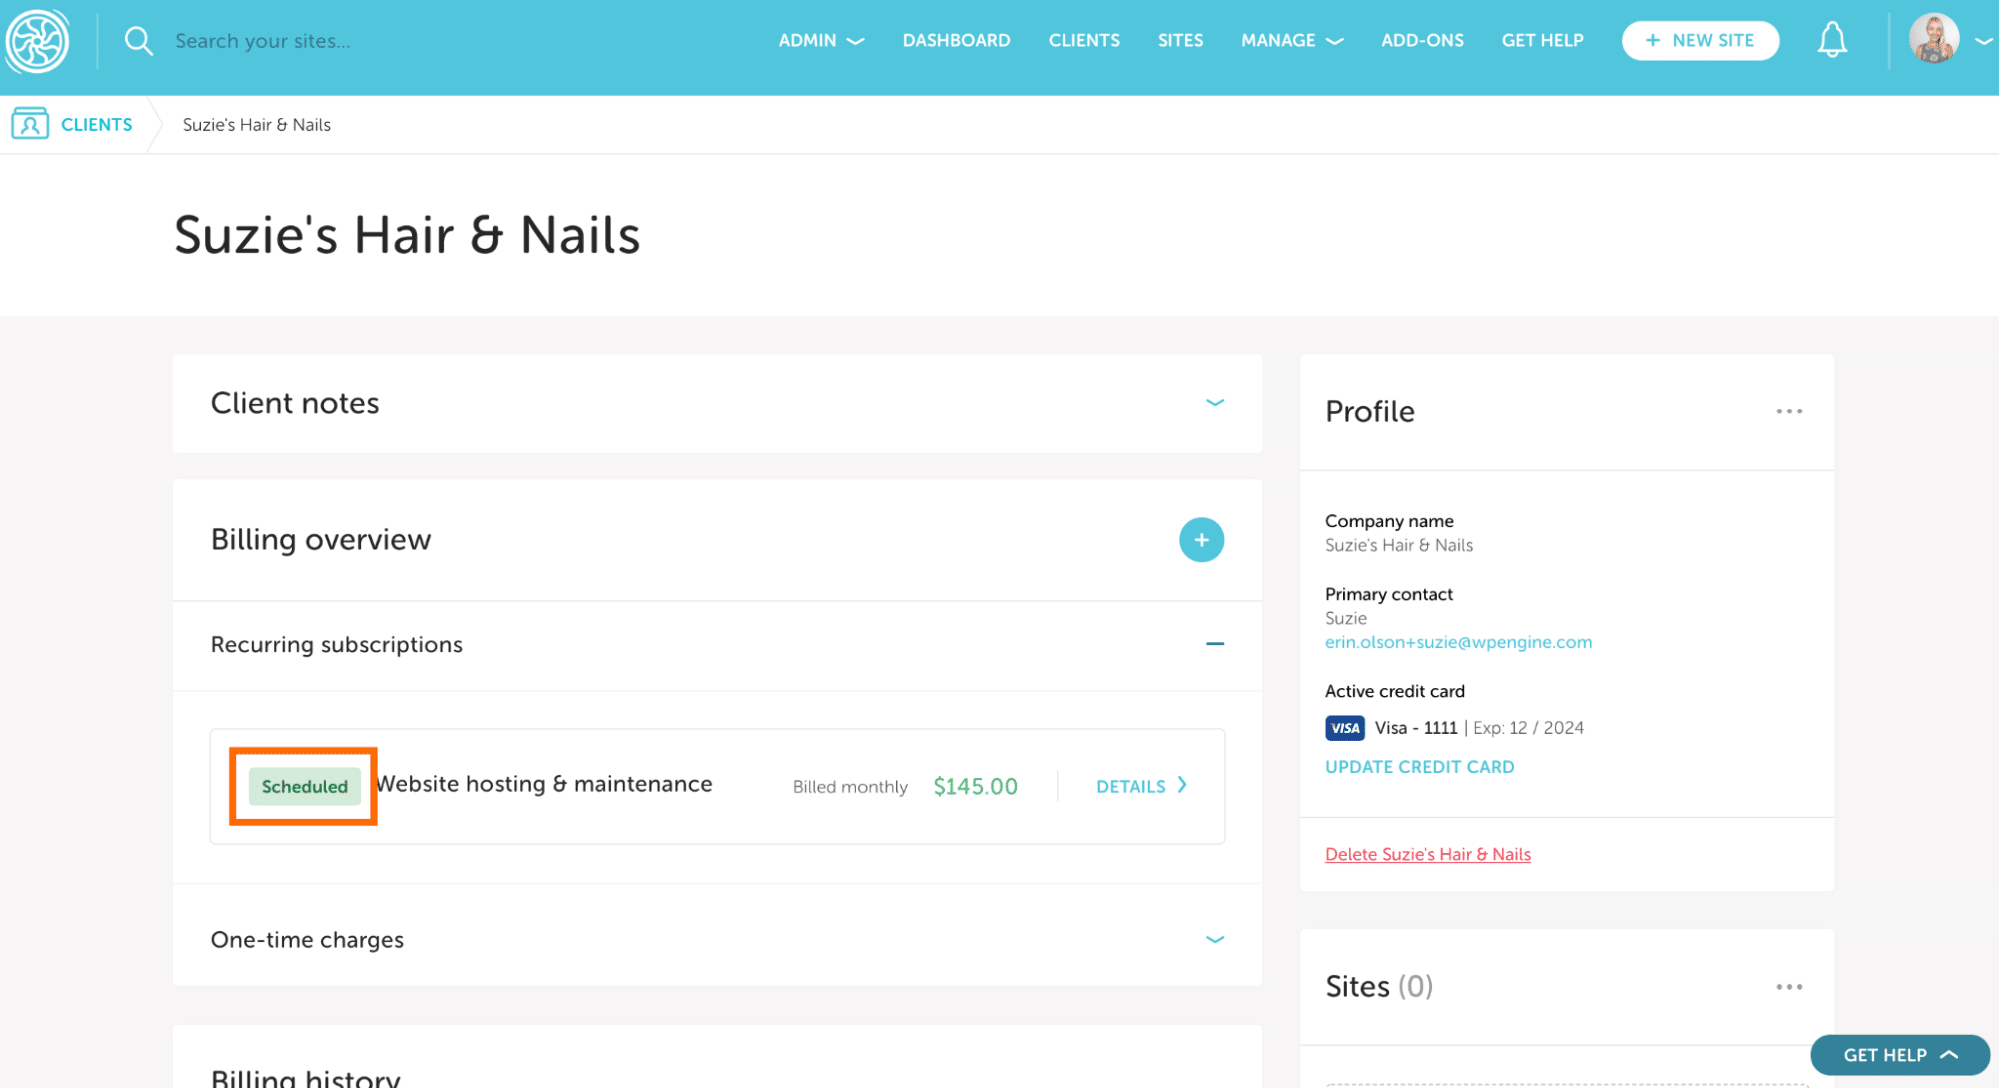
Scheduled
The subscription has been accepted by your client and is ready to begin on the scheduled start date. No action is needed here as we will handle the charge behind the scenes on the expected due date that you selected.
Cancels [date]
The subscription is still active, however, it will not renew again when the current billing cycle ends. It is set to cancel on the date provided in the grey label.
Canceled
The subscription is no longer active, your client is no longer being charged, and you are no longer receiving this revenue. Both you and your client can still access previous receipts associated with this invoice if applicable.
Unpaid
We were unable to process the payment and have notified your client via email. More than likely, their payment method on file needs to be updated. You can do this on your end when viewing their Client information or they can log into the client portal and update it.
Draft
The invoice has been created and soon will be charged. This status should not appear for longer than a few hours. Once the charge attempt as has been made, then it will change to either Paid or Unpaid status.
Schedule an invoice
- Select Schedule a date and enter the invoice due date.
- Finalize the invoice and you’ll now see it’s in a Pending state.
Your client will immediately receive an email asking them to log in to the client portal and accept the invoice.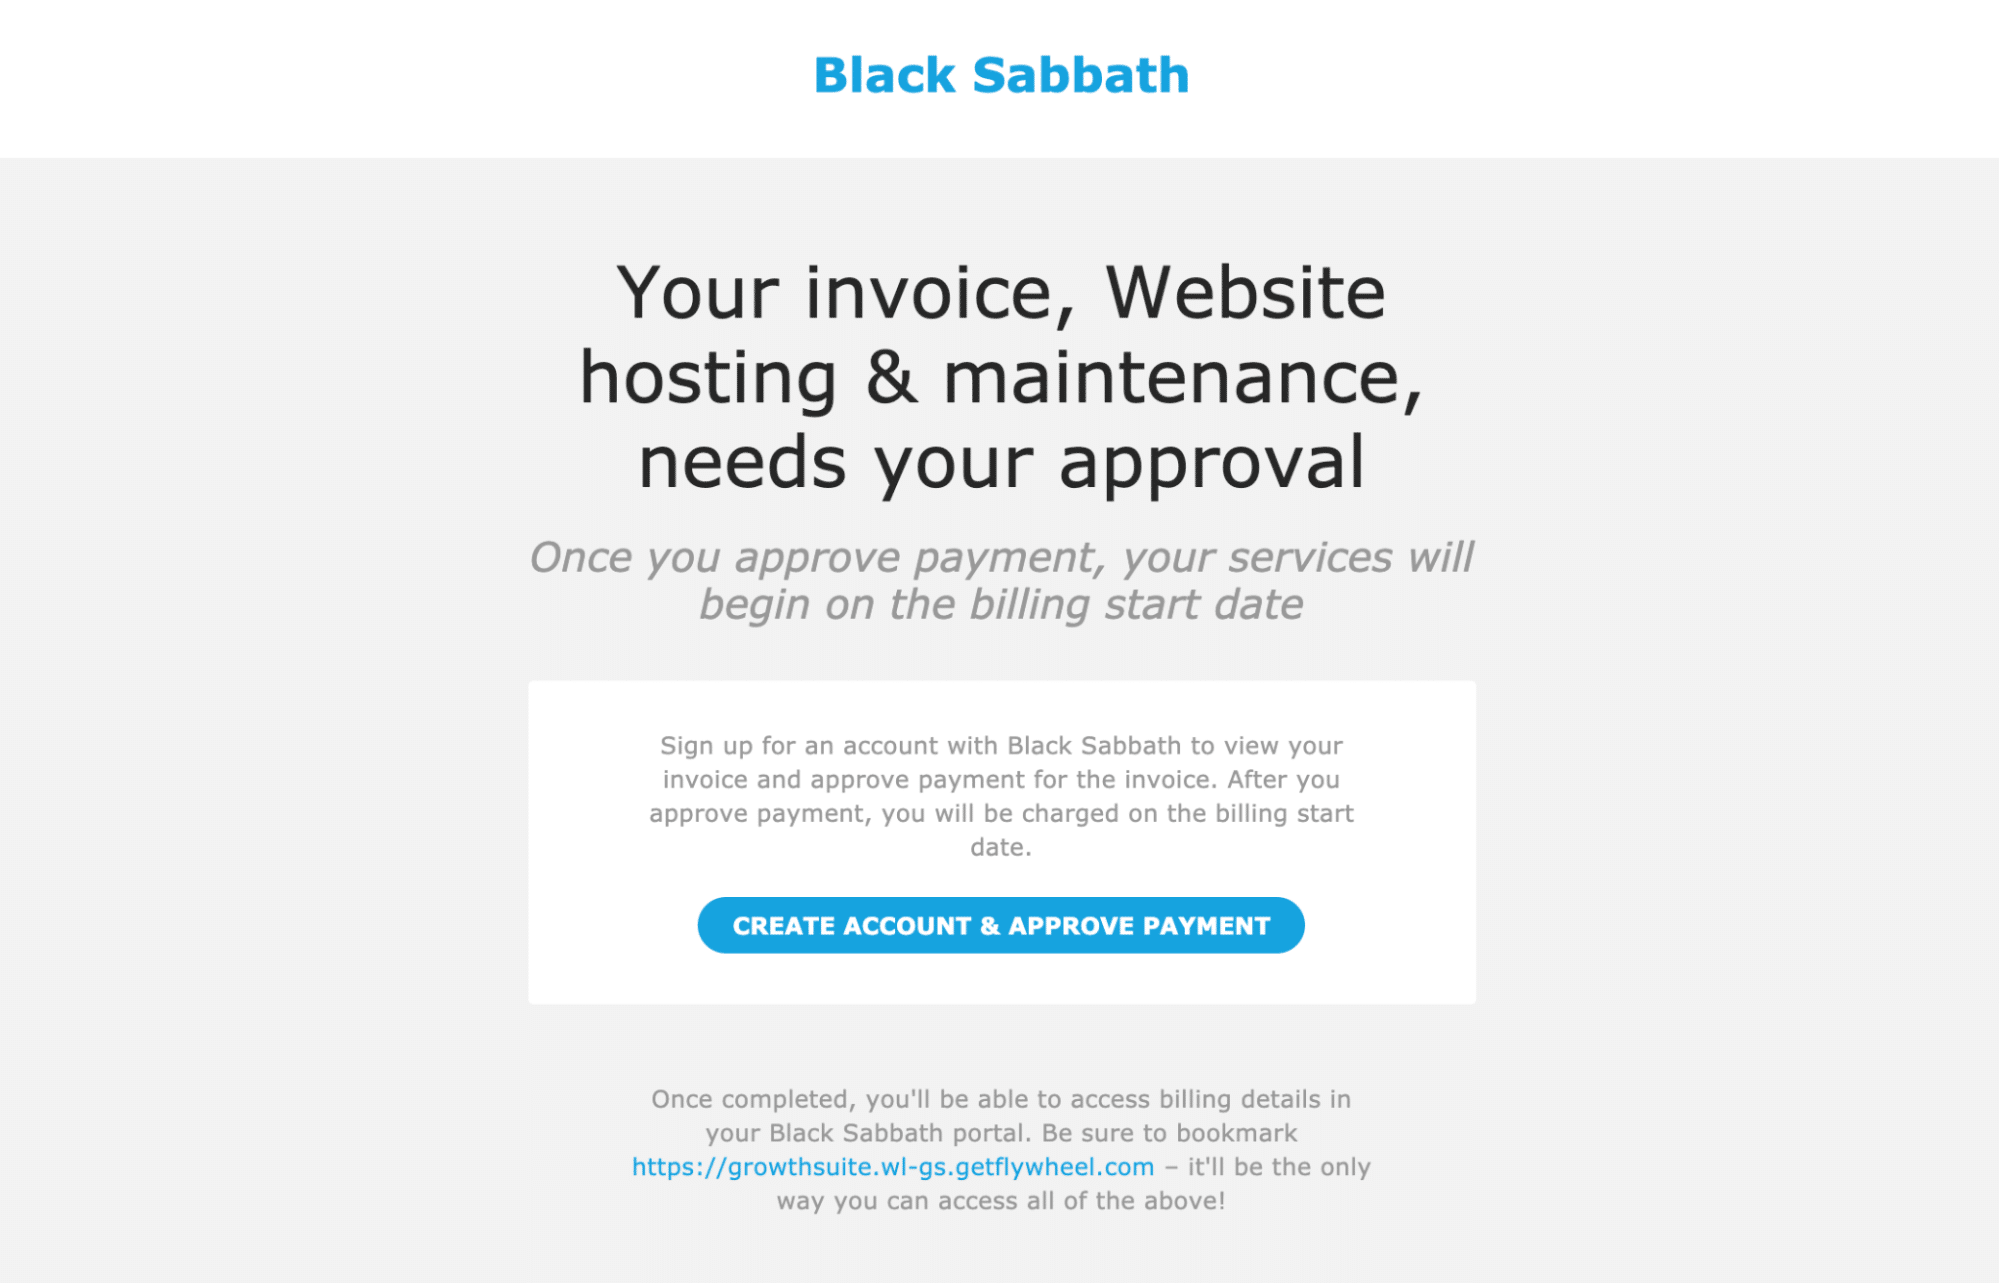
- Your client logs in to the client portal and approves the invoice.
Note
When your client accepts the invoice prior to the due date, they won’t be charged until the date you set, but they can set up their payment methods in advance. - Once the client approves, the invoice is now in the Scheduled state in both the client portal and the Flywheel app. You’re all set!
The client approves the invoice after the due date
What if your client doesn’t approve the invoice before the scheduled due date? No worries, Growth Suite will backdate the invoice once they log in and accept it. Here is an example of a client who missed 4 monthly billing cycles before accepting the invoice: 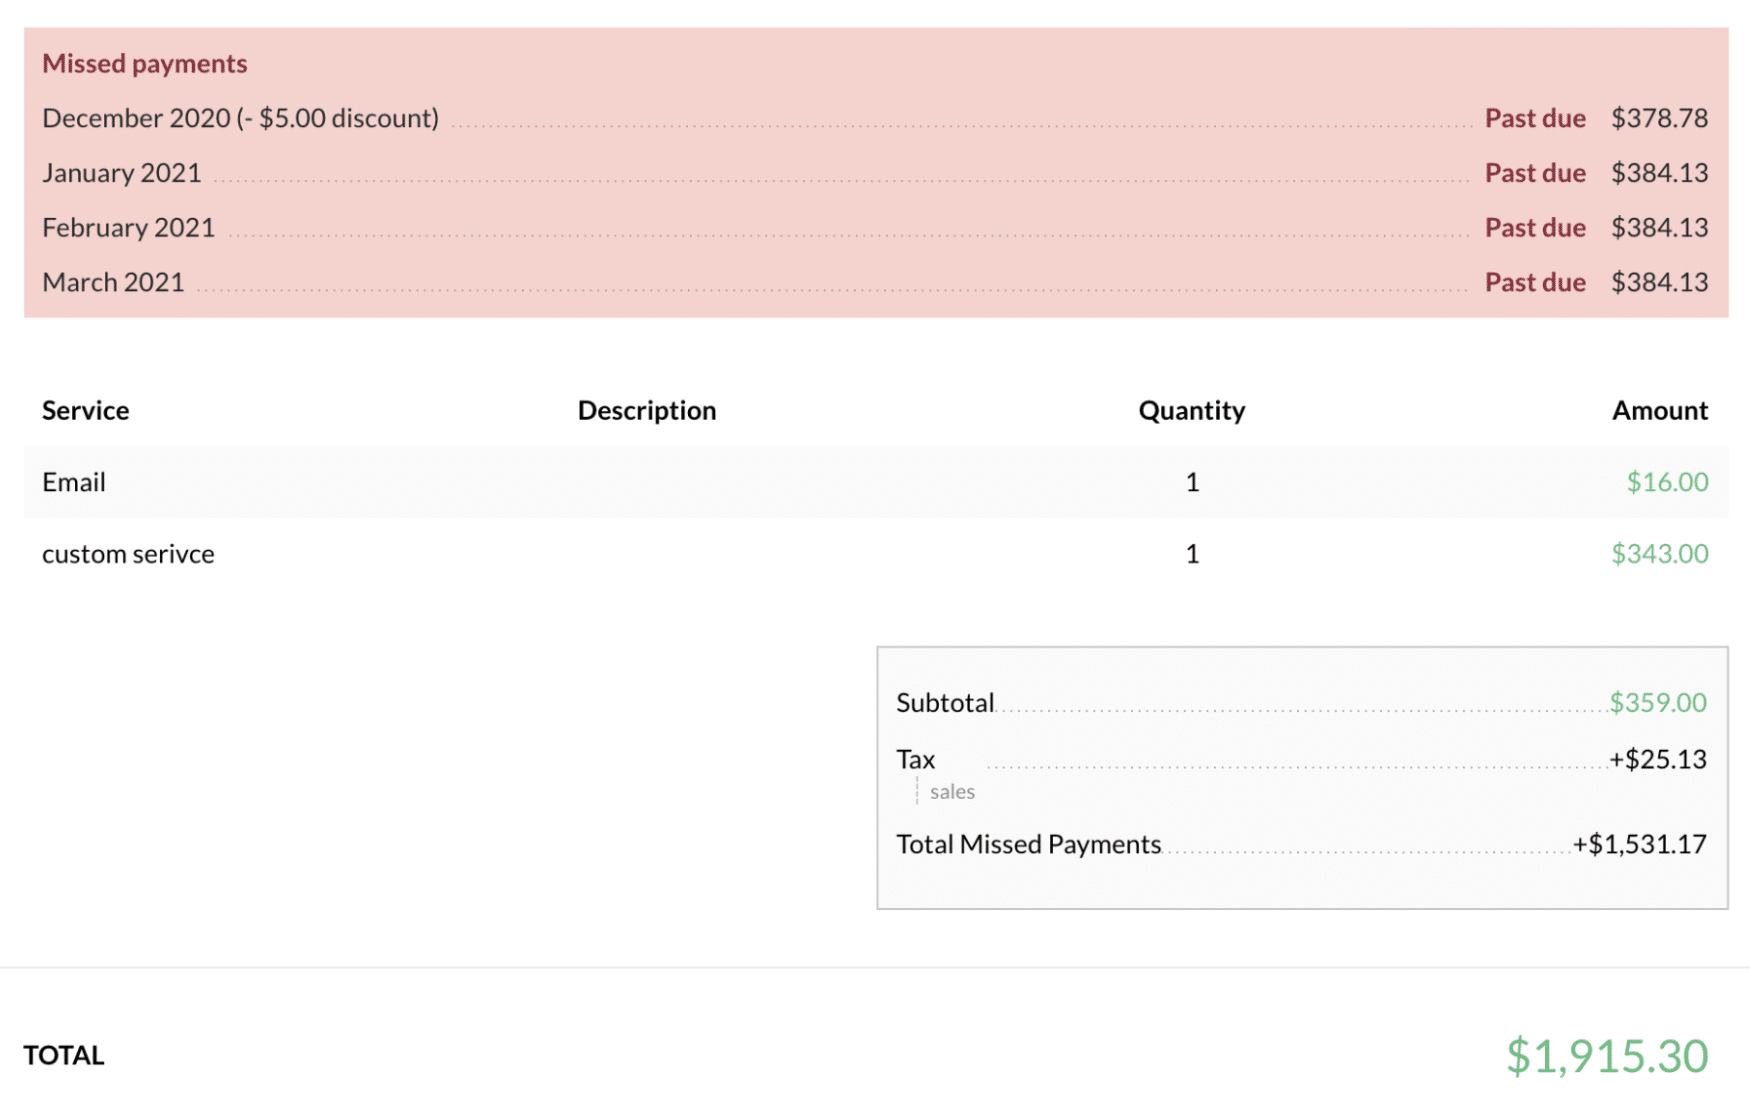
Need help?
If you have any questions our Happiness Engineers are here to help!
Getting Started
New to Flywheel? Start here, we've got all the information you'll need to get started and launch your first site!
View allAccount Management
Learn all about managing your Flywheel user account, Teams and integrations.
View allFeatures
Flywheel hosting plans include a ton of great features. Learn about how to get a free SSL certificate, set up a staging site, and more!
View allPlatform Info
All the server and setting info you'll need to help you get the most out of your Flywheel hosting plan!
View allSite Management
Tips and tricks for managing your sites on Flywheel, including going live, troubleshooting issues and migrating or cloning sites.
View allGrowth Suite
Learn more about Growth Suite, our all-in-one solution for freelancers and agencies to grow more quickly and predictably.
Getting started with Growth Suite
Growth Suite: What are invoice statuses?
Growth Suite: What do client emails look like?
Managed Plugin Updates
Learn more about Managed Plugin Updates, and how you can keep your sites up to date, and extra safe.
-
Restoring Plugin and Theme Management on Flywheel
-
Managed Plugin Updates: Database upgrades
-
Managed Plugin Updates: Pause plugin updates
Local
View the Local help docs
Looking for a logo?
We can help! Check out our Brand Resources page for links to all of our brand assets.
Brand Resources