Migrate your site to Flywheel manually
Manually migrating your site is usually the most time-consuming and complicated method. But, sometimes using a plugin isn’t an option. Or you may simply have the files for your site (like a Flywheel generated backup) and you want to handle the migration of your website yourself.
Note
If your site is live on another host or is running on a local dev environment, we recommend trying this method:Migrate your site to Flywheel using the WP Engine Site Migration Plugin
Also, if your site exceeds 50MB then we recommend following this guide:
Table of Contents:
Note
If you already have your site’s files and database handy, perhaps from a Flywheel generated backup, you can skip ahead.Back up your site’s files
- Log into your current host’s cPanel and open the File Manager, or access your site’s file system via FTP.
- Download the wp-content folder (and any other root-level files or folders you wish to move over to Flywheel) to your local machine.
Note
If you have issues accessing the file system or locating your wp-content folder, we suggest reaching out to your current host for assistance.Export your site’s database
- Log into your current host’s cPanel and access your database using phpMyAdmin.
- Export your database in SQL format, making sure to include all tables.
Note
If you have issues exporting your site’s database, we suggest you contact your current host for assistance.Upload your site files to Flywheel via SFTP
- If you haven’t already, create a new site on Flywheel.
- Log in to your Flywheel SFTP account, and open the destination site folder. (If you’re not sure how to connect to your Flywheel site via SFTP, check out this help article: Access your site via SFTP.)
- Open up the wp-content folder of the destination site, and begin copying the files over from your local computer’s wp-content folder to your Flywheel site.
Note
When uploading these files to Flywheel, you can either overwrite the existing themes, plugins, and uploads folders, or you can merge them with the files already present. Just be sure that all the files from the backup’s wp-content folder are uploaded to the wp-content folder of the destination site.Note
Core Files: As a provider of managed hosting for WordPress®, Flywheel takes care of the WordPress core for you.1 This means you don’t need to upload any core files (in fact, those folders are locked down and inaccessible via SFTP).Upload the database SQL file via the Database Manager
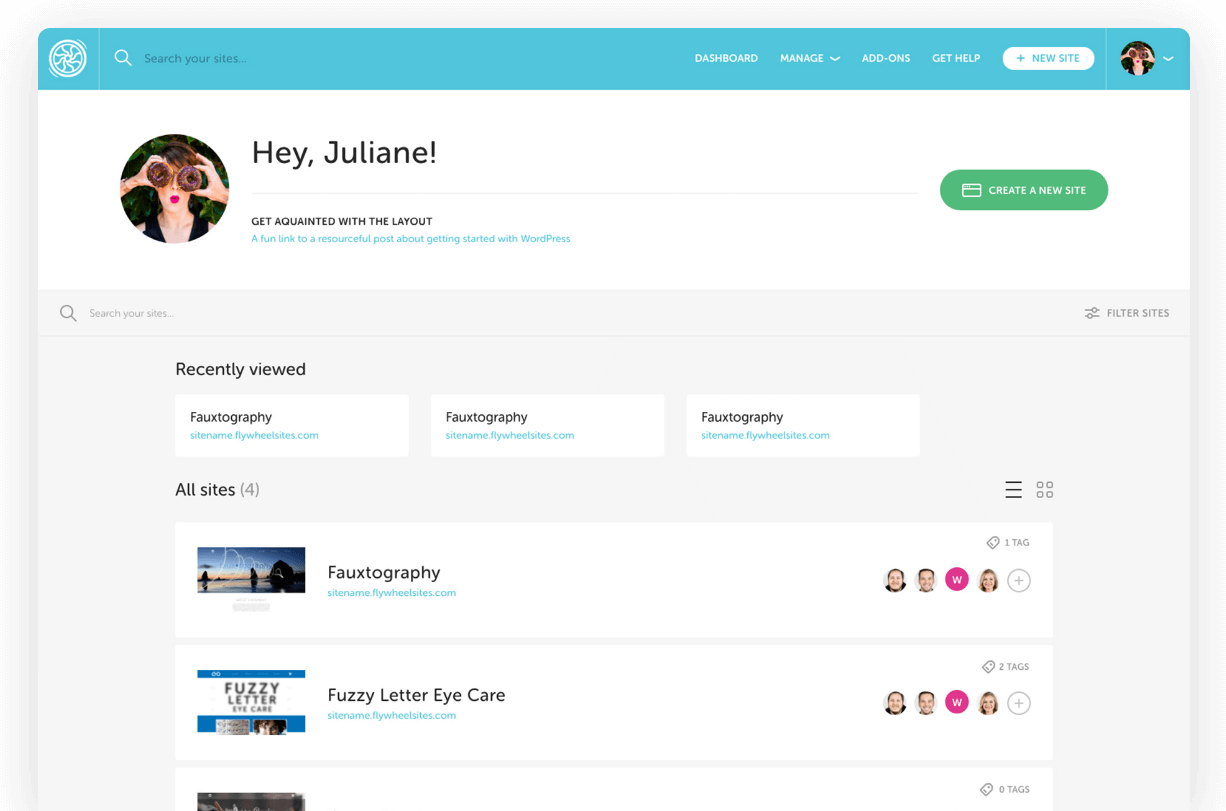
- Log in to your Flywheel dashboard and find your site.
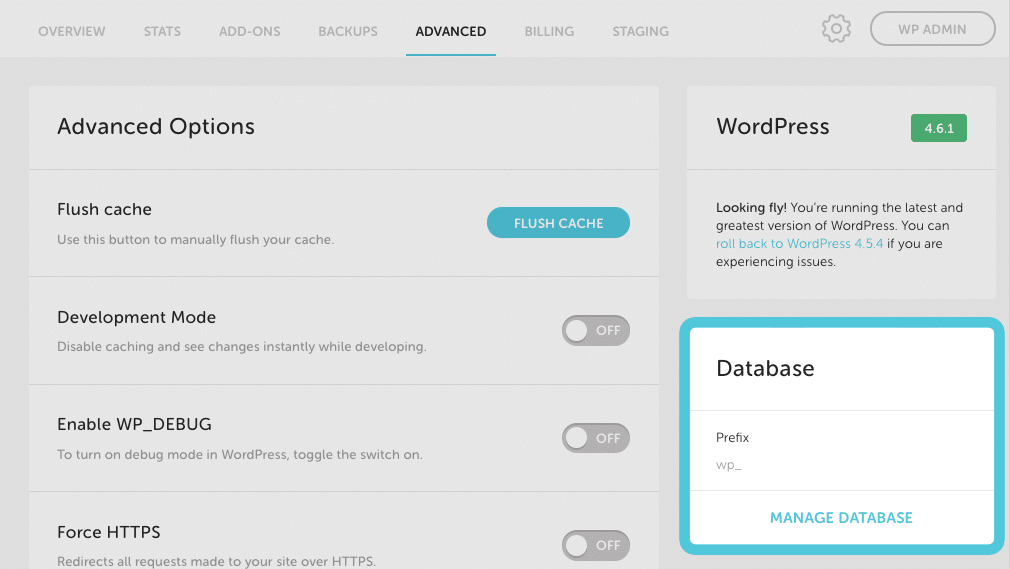
- Navigate to the Advanced tab and locate the Database card. Click the Manage Database button.
- Select the Import tab.
- Click Choose File and locate the backup’s database file (the file with the .sql extension)
- Click Import File.
Note
The Flywheel database manager has 50MB limit for importing. If your site’s files exceed 50MB we suggest following this help doc.If necessary, update the database prefix
Your site’s prefix can be configured from the Advanced tab of the site’s Flywheel dashboard on the Database card. This value should match the database’s actual prefix.
- To confirm your database’s actual prefix, click Manage Database.
- Enter the term “users” in the search bar. This will bring up the users table, which is a trustworthy indicator of the database’s prefix.
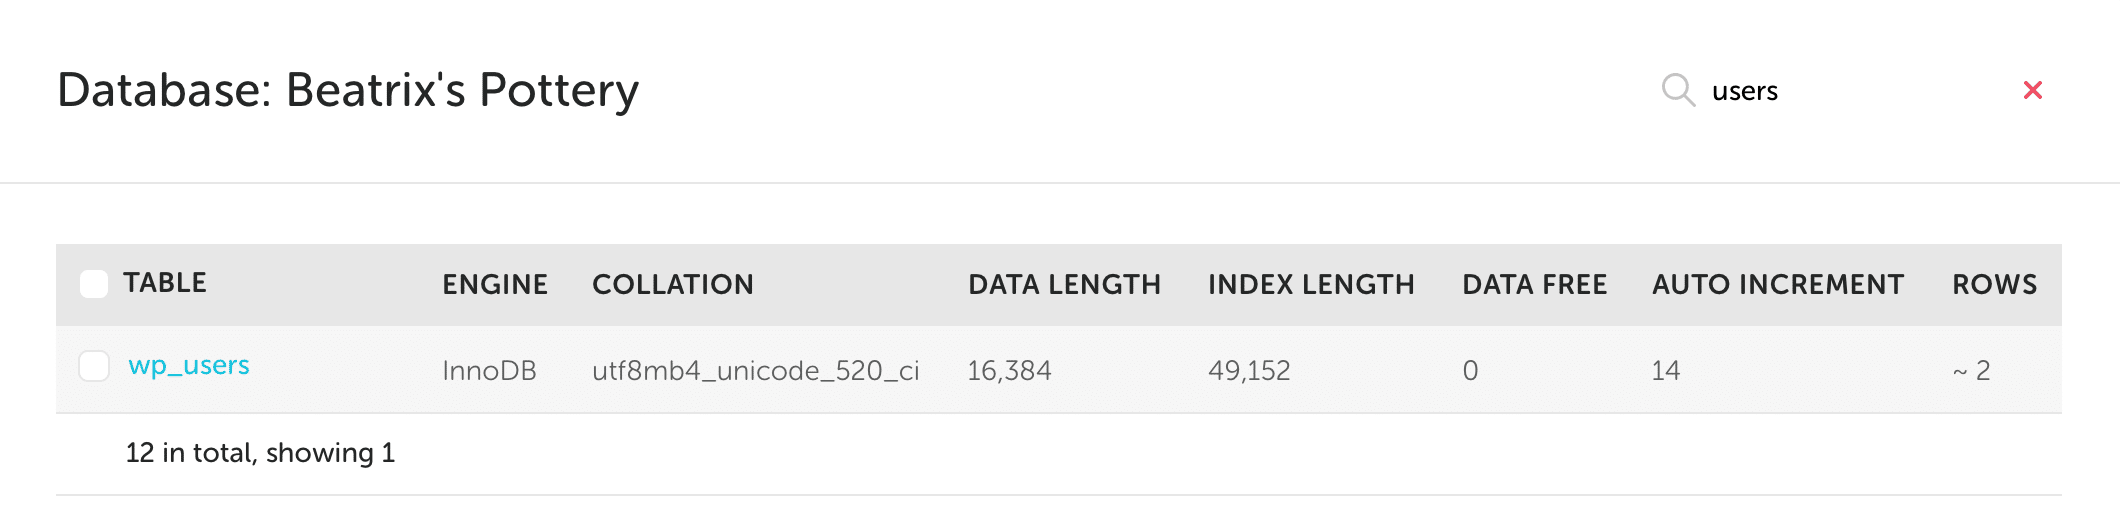
- The database prefix is an identical string of characters at the beginning of every single table name in your database. The default is “wp_” but frequently varies. Prefixes almost always end with an underscore. In this example, the database prefix is “wp_”.
- If the prefix value on your site’s Database card differs, you can update it.
- Click the 3 dot menu icon next to the prefix and click Change.
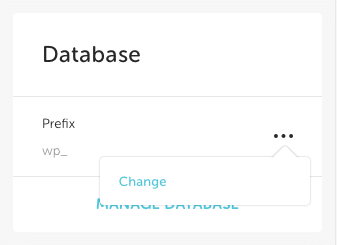
- Enter the database’s actual prefix and click Change Prefix.
If necessary, update domains and links to the Flywheel temporary URL
Depending on how the original site was built and how it stores its data in the database, this step may not be necessary. Often, the domain which was being used to build the original site being imported will still remain in the database.
You can easily run a search-and-replace by using a plugin like Better Search Replace, or by using SQL commands from the Advanced tab of the site’s Flywheel Dashboard. You can also reach out to Flywheel Support for a search-and-replace.
Need help?
If you have any questions our Happiness Engineers are here to help!
Getting Started
New to Flywheel? Start here, we've got all the information you'll need to get started and launch your first site!
View allAccount Management
Learn all about managing your Flywheel user account, Teams and integrations.
View allFeatures
Flywheel hosting plans include a ton of great features. Learn about how to get a free SSL certificate, set up a staging site, and more!
View allPlatform Info
All the server and setting info you'll need to help you get the most out of your Flywheel hosting plan!
View allSite Management
Tips and tricks for managing your sites on Flywheel, including going live, troubleshooting issues and migrating or cloning sites.
View allGrowth Suite
Learn more about Growth Suite, our all-in-one solution for freelancers and agencies to grow more quickly and predictably.
Getting started with Growth Suite
Growth Suite: What are invoice statuses?
Growth Suite: What do client emails look like?
Managed Plugin Updates
Learn more about Managed Plugin Updates, and how you can keep your sites up to date, and extra safe.
-
Restoring Plugin and Theme Management on Flywheel
-
Managed Plugin Updates: Database upgrades
-
Managed Plugin Updates: Pause plugin updates
Local
View the Local help docs
Looking for a logo?
We can help! Check out our Brand Resources page for links to all of our brand assets.
Brand Resources