Growth Suite: Client Reports
Hooray! You’ve built your client’s site and taken it live. What’s next? We highly recommend setting up an automated Client Report to keep the line of communication open, increase your MRR, and showcase your agency’s value.
What exactly is a Client Report, you may ask? It’s a recurring, customizable, agency-branded document that contains the site information most valuable to your clients – everything from page visits to site optimization details.
Before you get started, check out our demo Client Report here.
Note
At this time, the Backups, Security, and Site Optimization features are only available to be added/edited for sites that are hosted on Flywheel. These options will not appear for sites hosted on WP Engine.Table of Contents:
Video Walkthrough
Create a new Client Report
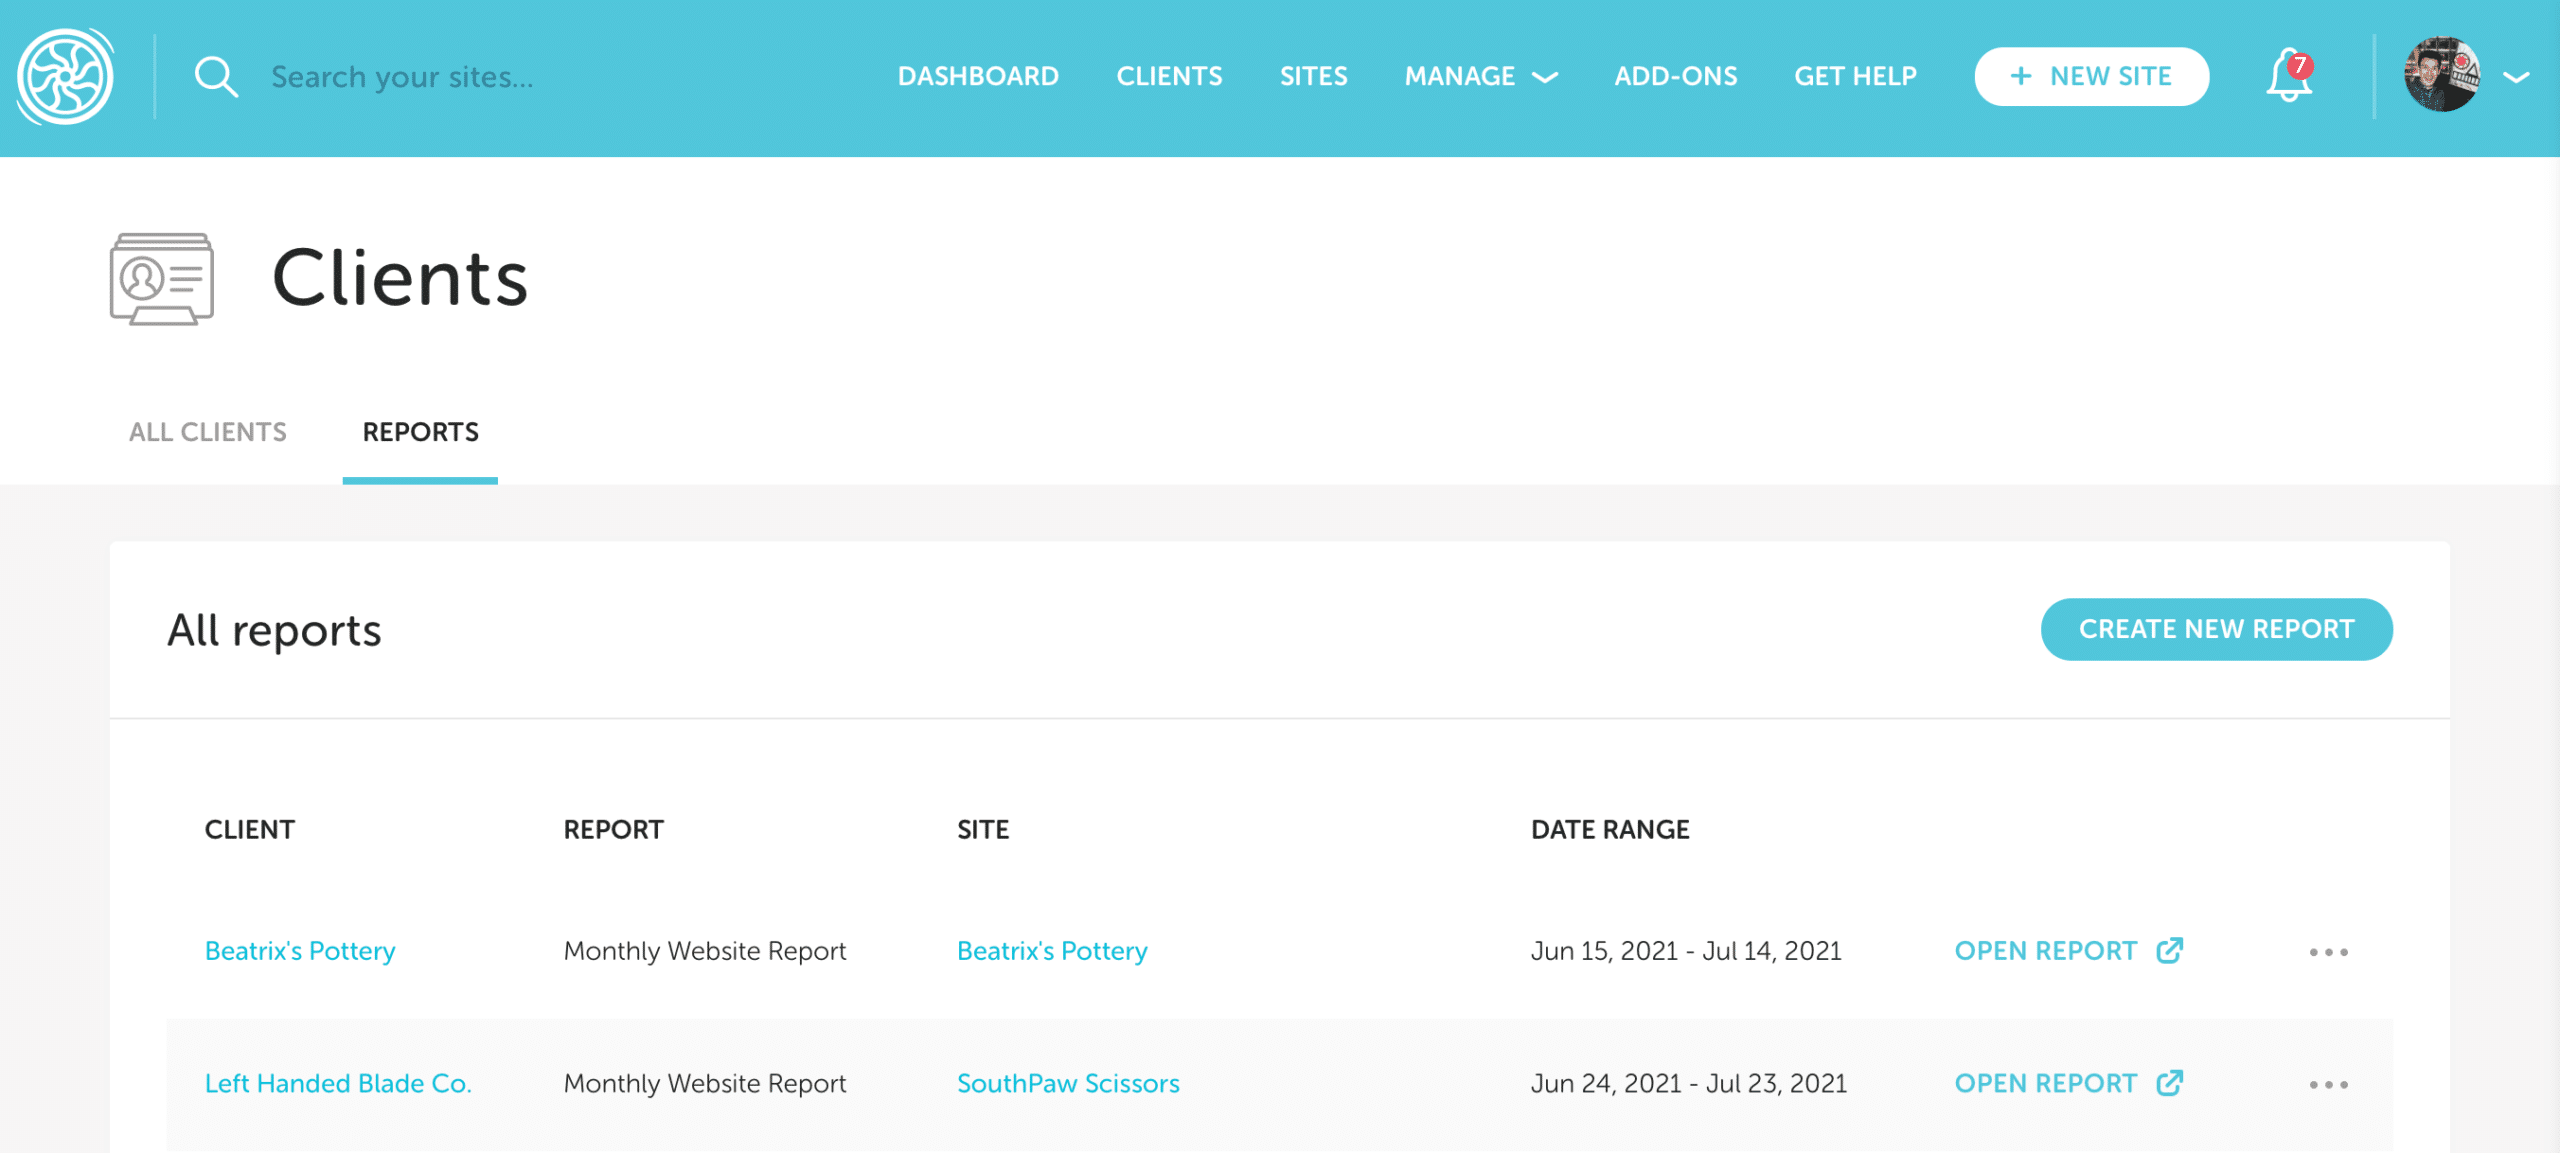
- Click the Clients option in the main menu.

- Navigate to the Reports tab and click Create New Report in the upper corner.
Note
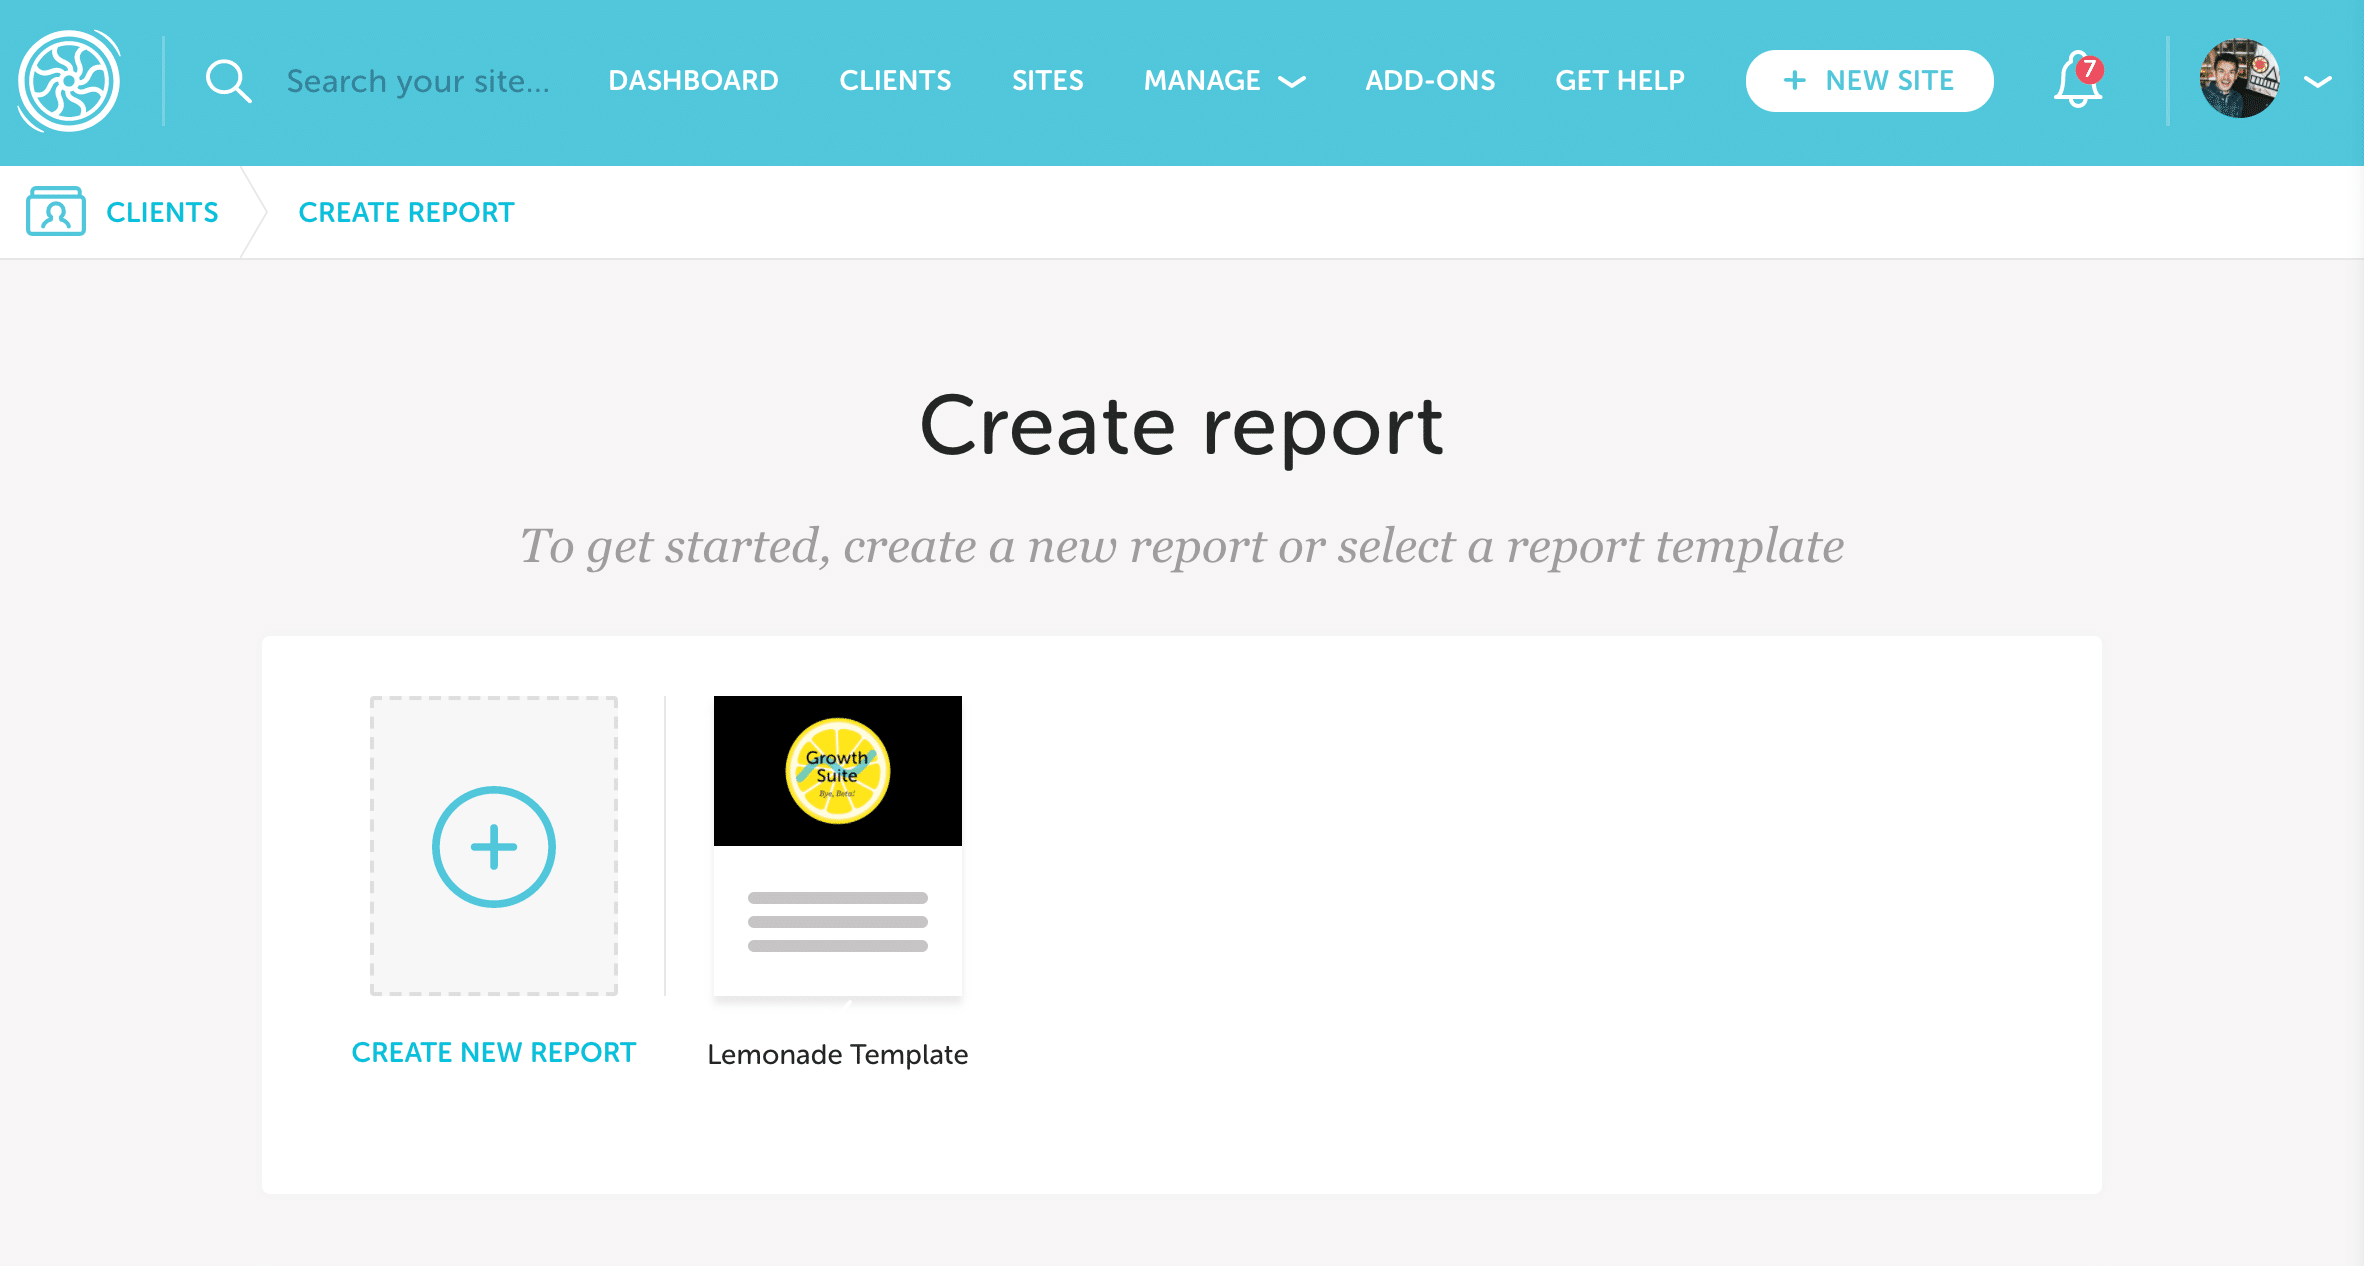
Alternatively, you can start a new report from the Reports tab on an individual Client page. - Click Create New Report to get started (you can also select from an existing template if you’ve created one already, in which case you can skip to this section of the help article).
Customize look & feel
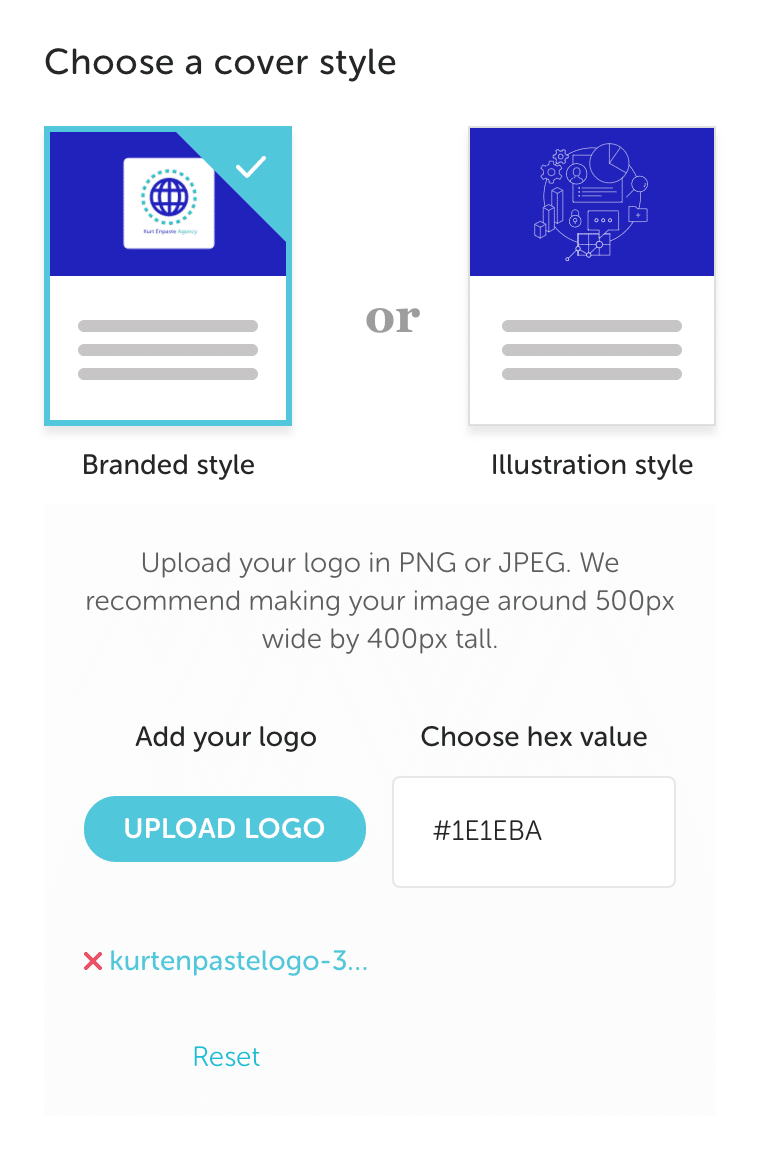
Client Reports can be customized with your agency’s logo and colors, and a welcome message. As you enter information, the panel on the right hand side will display a live preview.
- Choose a cover style. You can selected from Branded style by uploading your agency’s logo, or Illustration style. Enter the hex value of your agency’s main color to complete the custom look.
- Enter a title for your report and add an optional welcome message.

- Select which header and footer information you’d like to include and optionally upload your logo to appear in the header.

- Click Next Step to move to the next section.
Note
You can now add images and links to the Client Reports in the custom section.
Define report contents
Client Reports allow you to provide your clients with information relevant to their needs, including Flywheel hosting stats like site backup info and plugin updates, and Google Analytics data (with the free Google Analytics Add-on enabled).
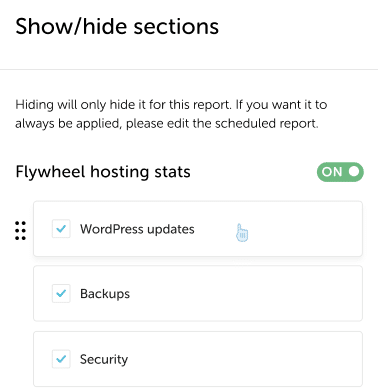
This section is customizable as well – use the checkboxes to exclude certain data points or reorder them with a simple click and drag. The preview pane helps you visualize what each page of the report will look like as you go. 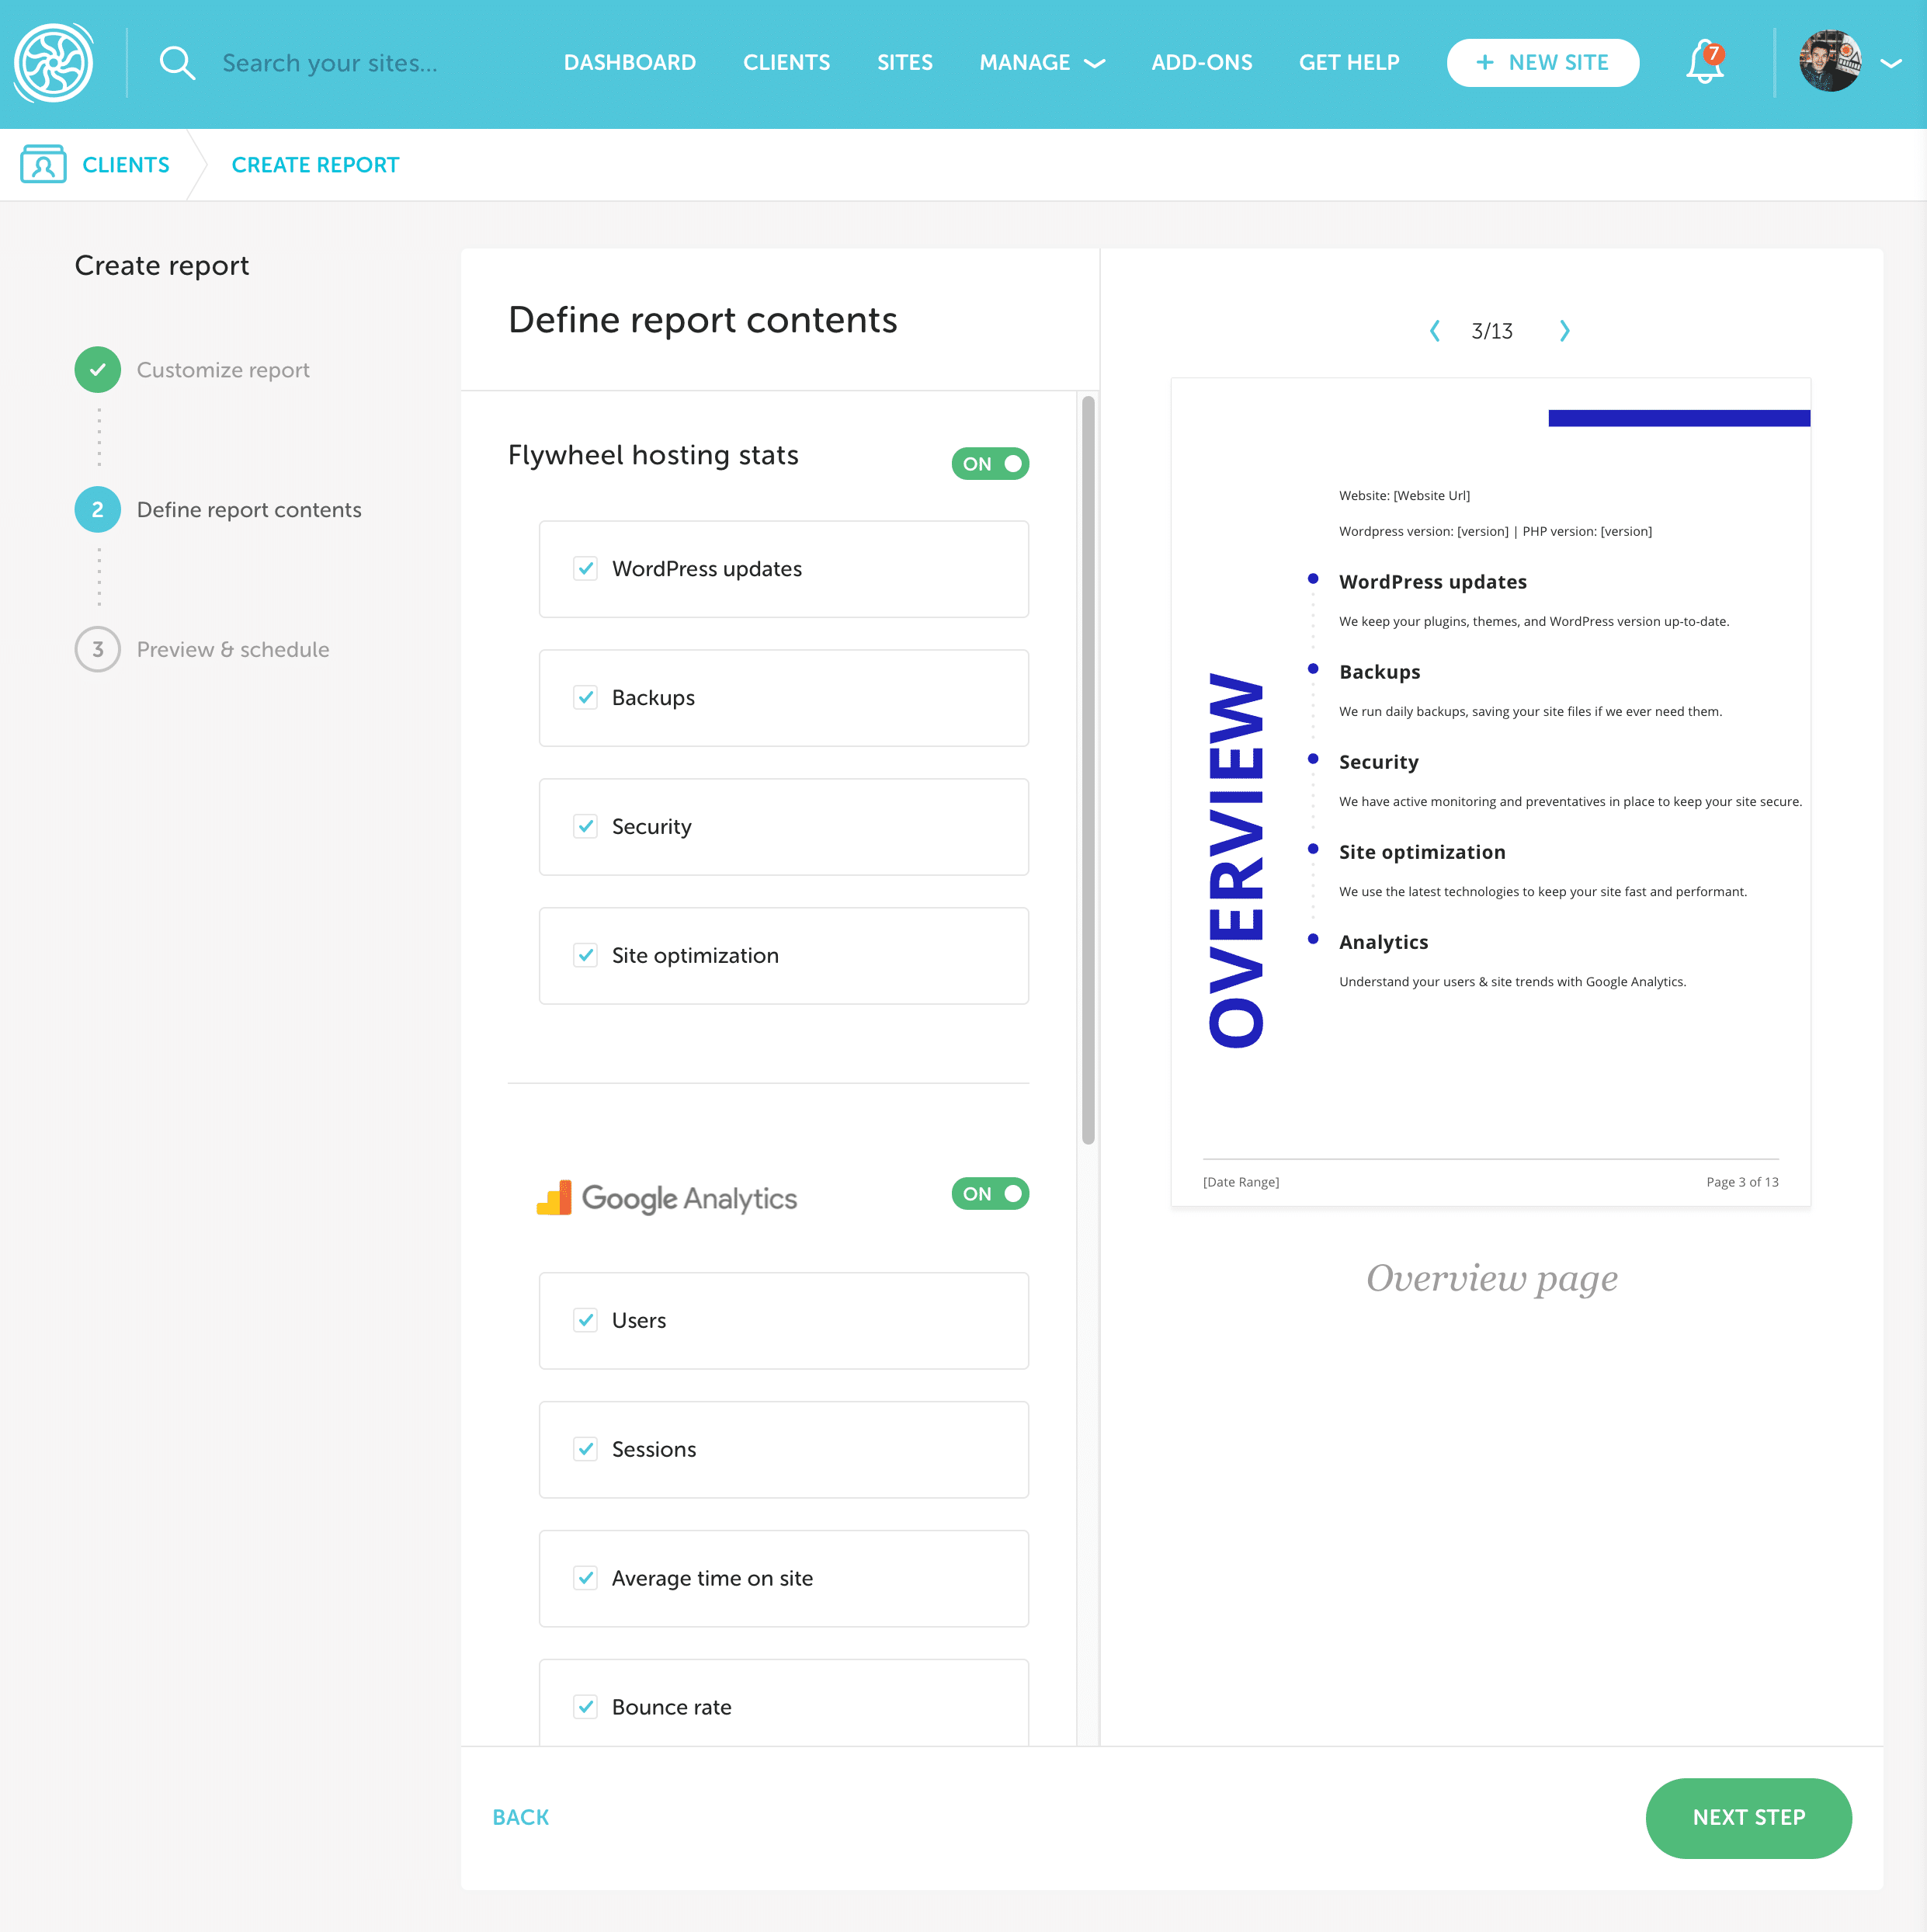
Available content (all optional)
Flywheel Hosting stats: WordPress® updates (including WP core updates, theme updates, and plugin updates), Backups, Security, Site Optimization1
Google Analytics (requires Google Analytics Add-on): Users, Sessions, Average time on site, Bounce rate, Conversion rate, Traffic Sources, Devices, Page visits, Top goals
- Select the data to include in your report using the checkboxes and toggles.
- If you wish, reorder the content by clicking and dragging.
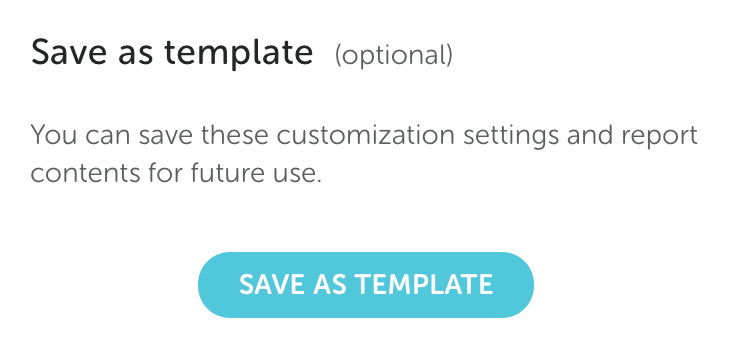
- Optionally, click Save as template to save all the customizations you’ve made so far for later use.
- Click Next step to continue.
Preview & schedule the report
Now you’re ready to select a client and site to populate the report and set the report period. Client Reports are recurring and will automatically be sent to your client at the frequency you’ve chosen.
Use the arrows in the preview pane to cycle through each page of the report.
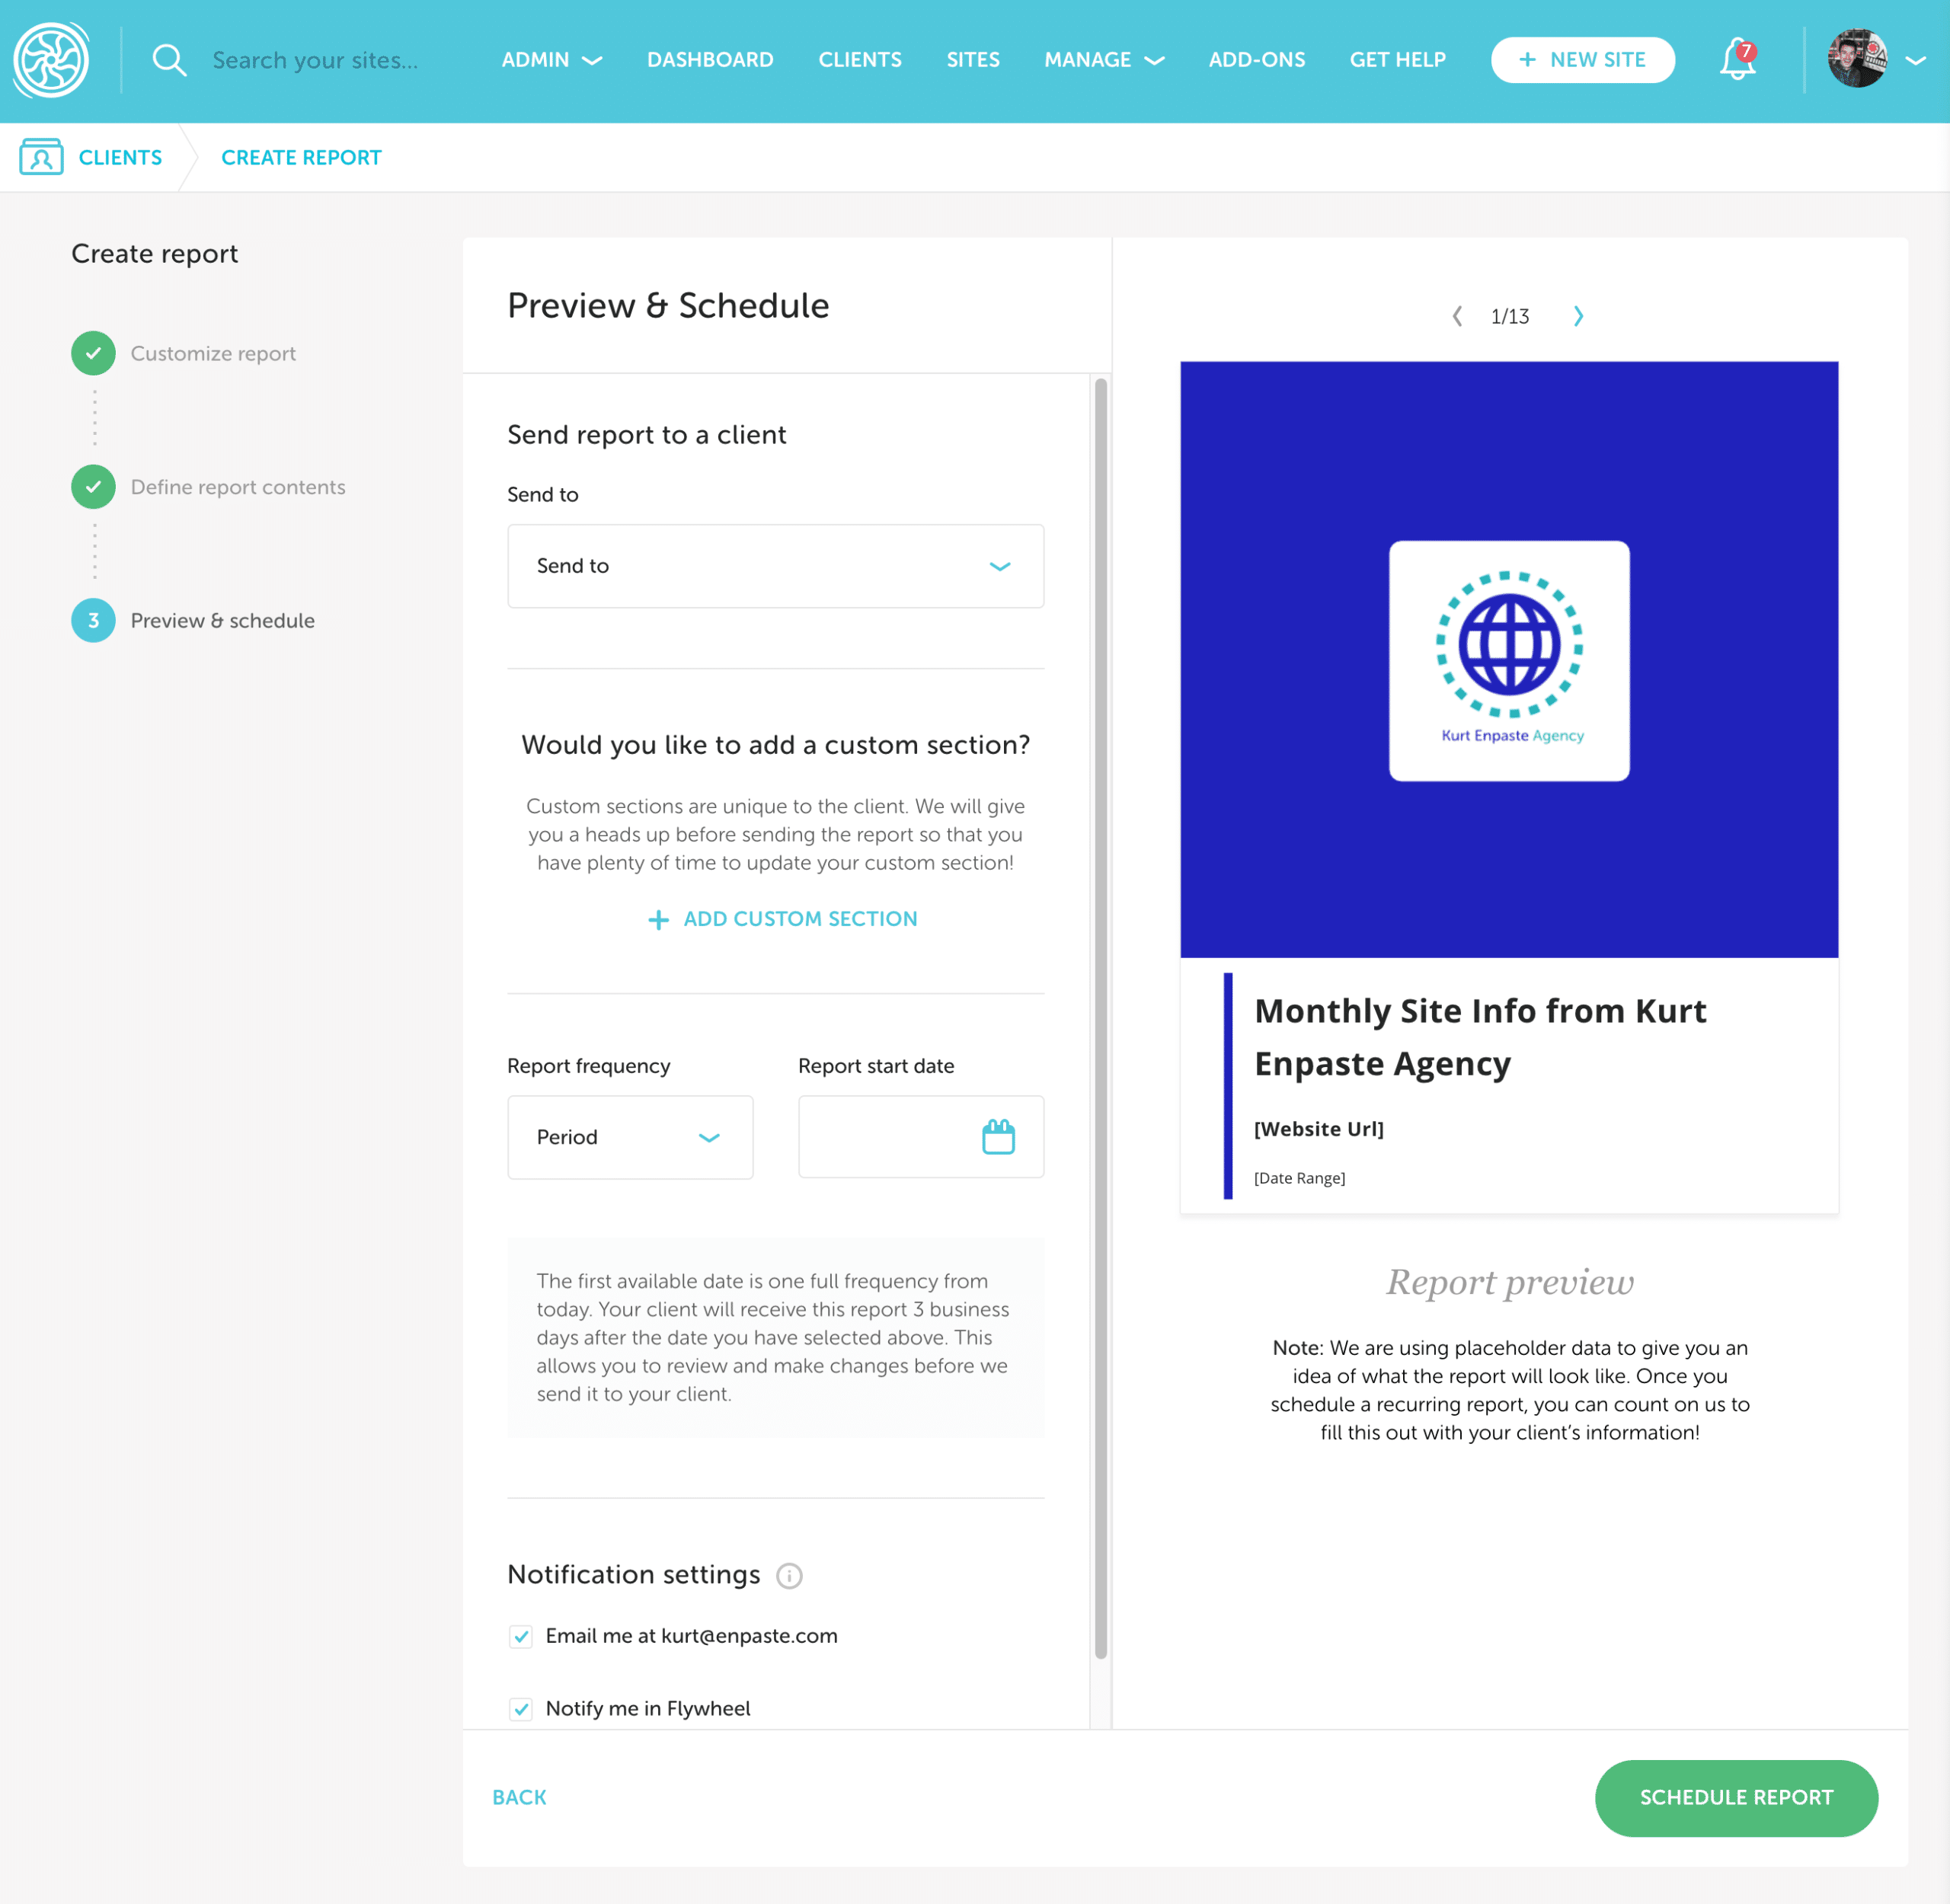
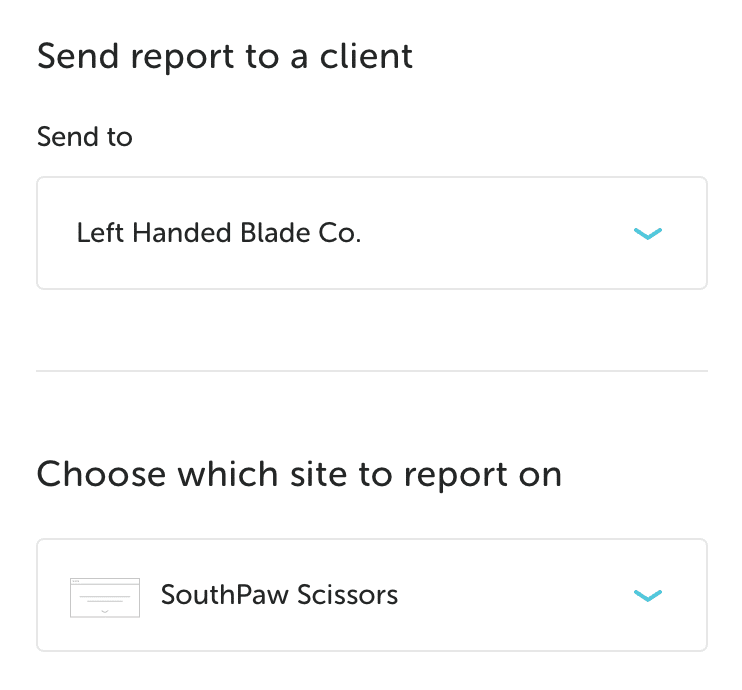
- Select the client and site.
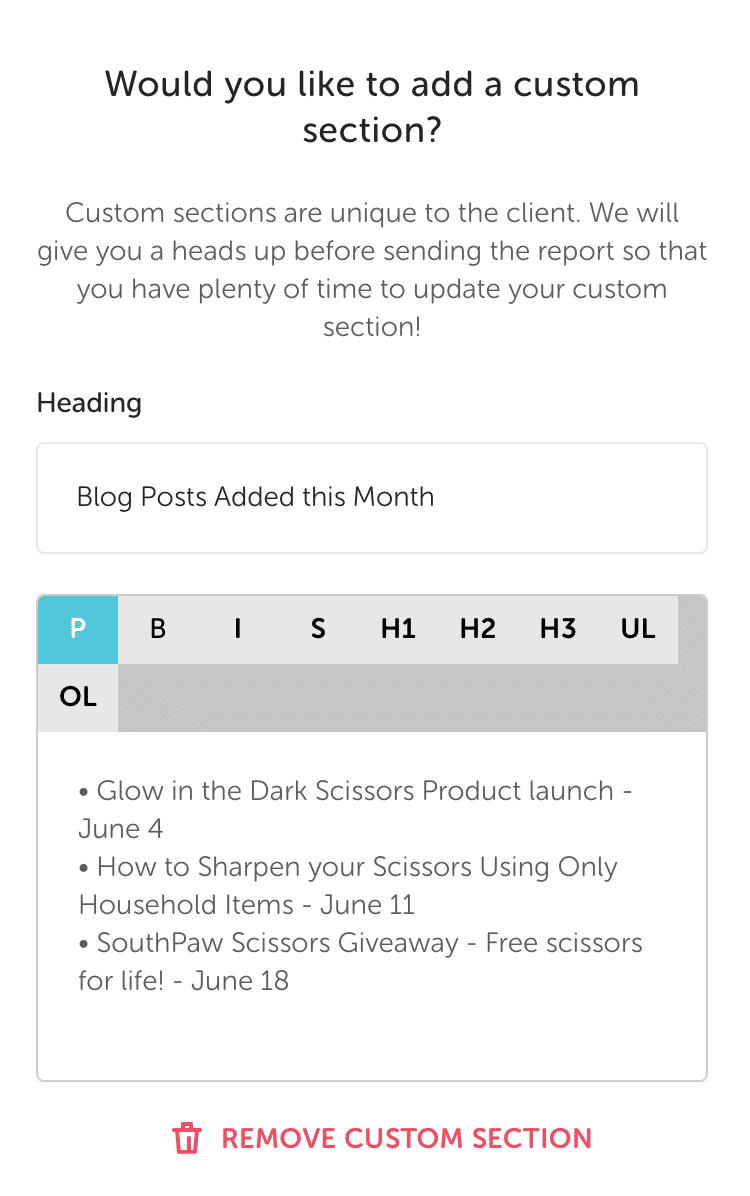
- Add an optional custom section (e.g. new blog posts added, hero image updated, COVID banner added, etc). You can also add these later, once the report has been generated.
- Set the report frequency (monthly or quarterly) and the report start date.
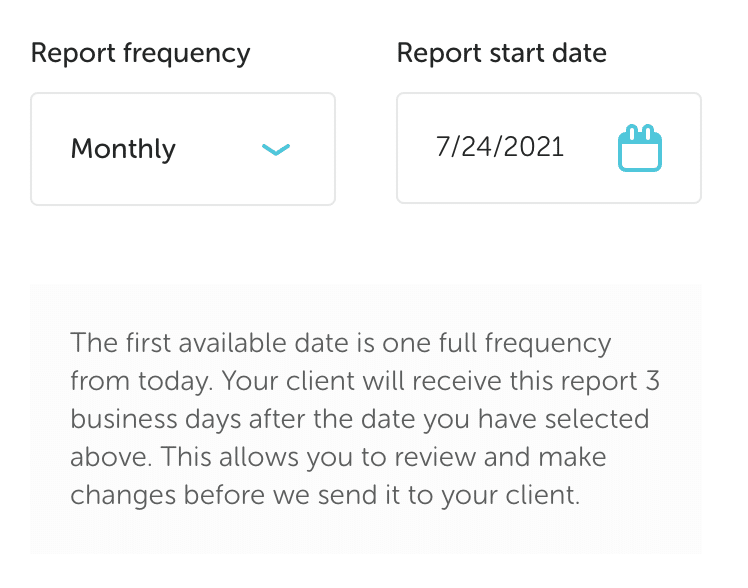
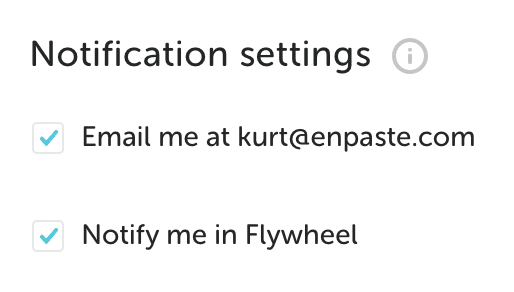
- Set your notification preferences. Receive an email when the report is ready, a notification in Flywheel’s communication center, or both!
- When you’re ready, click Schedule Report. You’re all set!
Report generation timeline
Now that your report is scheduled, Flywheel collects data throughout the report period. The report is generated when this period concludes.
For example, if you create a new Client Report on June 15th and select the monthly frequency, you’ll be notified that the first report is available on July 15th, which will include data from June 15th-July 14th.
Grace Period
Once you’re notified that the report is ready, Flywheel holds onto it for up to three business days, which we call the “grace period”. This gives you the opportunity to review the data in the report and add custom notes before it goes out to your client.
Once reviewed and approved by you, your client will get the report within 24 hours. If you do nothing, the report will be sent once the grace period concludes. Continuing the example from above, this means the report generated July 15th will send to your client on July 18th.
Review & approve the report
Now that your report is ready, you can review it and make last minute changes before approving. This step is optional – if you’re confident your report is looking good and choose not to alter it, the report will automatically deliver to your client three days later.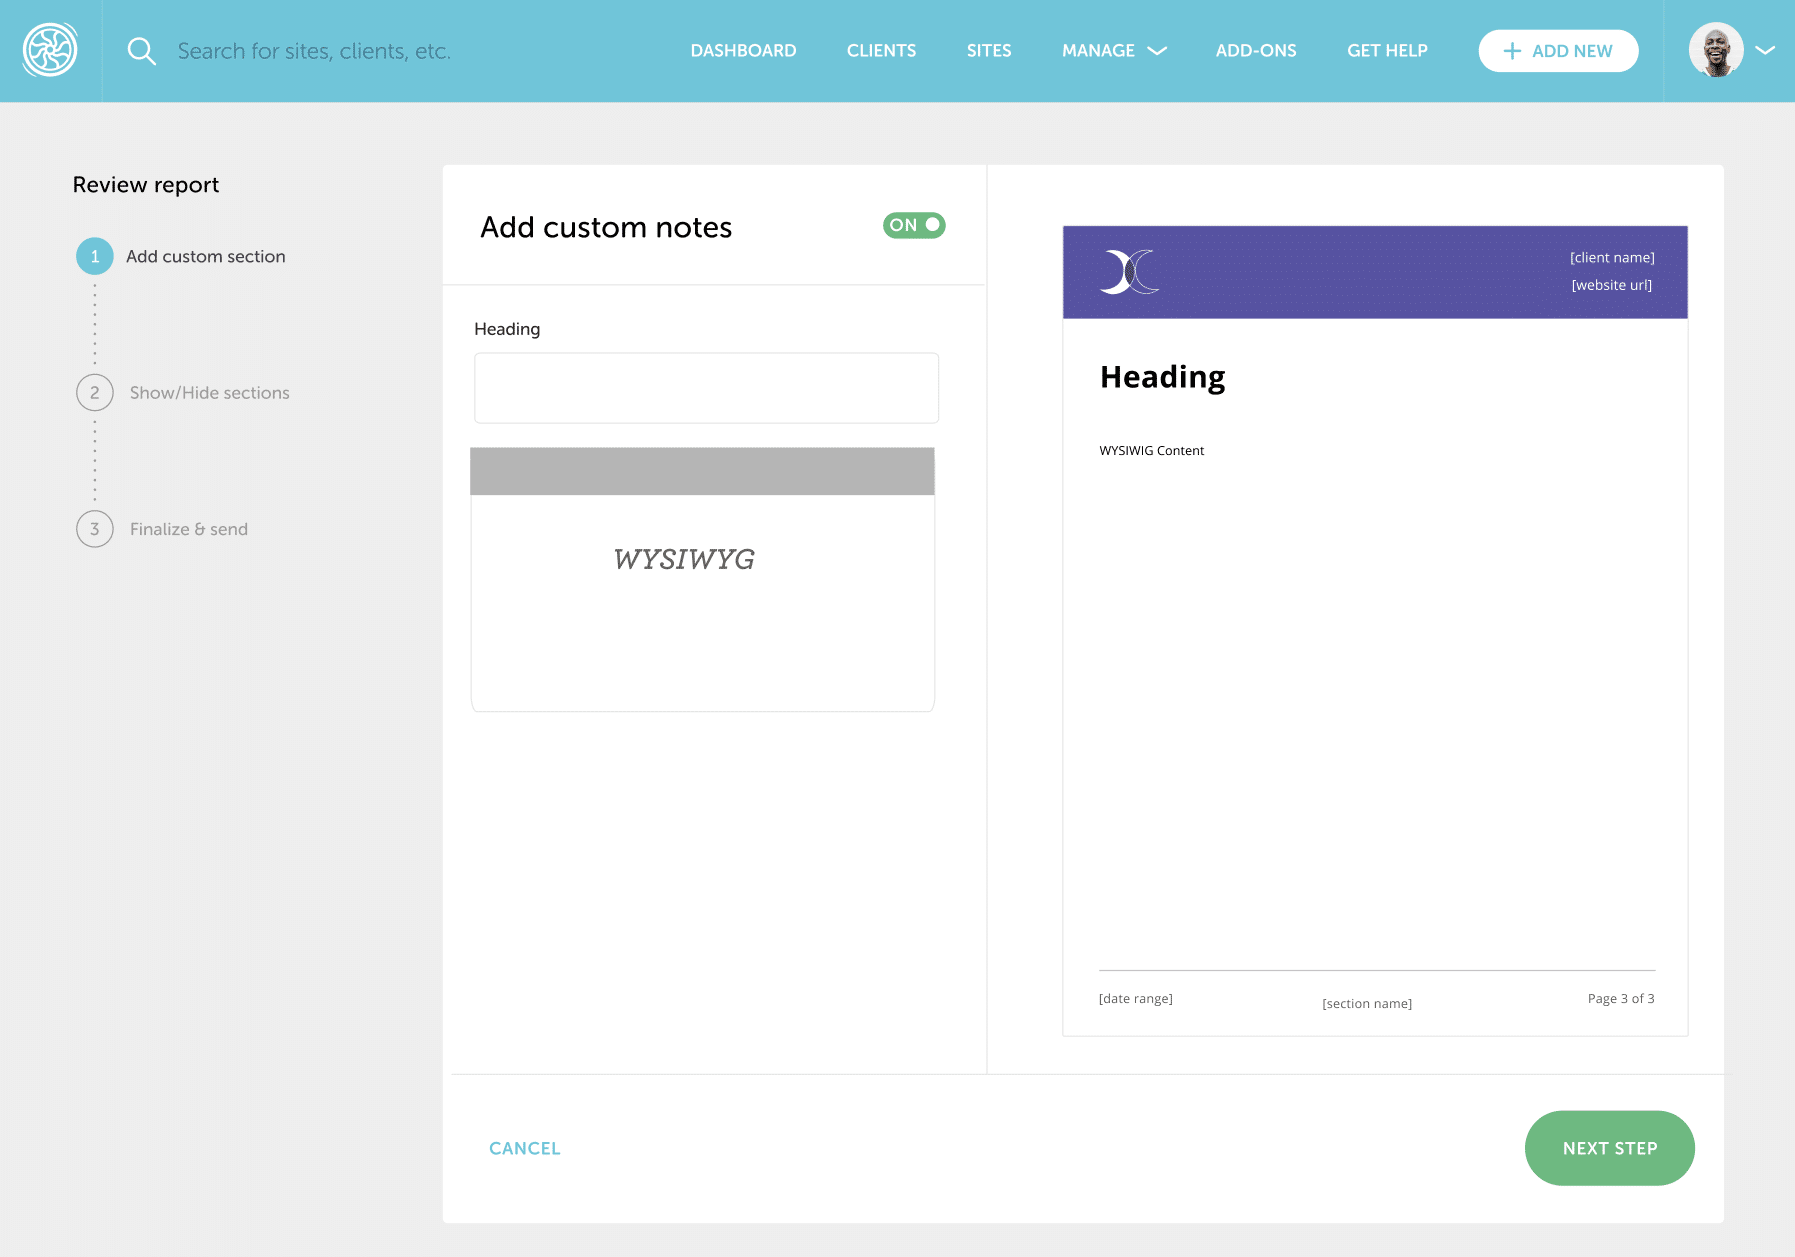
- Add an optional custom message.

- Show, hide, or rearrange any reporting sections. Changes made here will not affect future reports – if you wish to make the changes permanent, edit the report instead (see How to edit or cancel an active report below).
- Review your final report preview.
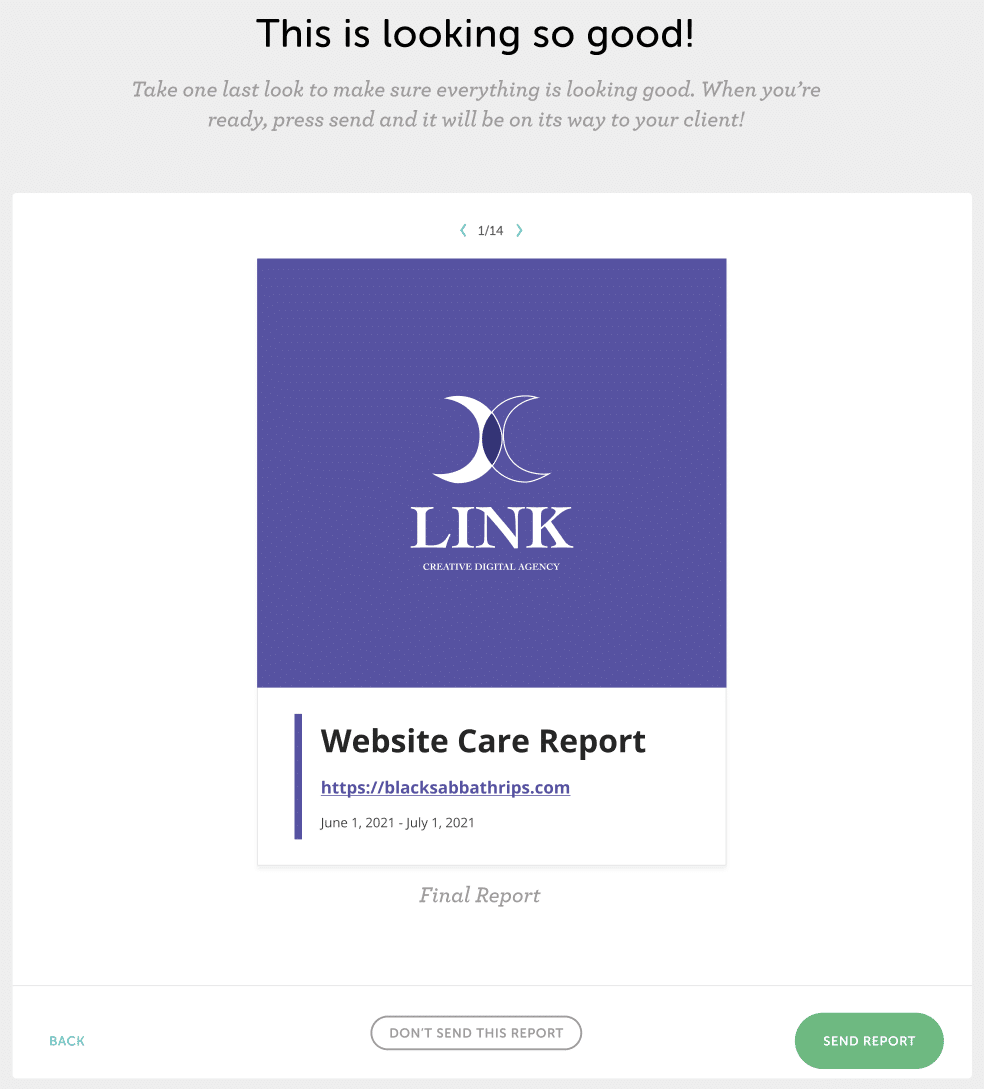
- When you’re satisfied, click Send Report, and your client will receive it within 24 hours.
- If you’d rather not send this particular report, click Don’t Send This Report.
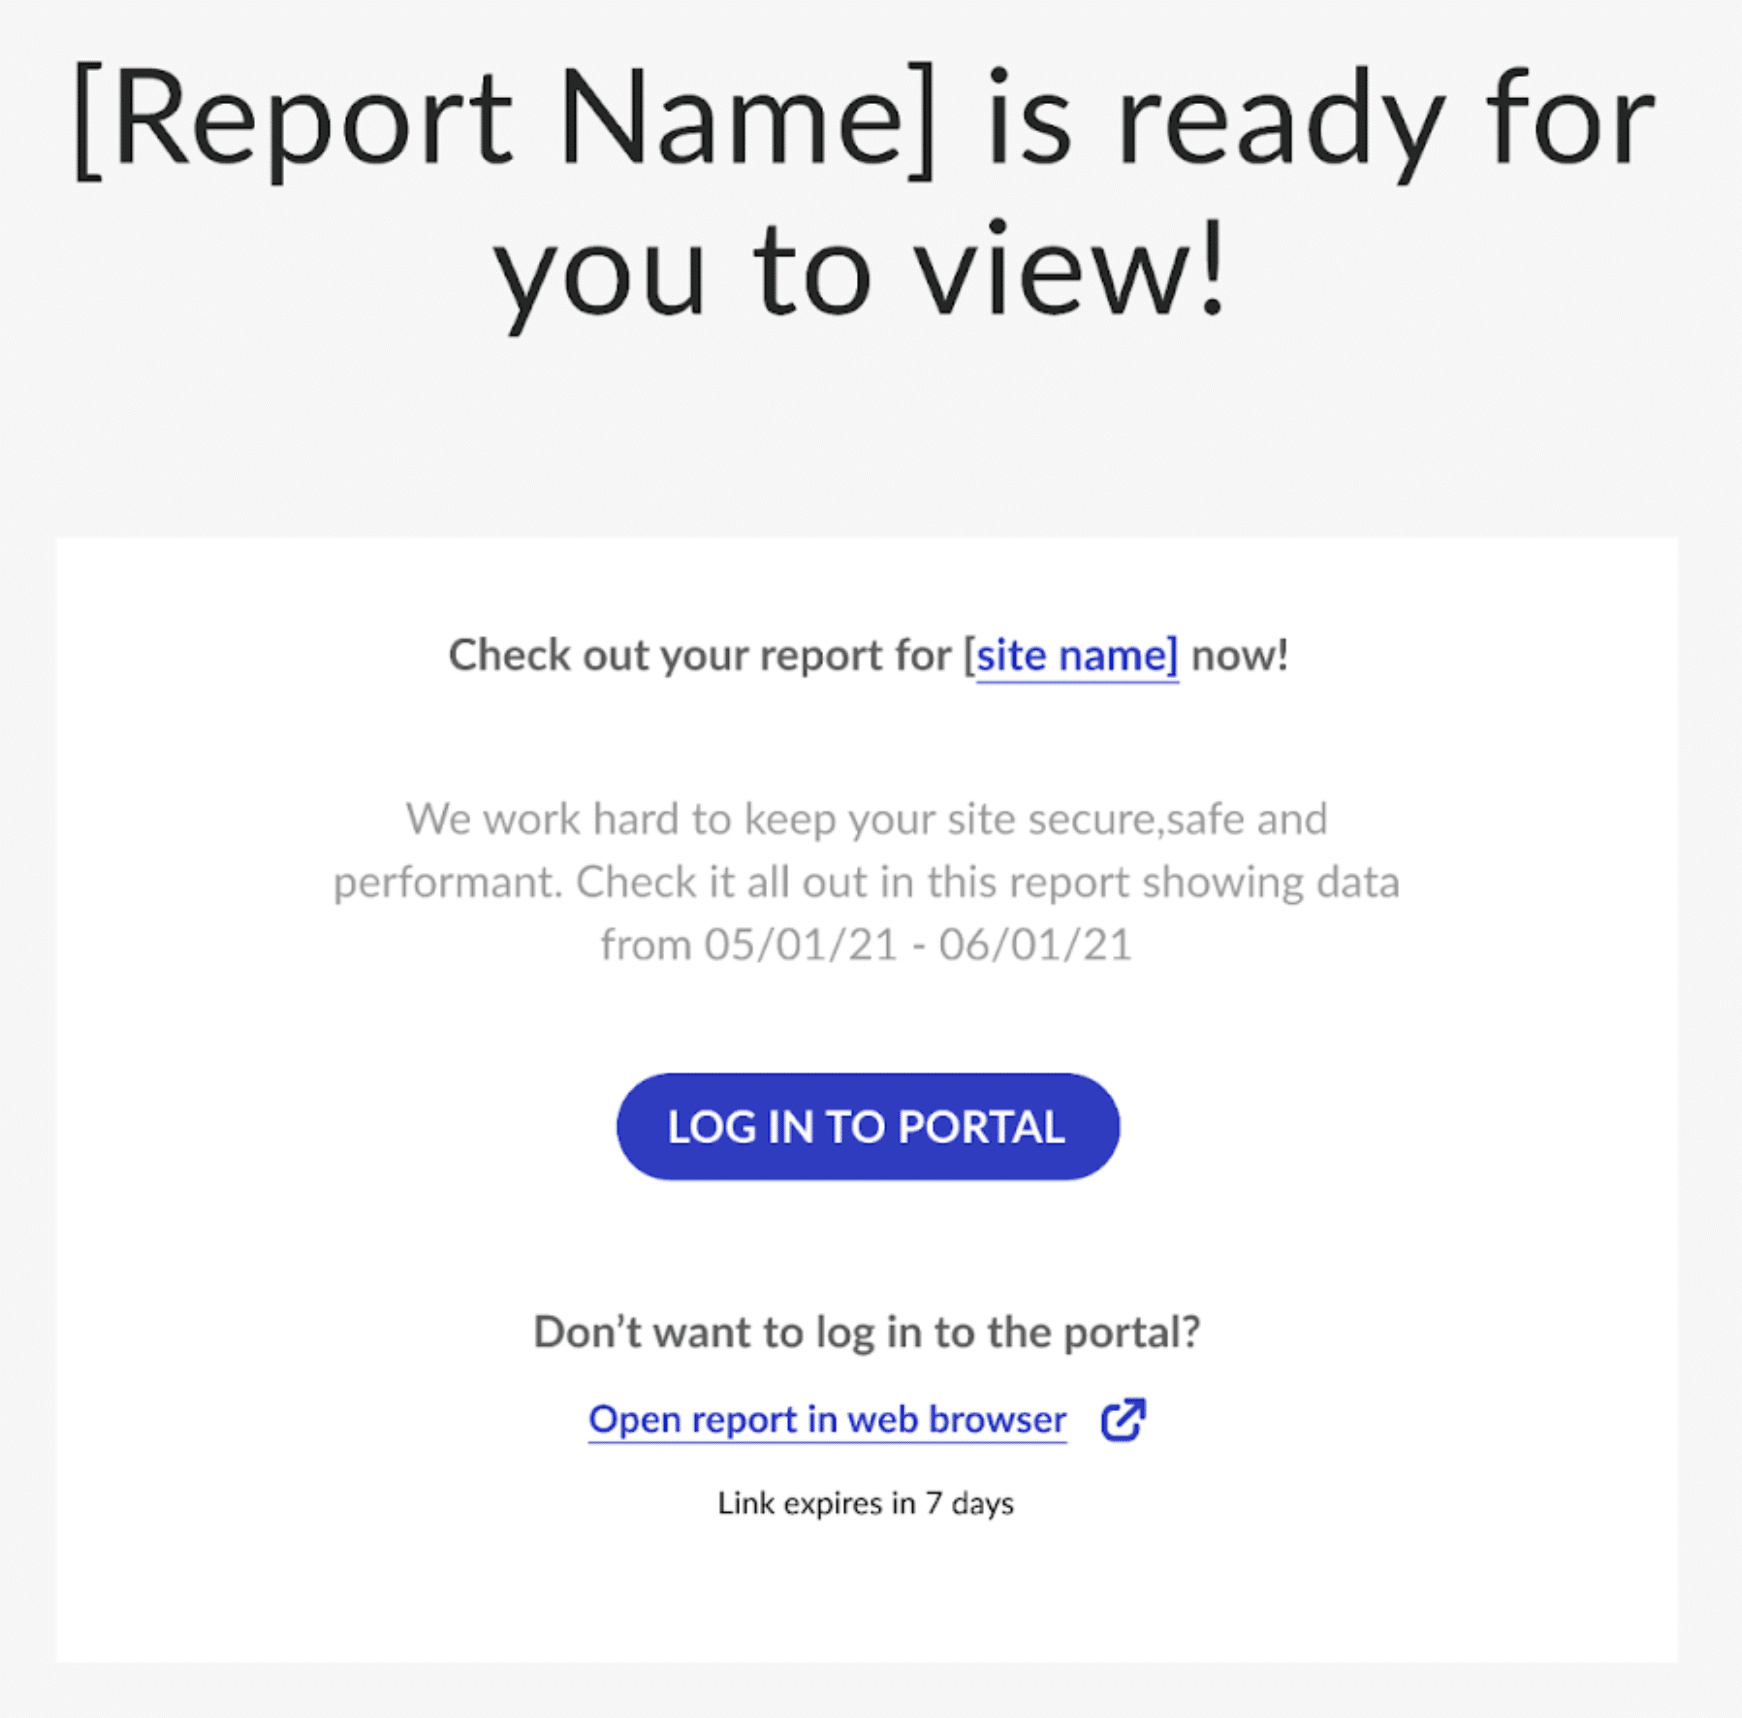
Report is emailed to your client
Your clients receive reports via email (originating from [email protected]), which includes a link to the report that expires within 7 days. Accessing a report this way doesn’t require them to login to their Client Portal, and clients can share this link with their team or other parties at their discretion.
Viewing report history
Your clients can also login to their Client Portal to view or download all current and previous reports.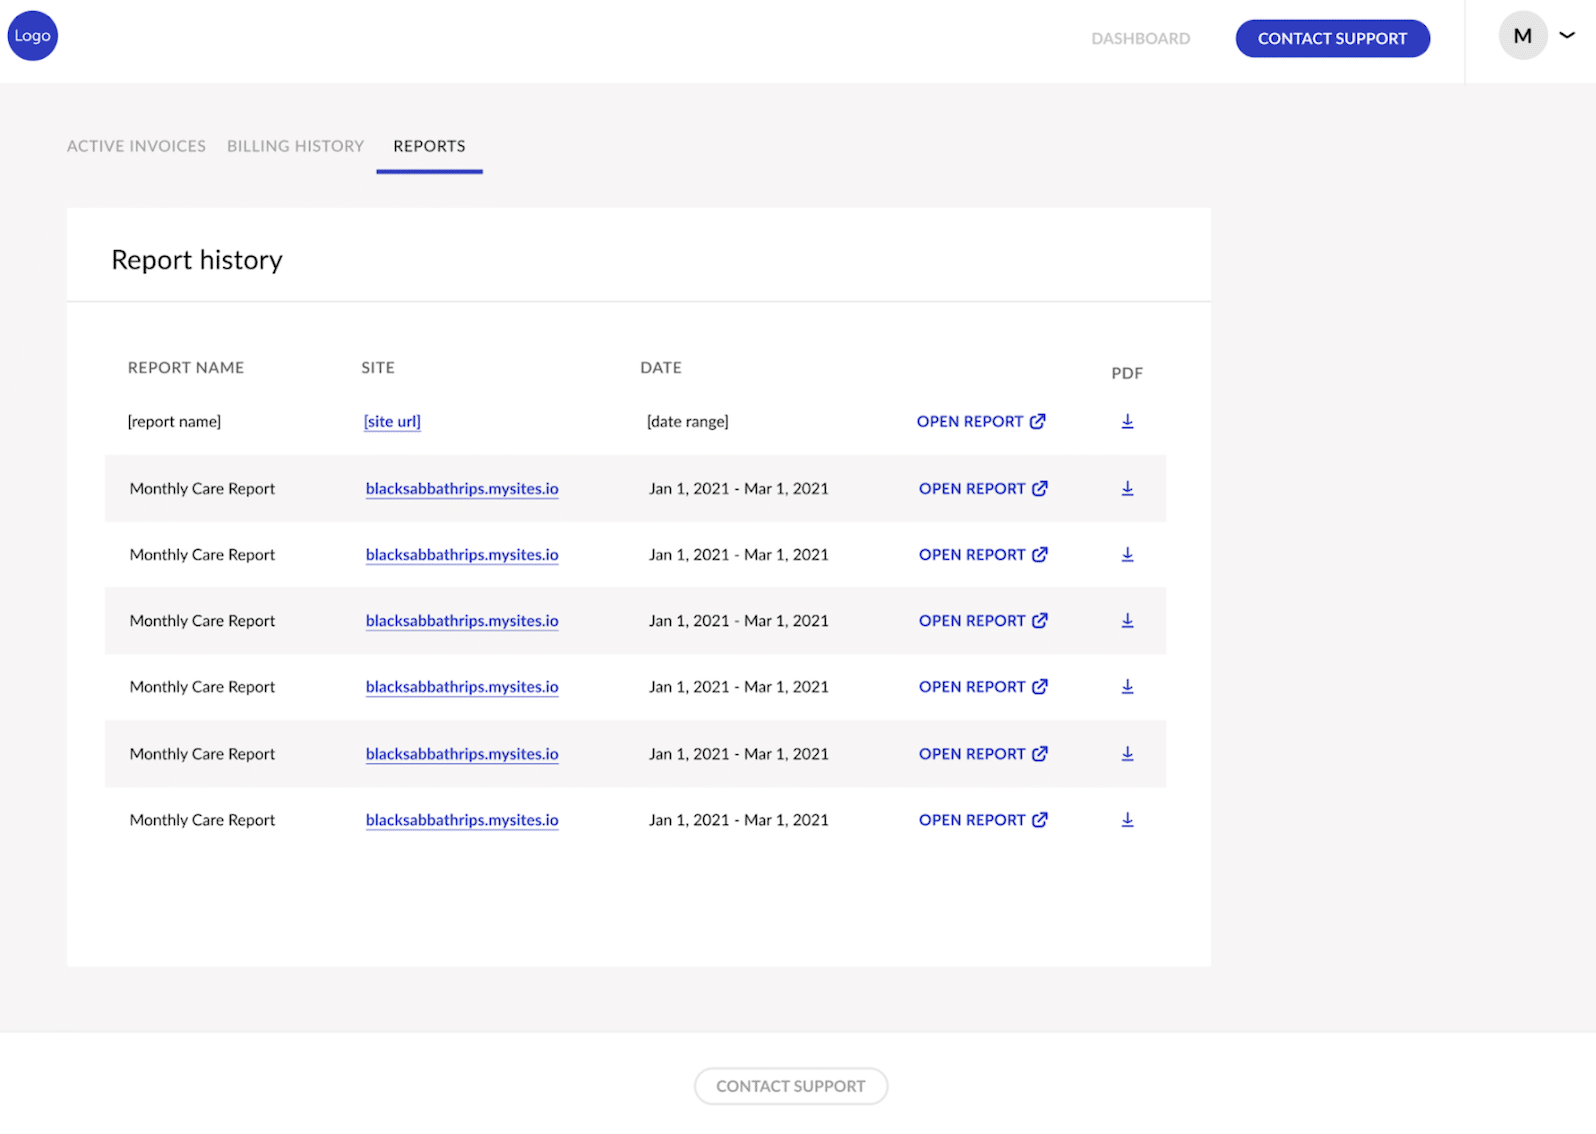
How to edit or cancel an active report
You can easily edit or cancel an active client report from the Growth Suite dashboard.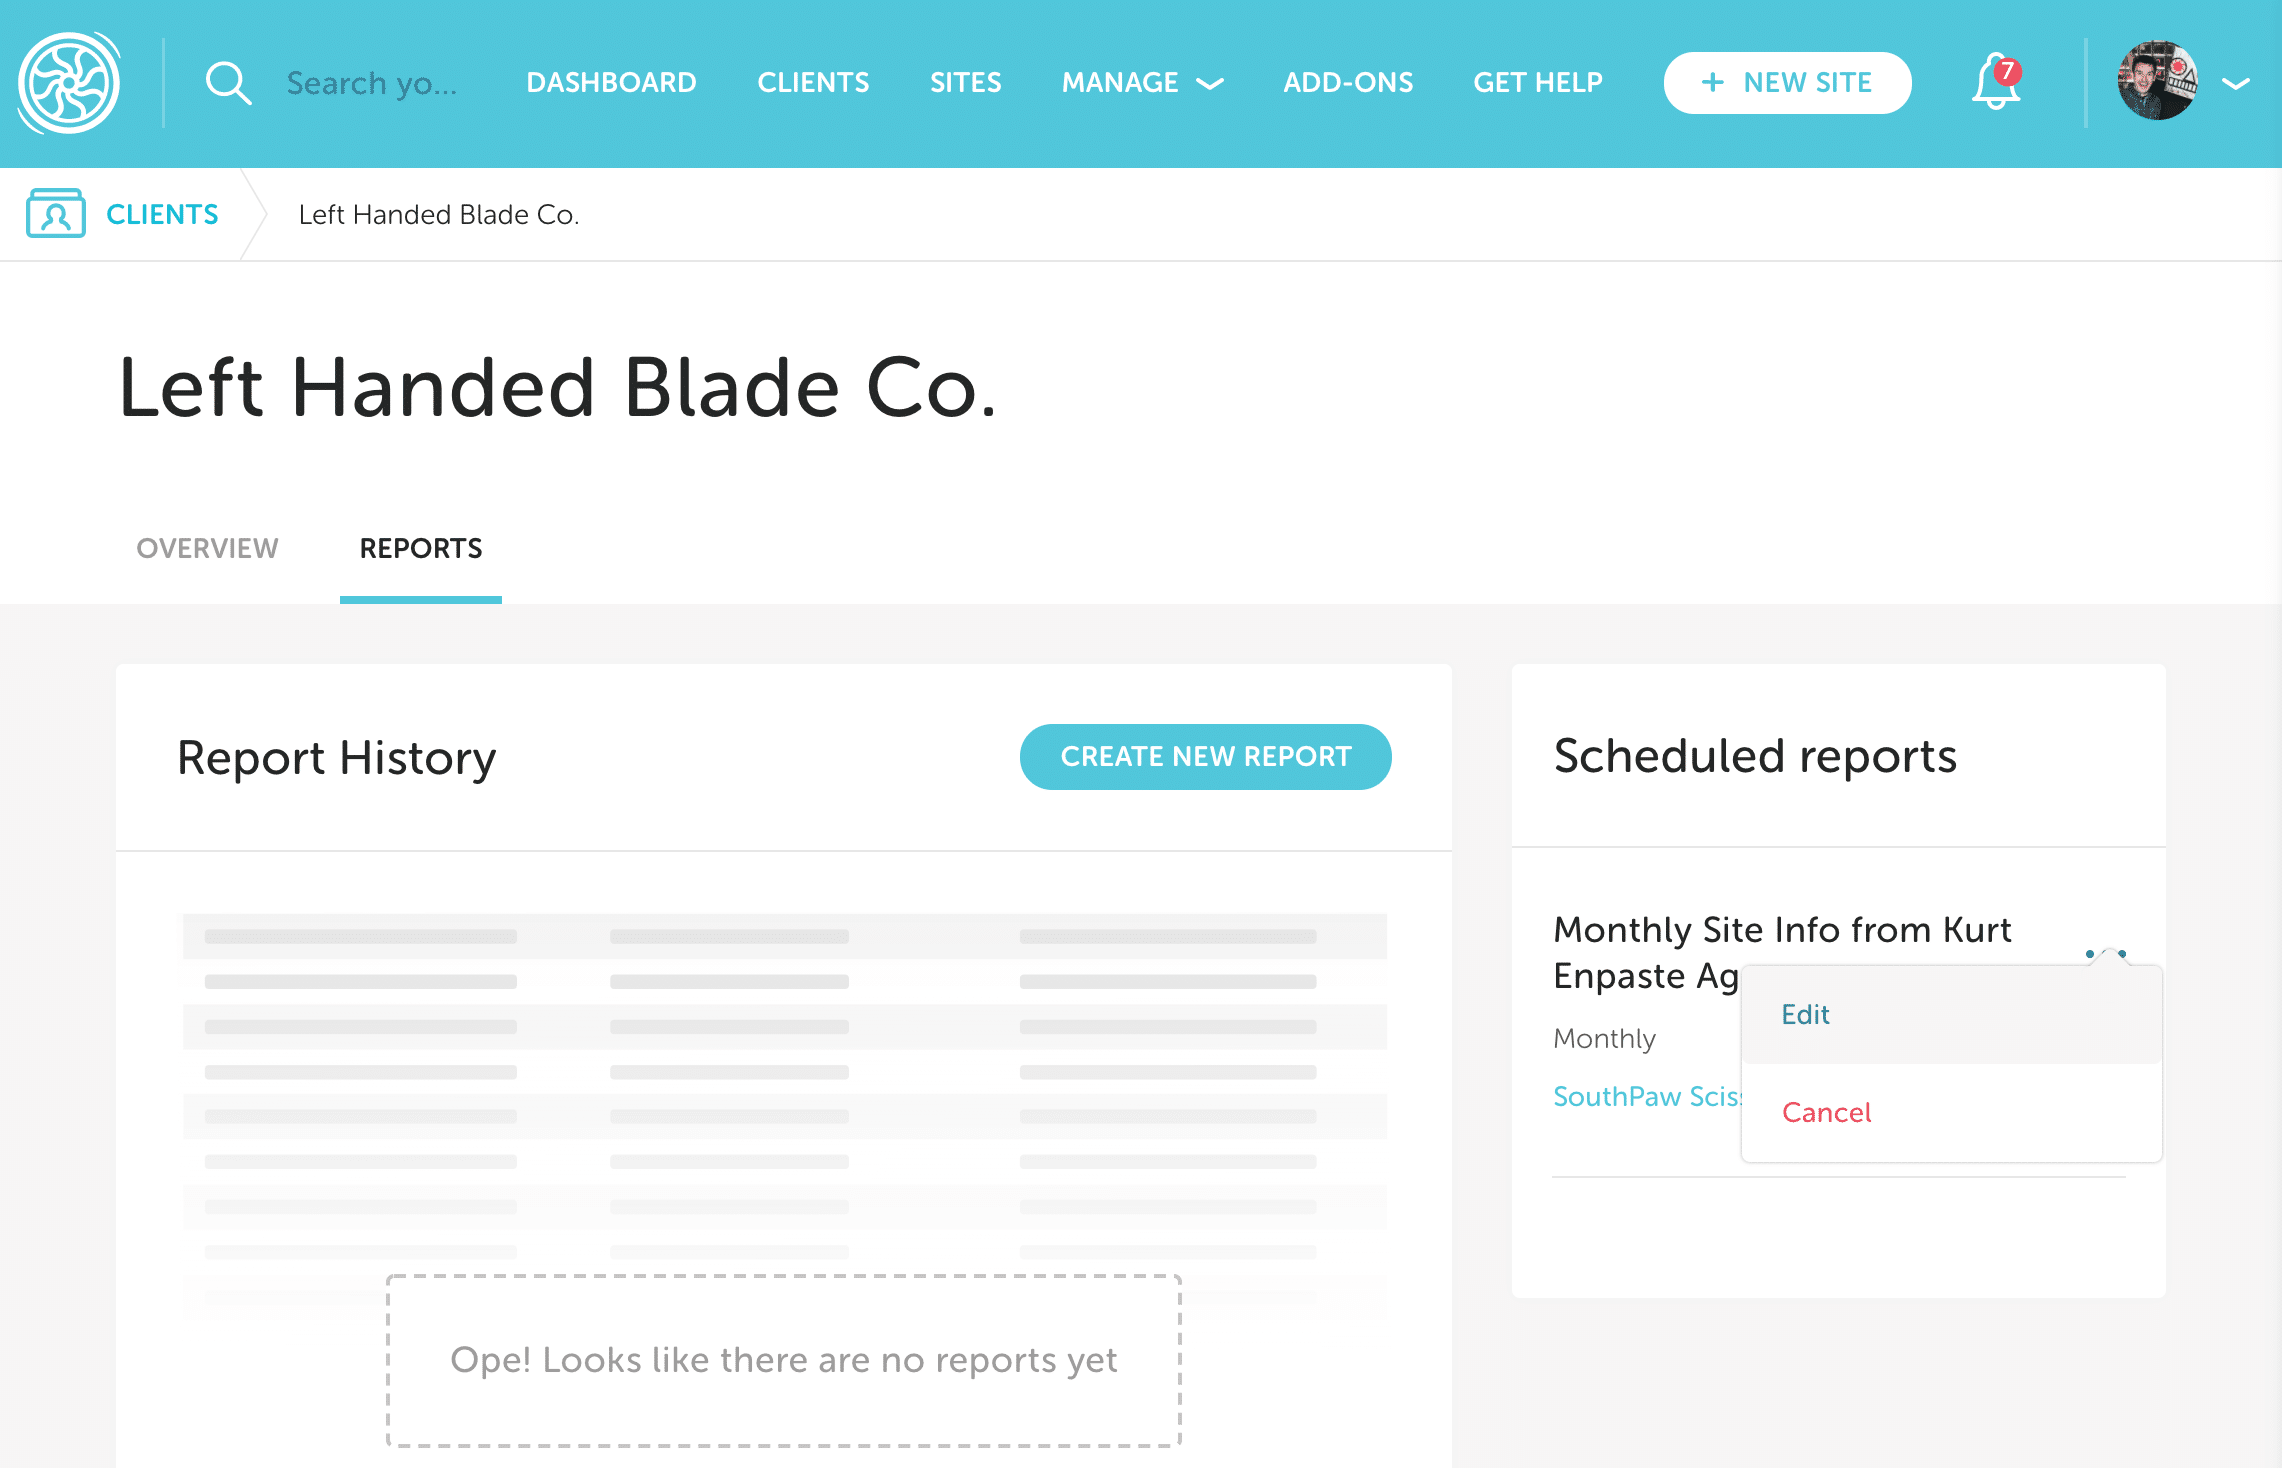
- From the individual client’s page, navigate to the Reports tab.
- On the right sidebar, you’ll see the scheduled reports for the client.
- Click the 3-dot menu for the report you want to alter, and click Edit or Cancel.
Need help?
If you have any questions our Happiness Engineers are here to help!
Getting Started
New to Flywheel? Start here, we've got all the information you'll need to get started and launch your first site!
View allAccount Management
Learn all about managing your Flywheel user account, Teams and integrations.
View allFeatures
Flywheel hosting plans include a ton of great features. Learn about how to get a free SSL certificate, set up a staging site, and more!
View allPlatform Info
All the server and setting info you'll need to help you get the most out of your Flywheel hosting plan!
View allSite Management
Tips and tricks for managing your sites on Flywheel, including going live, troubleshooting issues and migrating or cloning sites.
View allGrowth Suite
Learn more about Growth Suite, our all-in-one solution for freelancers and agencies to grow more quickly and predictably.
Getting started with Growth Suite
Growth Suite: What are invoice statuses?
Growth Suite: What do client emails look like?
Managed Plugin Updates
Learn more about Managed Plugin Updates, and how you can keep your sites up to date, and extra safe.
-
Restoring Plugin and Theme Management on Flywheel
-
Managed Plugin Updates: Database upgrades
-
Managed Plugin Updates: Pause plugin updates
Local
View the Local help docs
Looking for a logo?
We can help! Check out our Brand Resources page for links to all of our brand assets.
Brand Resources