Migrate an eCommerce Site to Flywheel
Migrating an eCommerce site can seem like a daunting task even for seasoned developers, as there are some special considerations to account for to ensure orders don’t fall through the cracks. Never fear, our guide to migrating your eCommerce site to Flywheel will walk you through that process and have you up and running in no time!
Table of Contents:
Migrate your site to Flywheel
Visit our guide here for instructions on how to migrate your site to Flywheel with no fuss using our custom plugin WP Engine Site Migration.
Or, let us do it for you! Click here, complete the form, and our team of seasoned pros will take care of the initial migration (you’ll still want to follow the rest of the steps below to ensure you don’t lose any orders, though).
Test the migrated site
Using the site’s temporary domain, view the site you just migrated. Make sure everything is working as you expect (cart, checkout, coupons, etc.). Having problems? Just reach out to our friendly happiness engineers for help!
Disable order taking on the Live site
Begin this step only when you’re ready to go live on Flywheel. You’ll want to let your customers know that ordering will be disabled for a bit while you transition your site over to Flywheel hosting.
You can either disable the ordering function specifically (check your eCommerce plugin documentation for more info), or you can put the entire site into maintenance mode using a plugin like CMP – Coming Soon & Maintenance Plugin or Coming Soon Page.
This step is vital to ensure customers don’t place orders on your old site during the transition period, as those orders may not get moved over.
Perform a content refresh
This step is essentially migrating the site over to Flywheel again. This will serve to include any orders that were created on the live site between the the first migration and the time you disabled orders.
Here’s where the plugin WP Engine Site Migration makes things easy, or you can follow our Content Refresh Guide. Keep in mind, if you had to make any changes to your migrated site back in Step 2, you’ll want to reapply the changes manually after the content refresh is complete.
Note
As an alternative to Step 4, eCommerce plugins also typically offer ways of manually moving orders, though sometimes this functionality has a fee associated. Check with your eCommerce vendor if this is preferred.Change your domain’s DNS records to point to Flywheel
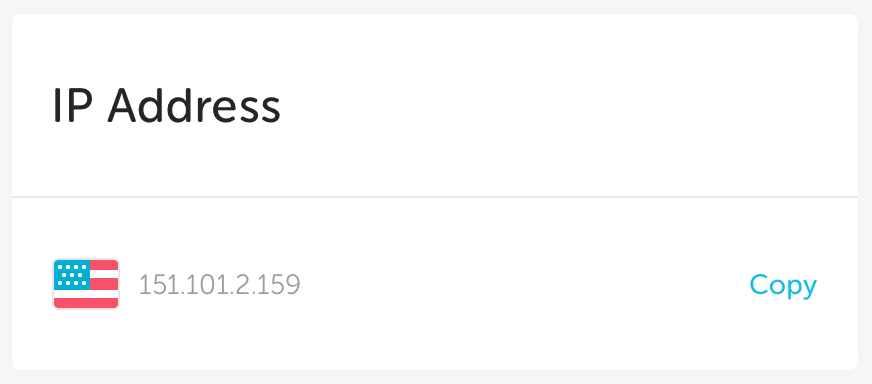
Visit your registrar’s Domain Manager and point your domain(s) to the Flywheel IP address, which can be found on the site’s dashboard on the sidebar.

Not quite sure how to change your domain’s DNS settings? Don’t worry, we offer generic and registrar-specific guides here.
Enable ordering on the Flywheel site only
As DNS propagates over the next few hours, your customers will start to see the Flywheel version of site when they visit your domain, hooray! It’s safe to enable ordering now, but make sure you do this on the Flywheel site only and not the original.
Need help?
If you have any questions our Happiness Engineers are here to help!
Getting Started
New to Flywheel? Start here, we've got all the information you'll need to get started and launch your first site!
View all
Account Management
Learn all about managing your Flywheel user account, Teams and integrations.
View all
Features
Flywheel hosting plans include a ton of great features. Learn about how to get a free SSL certificate, set up a staging site, and more!
View all
Platform Info
All the server and setting info you'll need to help you get the most out of your Flywheel hosting plan!
View all
Site Management
Tips and tricks for managing your sites on Flywheel, including going live, troubleshooting issues and migrating or cloning sites.
View all
Growth Suite
Learn more about Growth Suite, our all-in-one solution for freelancers and agencies to grow more quickly and predictably.
Getting started with Growth Suite
Growth Suite: What are invoice statuses?
Growth Suite: What do client emails look like?

Managed Plugin Updates
Learn more about Managed Plugin Updates, and how you can keep your sites up to date, and extra safe.
-
Restoring Plugin and Theme Management on Flywheel
-
Managed Plugin Updates: Database upgrades
-
Managed Plugin Updates: Pause plugin updates

Local
View the Local help docs
Looking for a logo?
We can help! Check out our Brand Resources page for links to all of our brand assets.
Brand Resources All help articles