Dashboard tour
Each site on Flywheel features its own dashboard where you can view information and configure your site.
Table of Contents:
Main Dashboard
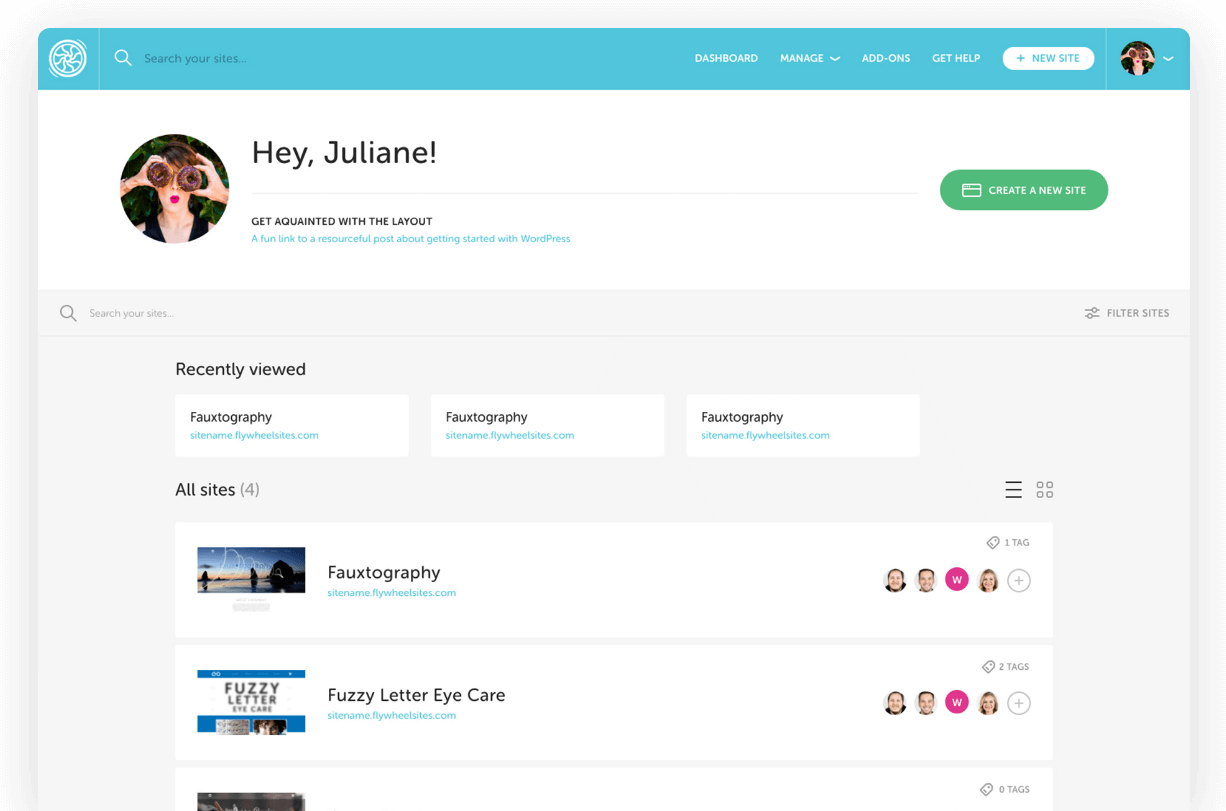
This is our beautiful dashboard! You’ll see this when you first log into your Flywheel account. Here you can view your current sites, create new sites, manage, and update your information.
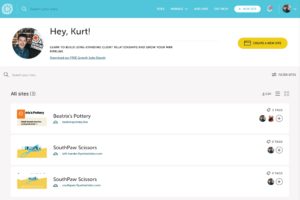
Sites – This option will take you back to the dashboard home page if you have navigated away from it.
Manage – Here you can view your Organizations, Blueprints, Group Migrations, and Referrals.

Add-Ons – This option will take you to view add-ons available for purchase or add-ons you’ve already purchased.
Get Help – This option will take you to any existing open tickets with the support team, the option to start a chat, and the help doc center.
+New Site & Create a New Site – From here you can start a new site on Flywheel or migrate one over.
Bell Icon – This button takes you to the Flywheel Communication Center. Check out this help doc for more information on the Communication Center.
User Icon – This option provides a drop-down menu with options to view your Account, Billing, Security, Product Updates, or Sign out.
![]()
Overview

Once you’ve selected a site from your Main Dashboard you will be taken to the Overview tab.
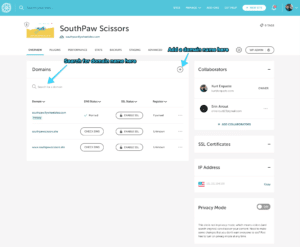
Domains – The Domains card displays all the domains associated with your site, including the randomly generated temporary domain (ending in flywheelsites.com or mysites.io). From here, you can add or remove domains, check the DNS status, enable SSL, and edit the temporary domain name. You can also sort the columns using the arrows, or search for a particular domain using the search field (helpful if you have a lot of domains).
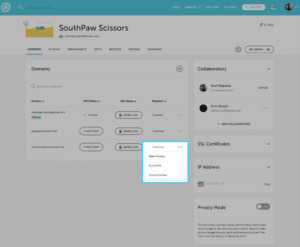
Remove a domain – To remove a domain, click the 3-dot menu next to the domain you want to remove and select Delete Domain.
Point DNS – If you added a domain to your site without pointing it, you can restart the process from the 3 dot menu at any time.
Note: A domain set as primary cannot be removed, so set a different domain (such as your temporary domain) as primary first, then remove the desired domain.
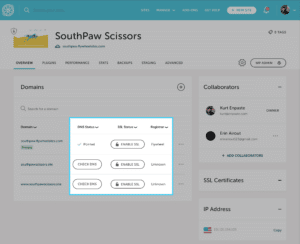 DNS Status – Flywheel’s built-in DNS checker lets you know if your site is successfully pointed to Flywheel. If you see the Check DNS button, it means your site is not yet pointed (or is still propagating). Click the button to run a fresh DNS check.
SSL Status – If your domain has an active SSL certificate, the type of certificate will be displayed. If not, you can enable SSL for your site by clicking the Enable SSL button.
Note
For more information on adding an SSL certificate (including a free option), check out these help articles:Registrar – Flywheel will attempt to determine your domain’s registrar and display it here. Click the registrar’s name to be taken to their site.
Note
Need help pointing your DNS to Flywheel? Check out this help article:Collaborators – This card displays the site’s owner as well as any users added to the site.
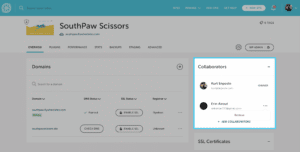
To add a collaborator, click + Add Collaborators. To remove, click the 3-dot menu and select Remove.
Note
For more information on collaborators and ways they can interact with a site, check out this help article:SSL Certificates – This card displays all SSL certificates installed on the site.
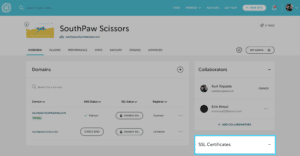
Certificate types
- Third-Party – A user-provided SSL certificate purchased from a third party (like Comodo or GoDaddy) and installed on your site by our Happiness Engineers. Learn more.
- Simple SSL – Flywheel’s free SSL certificate, powered by Let’s Encrypt™, which can be enabled from the Domains card. Learn more.
- Flywheel – The temporary domain included with every Flywheel site is automatically secured with this certificate type.
Removing a certificate – You can remove a certificate by clicking the 3-dot menu and selecting Remove.
Error Messages – The SSL Certificates card may also display error messages if there are issues installing a certificate.
Note
For more information on specific SSL error messages, check out these help articles:IP Address card – Your site’s IP address is needed when setting up your domain to point to Flywheel. The flag icon indicates the location of the physical server.
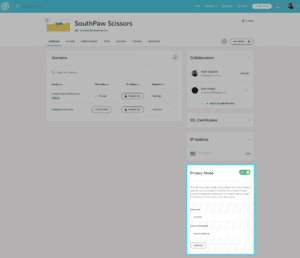
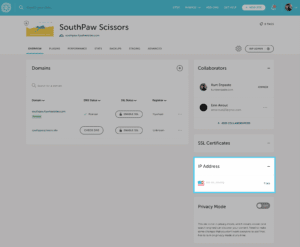 Privacy Mode – Privacy mode hides your site behind a username and password until you’re ready to share it with the world. Toggle Privacy Mode on and off or edit the login credentials from this card.
Note
Want to learn more about Privacy Mode? Check out this help article: What’s Privacy Mode?Plugins tab

After you’ve selected a site from the Main Dashboard you can navigate from the Overview tab to the Plugins tab.
Note
If you have Managed Plugin Updates, the plugins tab in your Flywheel dashboard will look different.Each site’s Plugins tab provides an overview of the plugins installed on your site, including information on operative status, plugin version installed, and whether an update is available or a vulnerability has been detected.
To get started, navigate to a site to open up its dashboard, then click on the Plugins tab.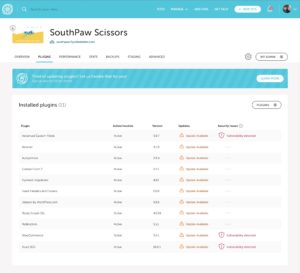
Here you’ll see a list of every plugin installed on your site including:
- Operative status (active/inactive)
- Current plugin version installed on the site
- If an update is available for the plugin
- If a vulnerability has been detected
To update or remove any plugins based on this information, click the Plugins button in the top corner of the plugin list, and you’ll be taken to the site’s WP Admin area.
Performance tab

After you’ve selected a site from the Main Dashboard you can navigate from the Overview tab to the Performance tab. If you do not have Performance Insights enabled on your site you will see the page below.
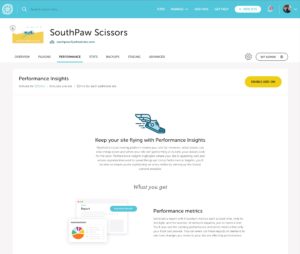
You can learn more about performance insights on that page or go to this help doc.
Stats tab

After you’ve selected a site from the Main Dashboard you can navigate from the Overview tab to the Stats tab. On this tab, you can see information about site visits, storage, and bandwidth.
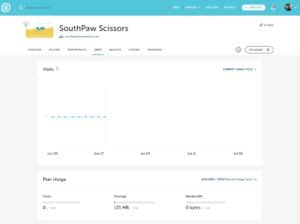
In this tab you’ll see:
- the site’s visits for the billing period
- used/available storage
- bandwidth used for the time period displayed in the upper right corner
Visits – When Flywheel measures traffic, we specifically count the number of “visits” to your site in a given billing period. We define a visit as a unique IP address within a 24-hour period.
Storage – Storage shows the combined amount of space that your site’s files are using, and how much total space is allowed for the site’s plan.
Bandwidth – The amount of data transmitted over the usage cycle. Large amounts of bandwidth usage typically mean a slower user experience. The best way to decrease your bandwidth usage is to offload video and audio files or resize images. For more tips and tricks on lowering bandwidth check out this help doc.
Backups

After you’ve selected a site from the Main Dashboard you can navigate from the Overview tab to the Backups tab. On this tab, you can see all the backups Flywheel has made of your site within the last 30 days.
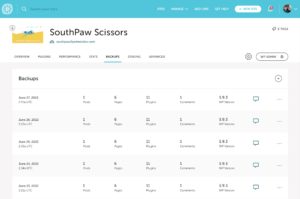
Check out this help doc for more information on backups.
Staging tab

After you’ve selected a site from the Main Dashboard you can navigate from the Overview tab to the Staging tab. Be sure to check out our help articles on how to get started with Staging, and our guide to Staging usage recommendations.
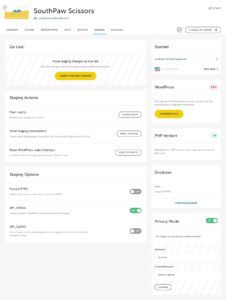
Go Live! – Launch your changes from your staging site to your live site here. Woo!
Staging actions – This option will only impact the staging site, not your live site. Here you can flush the cache to get a fresh view, reset the site to get a new start, and reset the number of log attempts if you have locked yourself out.
Staging options – Once again this section only impacts the staging site, not your live site. Check out the Advanced tab section below if you are not sure what some of those functions are.
Domain – Here you can find the staging temp domain and the IP address.
WordPress® – This section displays the WordPress version that the staging site is currently on and provides the option to upgrade if there is an upgrade available.1
PHP Version – Here you can find the current PHP version of the staging site.
Database – From here you can find the database prefix and manage the database of the staging site.
Privacy Mode – This displays whether or not Privacy Mode is activated and the credentials to access it. Once again this is only for the staging site.
Advanced tab

After you’ve selected a site from the Main Dashboard you can navigate from the Overview tab to the Advanced tab.
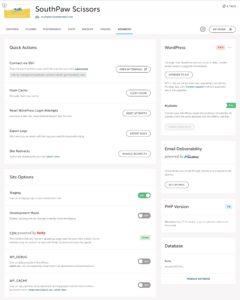
Flush cache – Caching is a great and fully automatic way to speed up your site, but sometimes you might want to flush (i.e., erase) the cache if you’ve just made changes to your site so that those new changes show up immediately. It should be noted, however, that this may also slow the site down temporarily as the server builds up a new cache. Here is a link to a help doc to learn about caching.
Development mode – Flywheel Development Mode is just a permanent version of the “Flush Cache” feature; it disables all caching until you turn Development Mode back off again (and hides the “Flush Cache” option in the meantime, since it would be redundant).
Warning
While enabling Development Mode will allow you to see all file changes as soon as they’re made, it will also prevent your site from running as fast as possible, particularly on heavily trafficked sites or those that run lots of server processes, since it completely disables caching. So it’s highly inadvisable to leave Development Mode on for any longer than necessary.Enable WP_CACHE – For users who want to use a caching plugin on top of Flywheel like WP-Rocket, that plugin will need WordPress to set the rule that the cache should never get rebuilt unless this plugin explicitly tells it to. That’s what enabling WP_CACHE is for. Here’s a link to a help doc specifically about Flywheel & WP-Rocket.
Warning
WP_CACHE offers some great additional features for customers who are using a persistent caching plugin on top of Flywheel’s stellar server-level cache. WP_CACHE doesn’t do anything on its own, so it’s best to leave WP_CACHE disabled unless your site has a specific need for it. Enable WP_DEBUG –WP_DEBUG is a WordPress feature that allows PHP warnings and errors that are normally hidden to be shown directly on your site for debugging purposes. It’s usually best to leave this off unless you are troubleshooting your site, especially on live sites, as it will likely ruin your site’s appearance by putting unwanted error messages on your pages.
Enable Staging – Enabling Staging will create an exact duplicate of your live site on a Flywheel staging subdomain. You can make changes to the Staging site and, when you’re ready, push those changes back to the live site.
Export logs – We keep copies of your site’s access logs, slow error logs, PHP error logs, and PHP server logs for seven days. You can have these log files emailed to you, for your live site or staging site (or both) with this button at any time.
This feature is primarily useful if you notice that your site seems slow or is experiencing errors, and you’d like to check the logs to find out what might be the cause. Generally, in these cases, you’ll notice a plugin name showing up repeatedly in the files, or a fatal error or syntax error repeatedly coming from a specific file.
Reading the logs can be a bit difficult, though, so don’t hesitate to contact Flywheel and pass your error log files along if you spot any issues or need any assistance.
WordPress version – Flywheel automatically updates WordPress for you, but we wait to push out major version releases for an average of about two weeks, to allow any unknown bugs and issues to be discovered and patched first.
We usually roll out smaller security updates much more quickly, but in both of those cases, if there’s a version available and we haven’t run the update yet, you can do it yourself from here to get up-to-date right away!
And if you’d prefer to opt out of major version updates, be sure to check out this help doc.
Database – This is where you can get access to your site’s SQL database directly. If you’re unsure about working with SQL databases, it’s probably a good idea to leave this alone; things can get messy in a database pretty quickly, even for seasoned developers, and you shouldn’t ever need to edit your database directly with WordPress.
But if you do know your way around a WordPress database, you can view and modify your database’s tables from here, run SQL commands, and import or export your database if need be. You can also update your database table prefix here, which you should never do on a live site, but which you may need to do if you’re manually migrating a database to Flywheel.
Need more help?
As always, if you have questions, contact Flywheel and we’ll be happy to assist!
Getting Started
New to Flywheel? Start here, we've got all the information you'll need to get started and launch your first site!
View all
Account Management
Learn all about managing your Flywheel user account, Teams and integrations.
View all
Features
Flywheel hosting plans include a ton of great features. Learn about how to get a free SSL certificate, set up a staging site, and more!
View all
Platform Info
All the server and setting info you'll need to help you get the most out of your Flywheel hosting plan!
View all
Site Management
Tips and tricks for managing your sites on Flywheel, including going live, troubleshooting issues and migrating or cloning sites.
View all
Growth Suite
Learn more about Growth Suite, our all-in-one solution for freelancers and agencies to grow more quickly and predictably.
Getting started with Growth Suite
Growth Suite: What are invoice statuses?
Growth Suite: What do client emails look like?

Managed Plugin Updates
Learn more about Managed Plugin Updates, and how you can keep your sites up to date, and extra safe.
-
Restoring Plugin and Theme Management on Flywheel
-
Managed Plugin Updates: Database upgrades
-
Managed Plugin Updates: Pause plugin updates

Local
View the Local help docs
Looking for a logo?
We can help! Check out our Brand Resources page for links to all of our brand assets.
Brand Resources All help articles